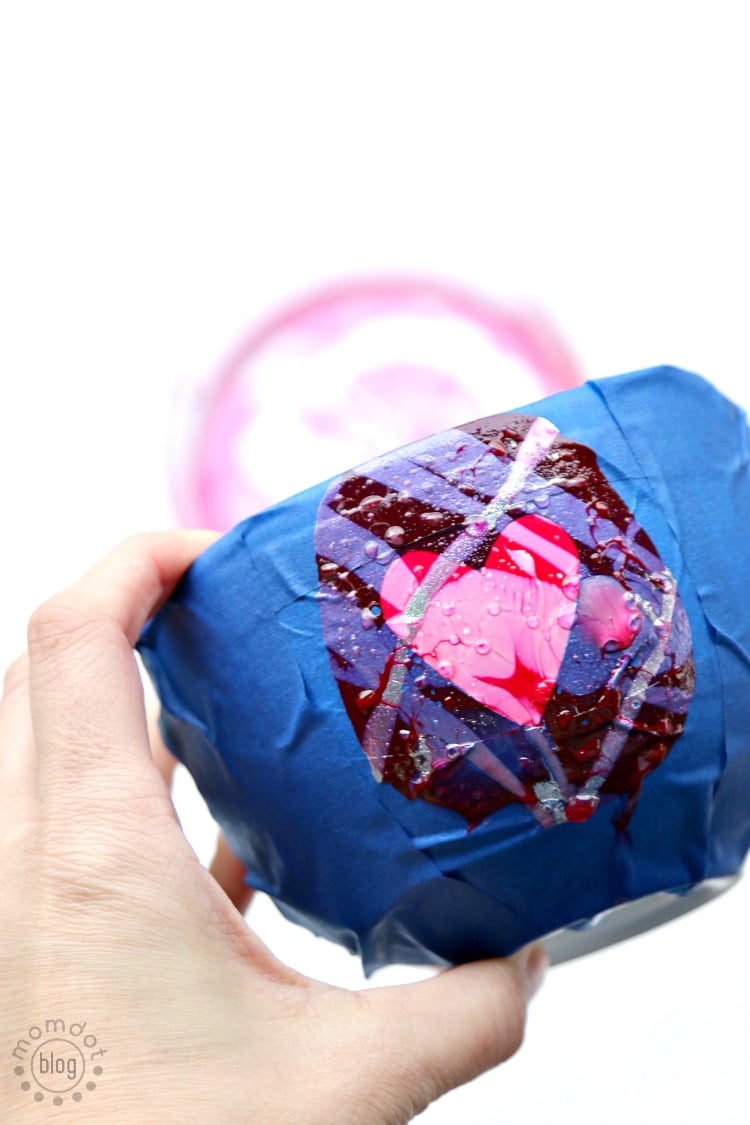
Making marble dip decor is so quick and easy! No matter what you’re marbling, the idea and technique is the same. All you need is colored nail polish, a dish of water, and the item you want to marbelize. Check it out then try it yourself!
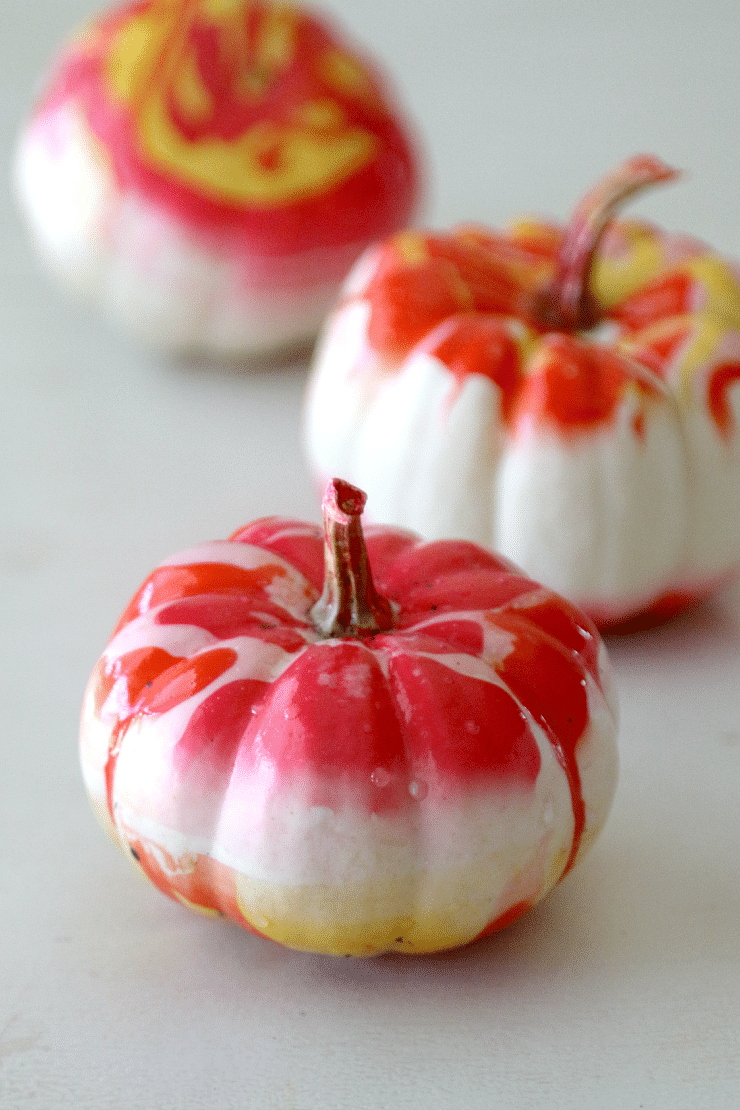
Need to dress up a table before a party? Marbelize. Want some holiday decor without spending too much? Marbelize. Bored with the kids…you guessed it! Needing only your mason jar and a handful of 99-cent nail polish, you will run out of jars before you run out of fun.
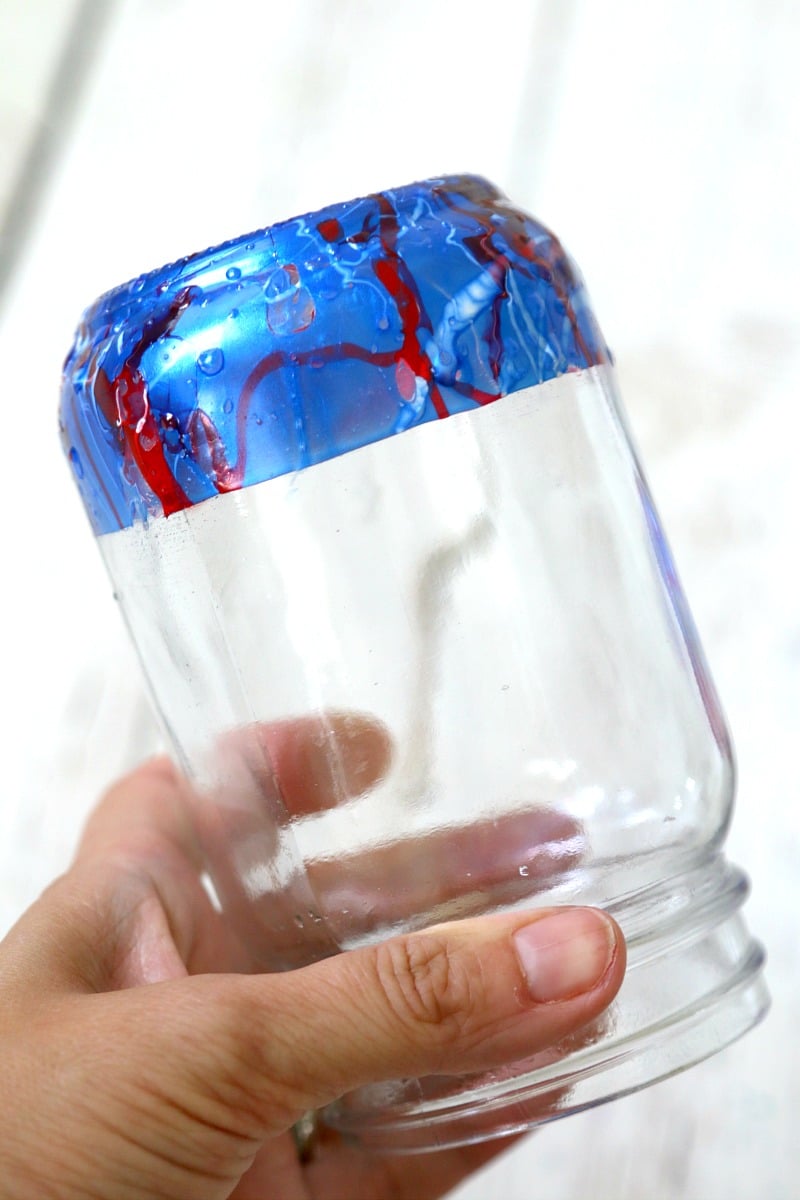
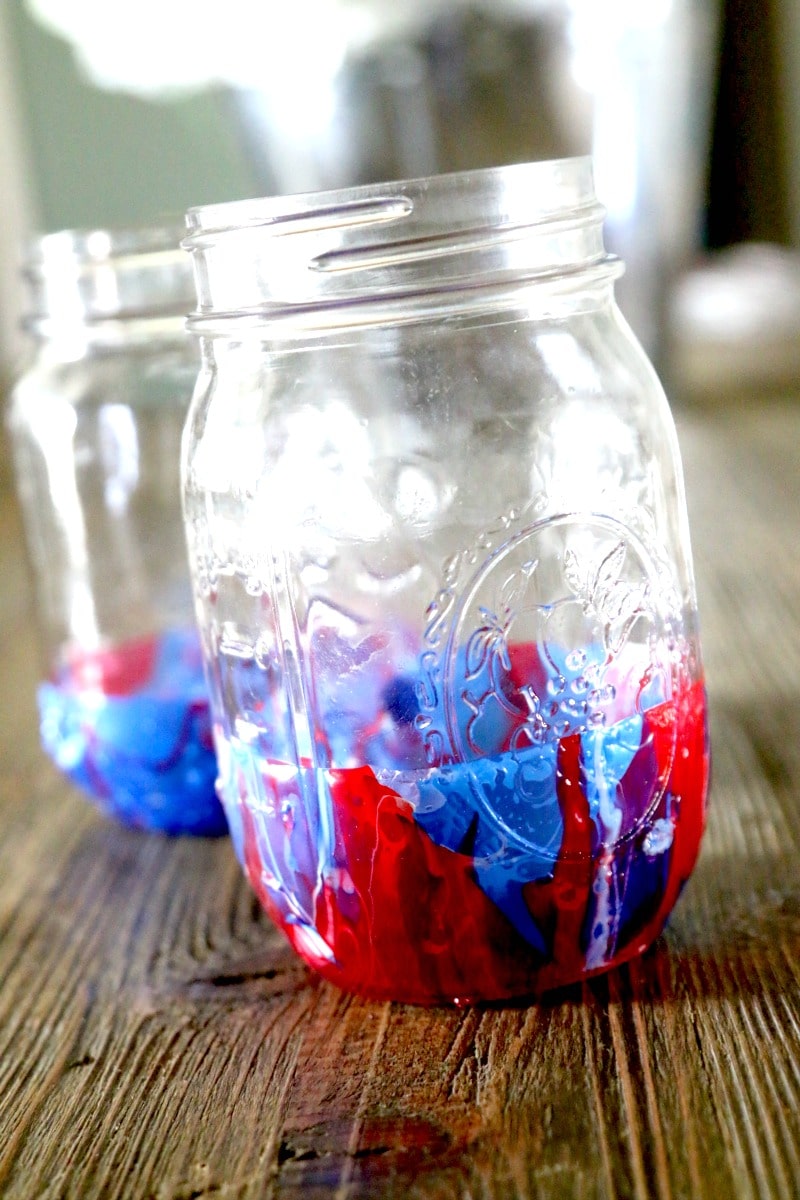
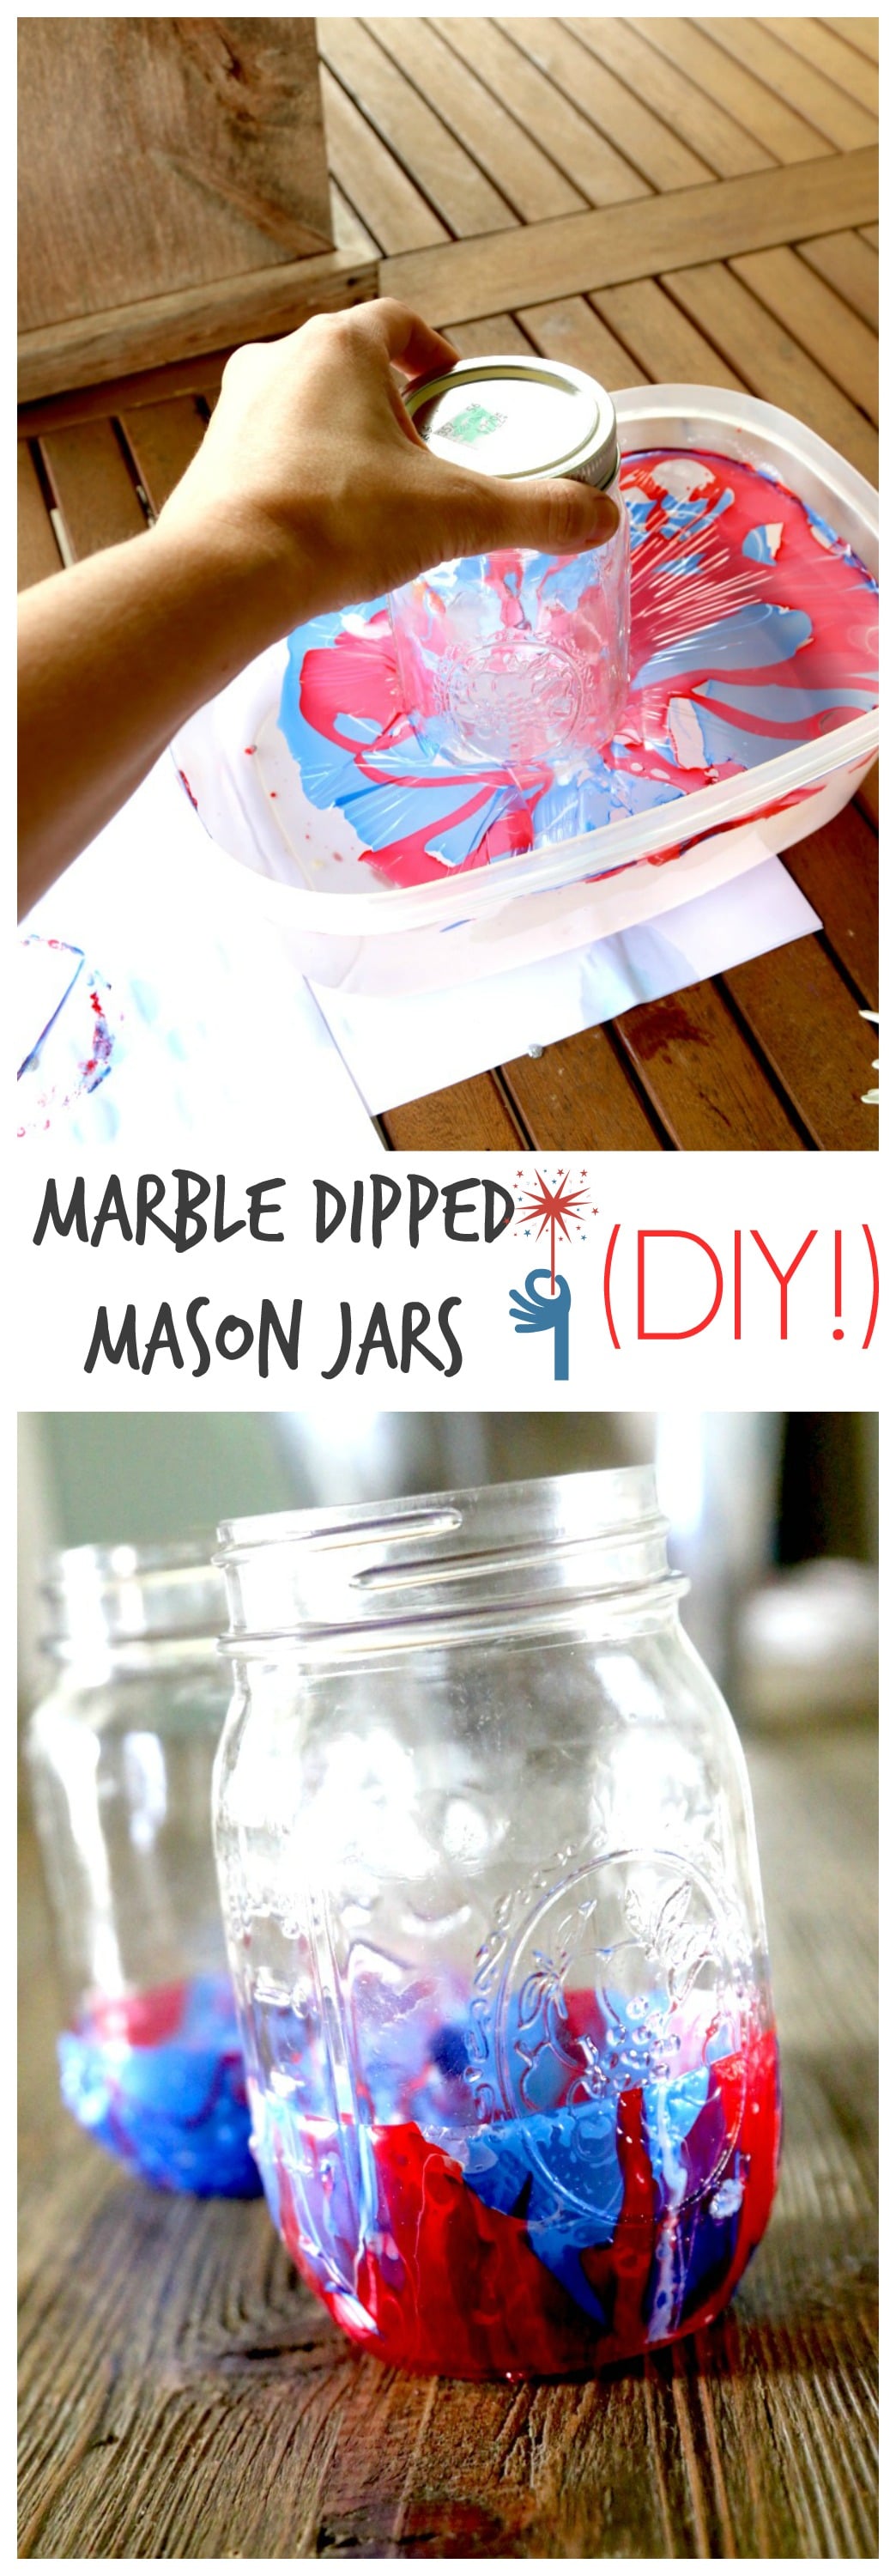
These jars are perfect for Independence Day, Flag Day, Veteran’s Day, Memorial Day, or Pearl Harbor Day. I created two Marble dipped Mason jars in red, white, and blue, to give you an idea of what you can do in 5 minutes!
Watch how it’s done!
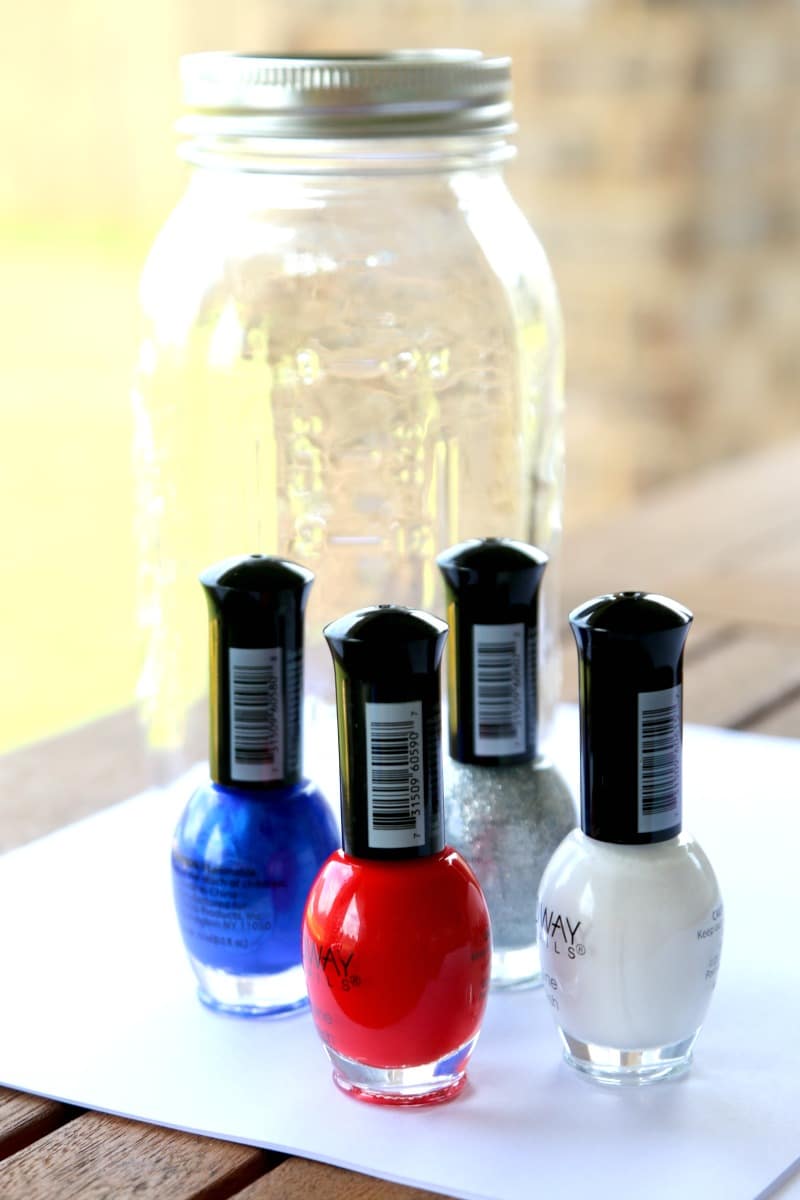
To get started
- Mason Jars
 (I prefer the ones without inscriptions on them- the smooth ones) – I show both in the tutorial
 - Nail Polish– the cheap stuff works great
- Disposable container
 (I prefer the ones without inscriptions on them- the smooth ones) – I show both in the tutorial
 – the cheap stuff works great
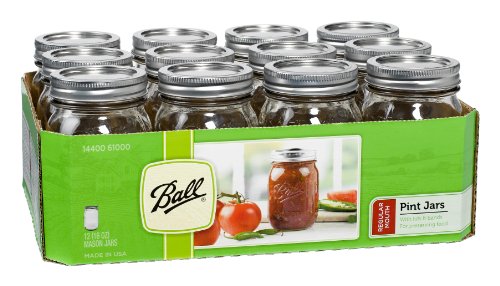
DO NOT FORGET TO GET A PACK OF MASON JARS!
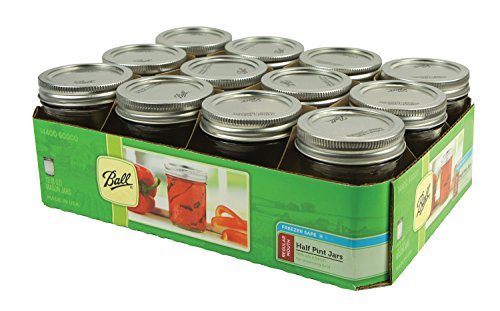
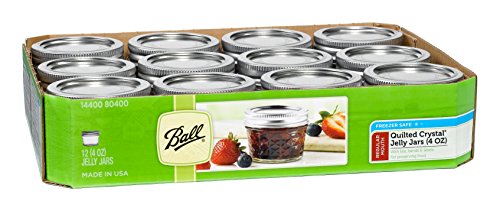
Ball Pint Regular Mouth Jars and Lids BPA Ball Half Pint Regular Mouth Jars and LidsBall Mason 4oz Quilted Jelly Jars with LidsBall Jar 1pt Ball Mason Jars, Case of
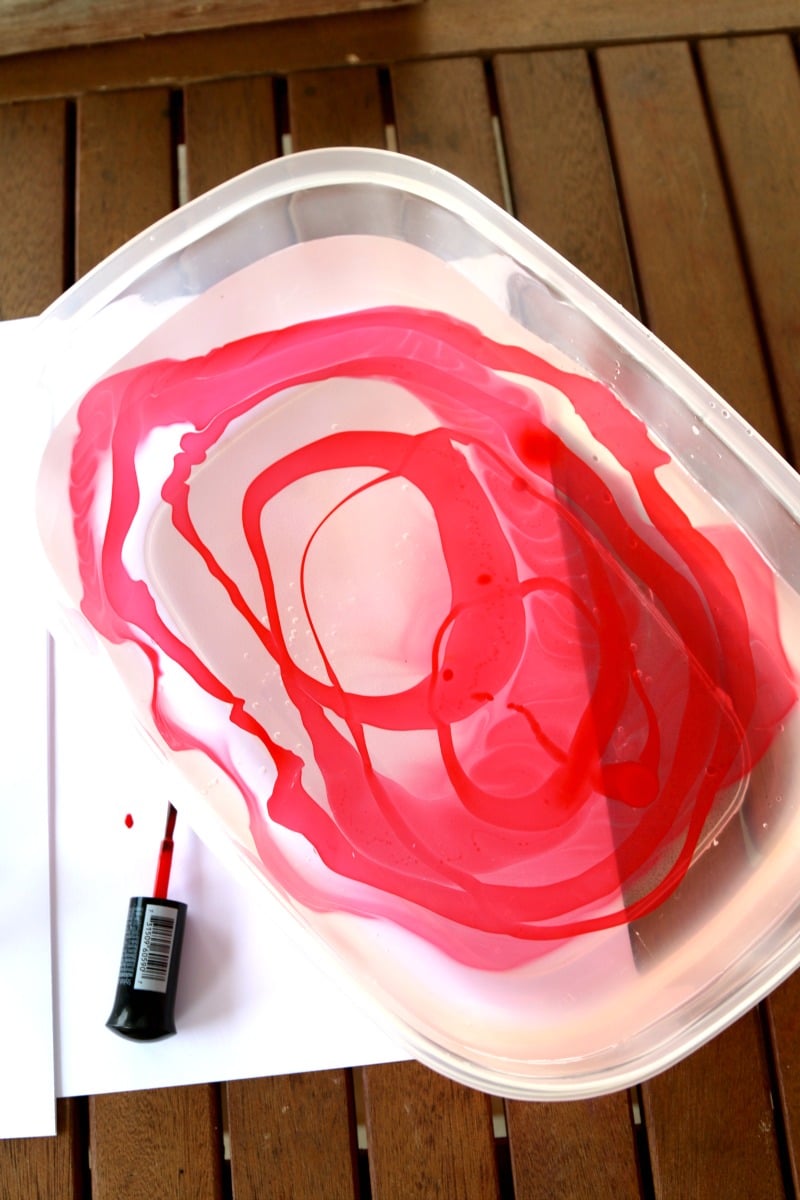
1) Fill up your container with water, leaving room to dip your jar in without spilling.
2) Pour your nail polish in patterns on the water. Some nail polish will spread out thinly and some will make more of a stripe pattern. Get creative!
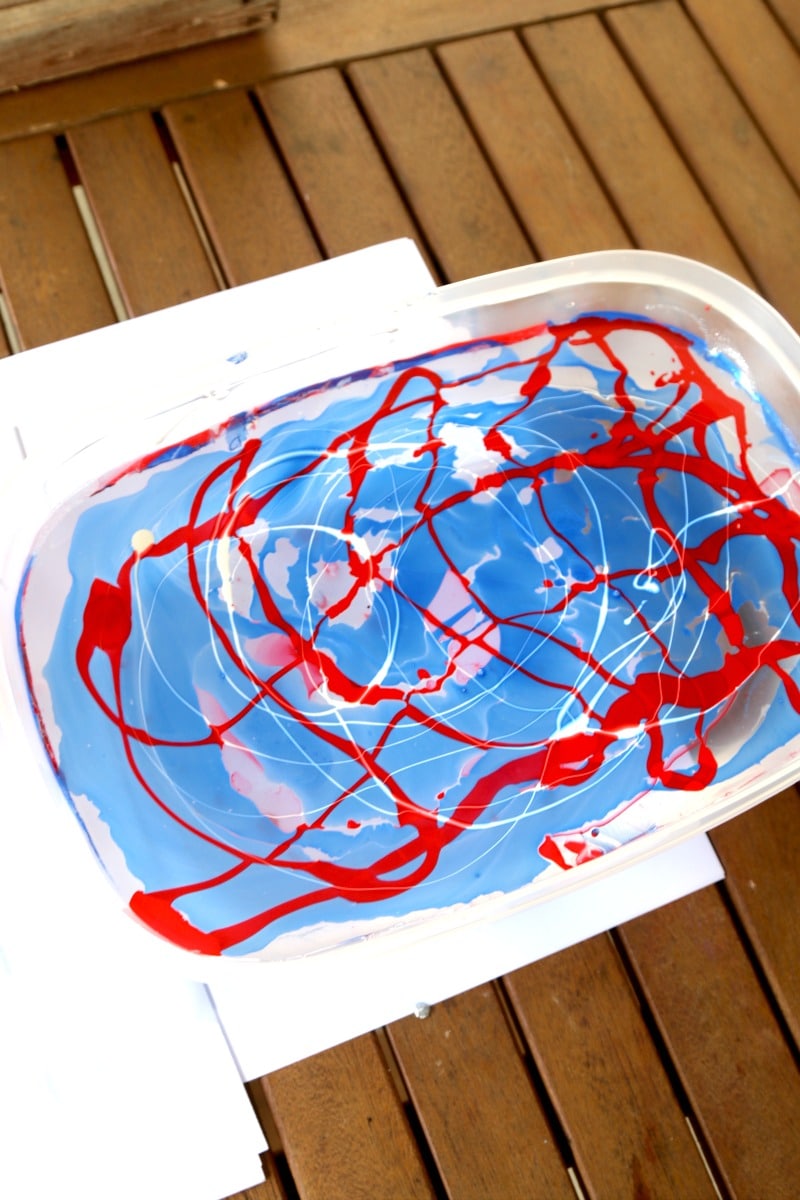
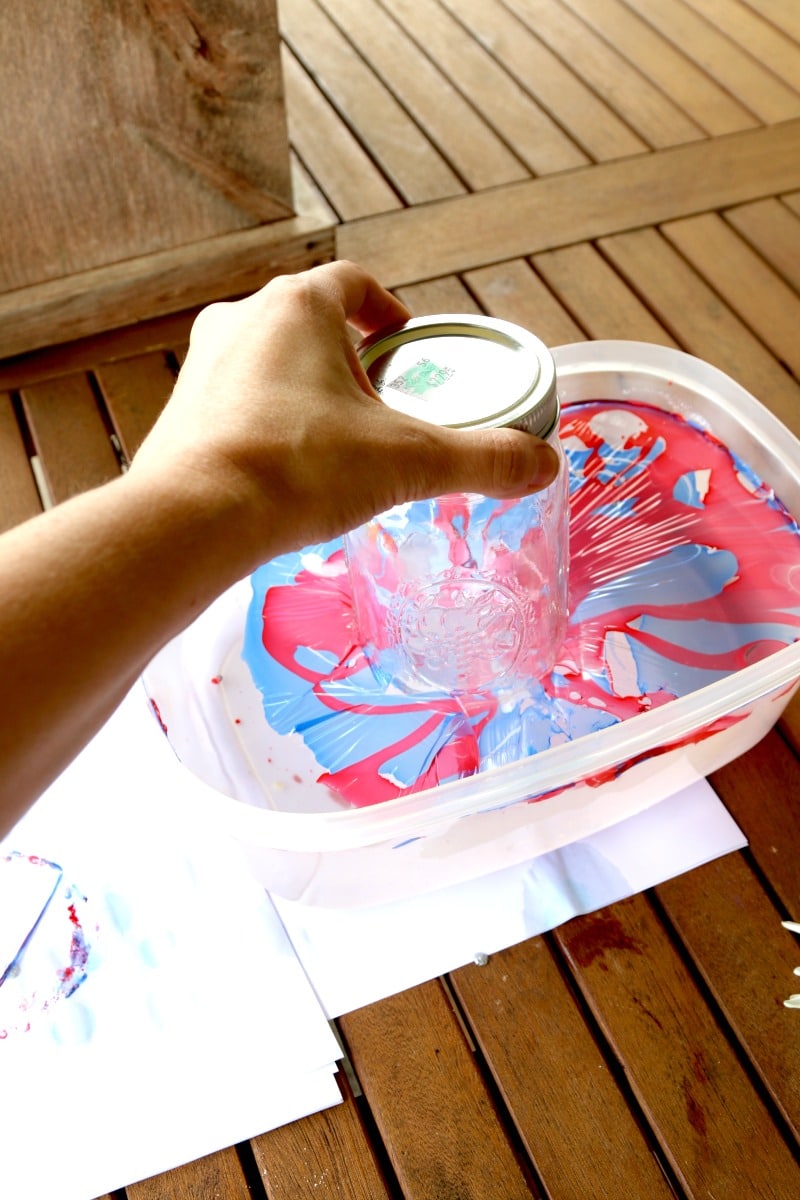
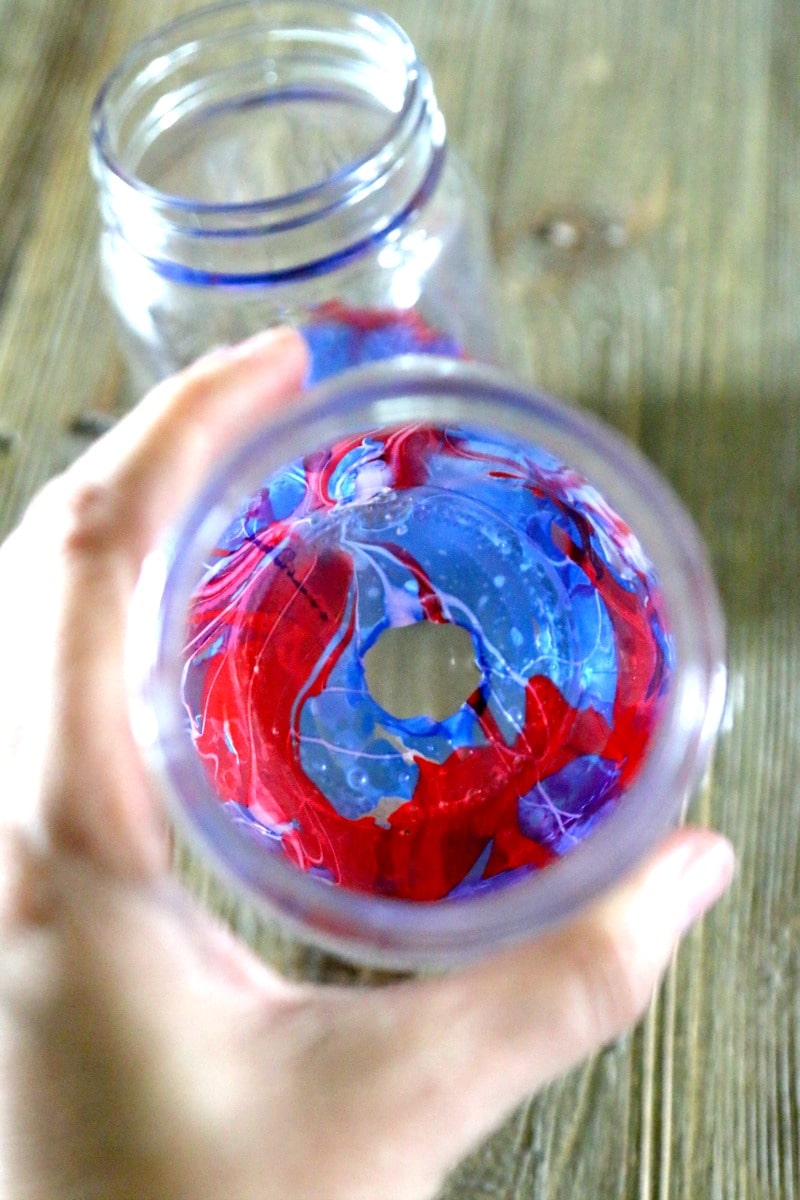
3) For this project, you will want to work semi-quickly. The nail polish stays on the top of the water allowing you to dip. However, after a few minutes, it fuses together and if you dip your jar into it at that point, it tries to grasp on as a sheet. This does not give you a smooth result when you pull your jar out. I put an example of that below.
(See below nail polish that sat too long pushes as one sheet and can get quite messy.)
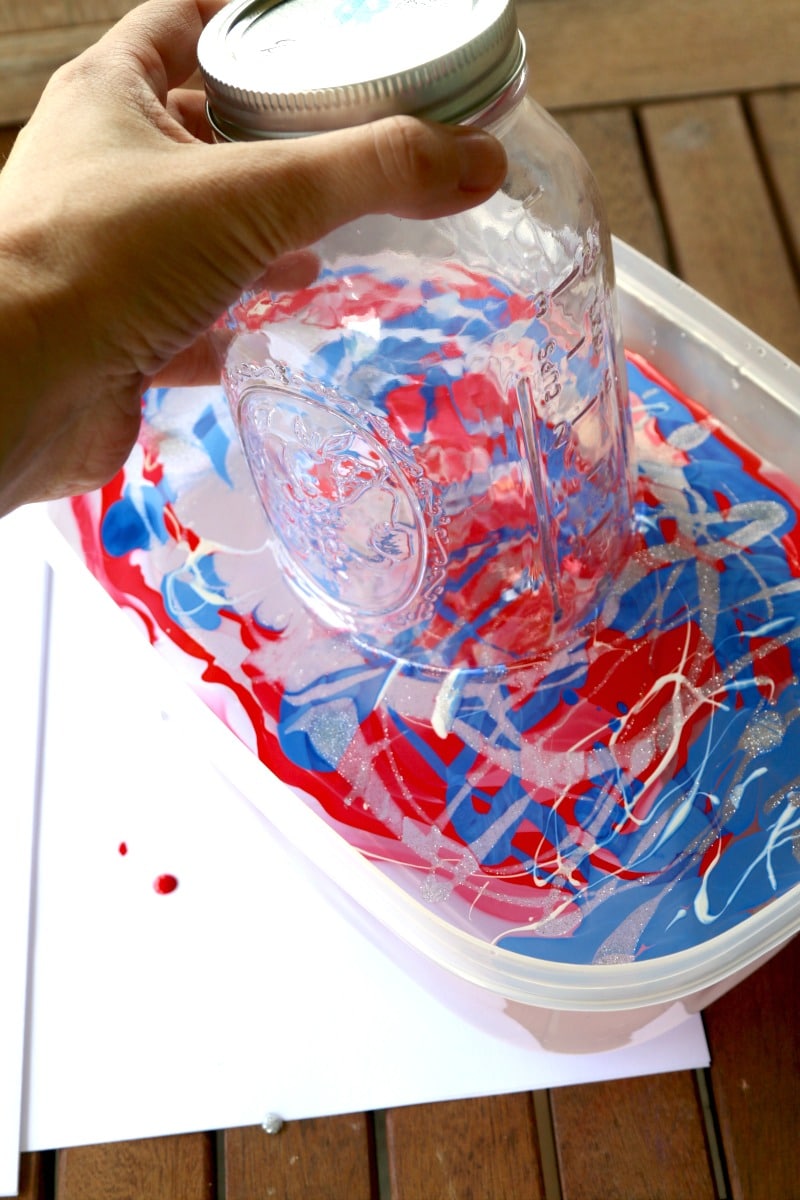
4) Partially dip your jar into the mixture, pull out, and dry upside down. Because it’s nail polish, it will dry pretty quickly.

Supplies You’ll Need to Marble Dip
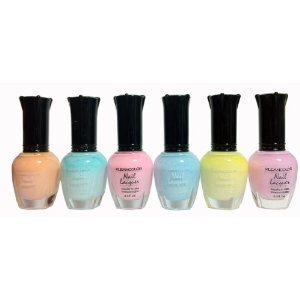
Before you get started on this craft you will need lots of nail polish! I like to buy cheap nail polish in lots of colors, and these will also work for your jar marbling.
Here are a few sets that are inexpensive. If you order them, you will have tons of colors without paying like $7+ a bottle at the store. Money savings – one of my favorites!
Kleancolor Nail Polish – Awesome Metallic FullSinful Colors 10-piece Surprise Nail Polish SetKleancolor Nail Lacquers 6 Color – *NEW*


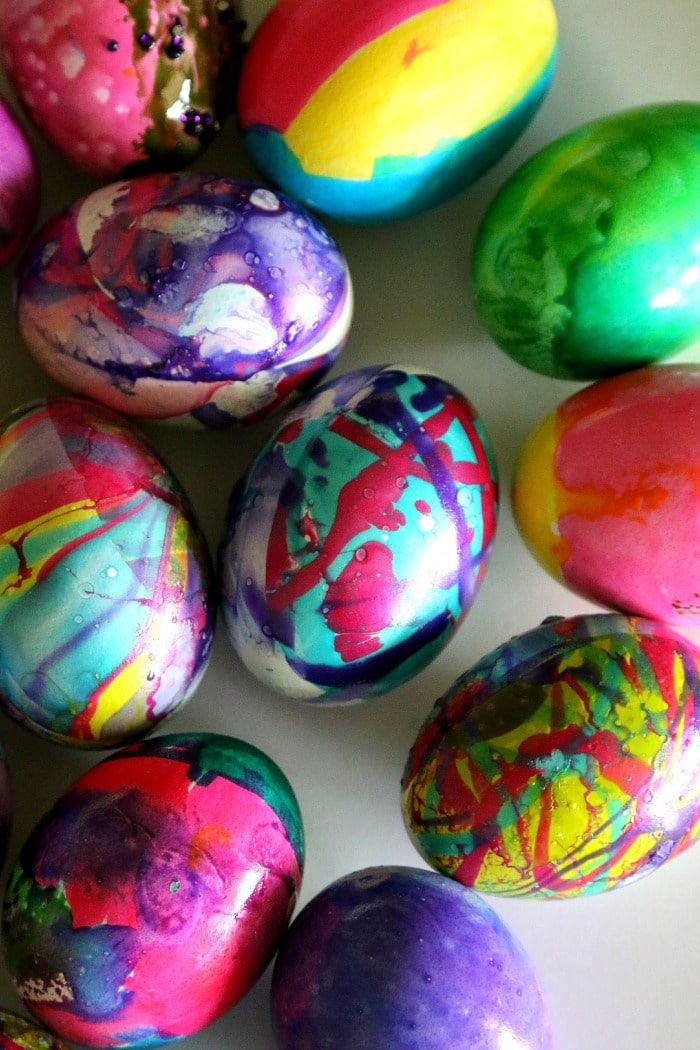
Gorgeous, right? You can do this 100 times with tons of colors, and patterns, and have beautiful mason jars all over the house filled with flowers.
Want to see other marbleized projects? It’s so easy that we use this technique a lot around our house. Click below to check them out!
Have you completed a project you learned about here on MomDot? Tag me with #MomDot so I can see! Plus don’t forget to visit me on Pinterest for more fun projects!
This looks fun! Any suggestions on how to dispose of the water/nail polish mixture once you are done? I don’t want to pour that down my drain right?
No! What is really cool and I need to make a video of (ill try to do it this weekend) is any nail polish left on top you can do one of two things with- you can either put a piece of paper on the top and it shoudl soak right on it (then dump the water) or use a stick/popsicle stick and just stir it up. After the nail polish has been in the bowl for a few minutes, it starts to turn into like a sheet of nail polish, so its super easy to get up.
My kids totally love these types of projects. It is hard to keep them away from their video games but this jar activity kept them busy for a good 30 minutes which is a miracle! Thanks for recommending this and writing about it!
Thanks for this great idea . I have been saving old spaghetti sauce jars to do a fun craft project . Can’t wait to try it.
Hey Angela!~ I save jars up too! I get honey jars and pickle jars a lot- I never throw them away. Have a good time!