We really enjoyed getting together for so many different things. And it was so easy to do!
Some days we were pretty lazy and we’d sit on the couch chatting away while our little ones played at our feet. Other days we’d talk while we did dishes or folded laundry or made dinner.
But some of my favorite days were the days we got creative and made things together. Paper, fabric, ribbon, paint, dough, wood, glass, ceramic, you name it, we probably made it!
Honestly, I’m not even sure how we managed to get any crafts done since we usually had 2-9 children running around between us. I’m sure we had moments that were interrupted with whining, crying, fighting, hungry little ones. But all I can remember are the minutes and hours spent together talking, laughing, venting, creating!
Even though we’re states apart now, we’ve sometimes able to still craft “together.” As usual, Steph is the one who came up with this awesome idea just like the Pot O’ Gold Brownie Cups and the Pot O’ Gold Rainbow Cookies. She called me up asking if I could do a few things on my end and I said “done” because her vision seems to always work out.
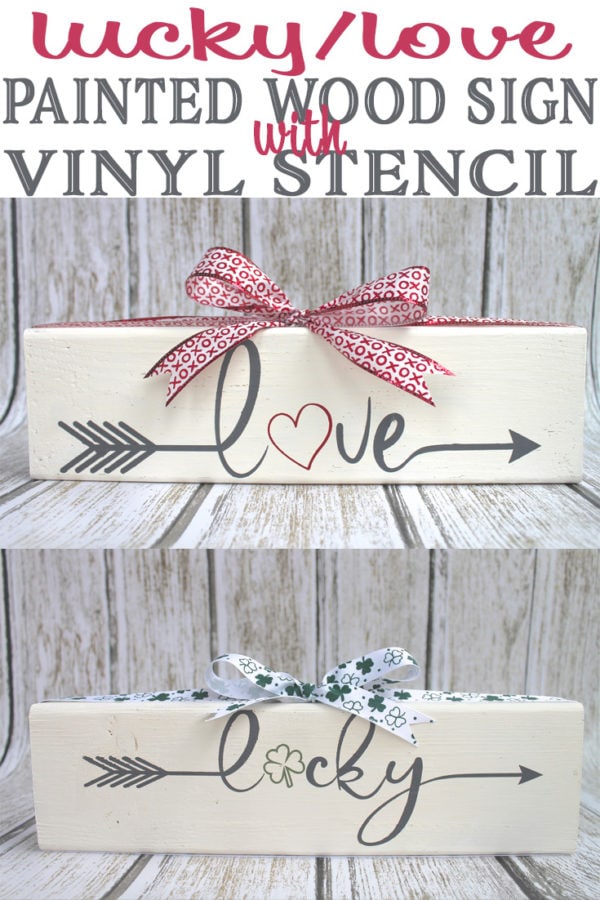
And I think we came up with such a cute little craft for all of you. I made and cut the vinyl and Steph did all of the painting. Her step-by-step instructions are going to leave you feeling perfectly confident that you can do this yourself too! And we’re attaching the free vinyl stencil file to make it even easier on you!
So grab a friend, or ten, because the more the merrier! And let’s get started on this Lucky/Love Painted Wood Sign with Vinyl Stencil. Start to finish you can have this cute craft done in less than an hour!
Lucky/Love Painted Wood Sign
First, gather your materials. You’ll need
- 2×4 wood, cut to 12 inches long
- Foam paintbrush
- Chalk paint or acrylic paint
- Valentine’s Day ribbon and St. Patrick’s Day ribbon
- Free vinyl stencil
Second, begin painting your 2×4 with your base color. Steph used white chalk paint. We found that it dries much faster and it bleeds less because it is thicker. However, acrylic paint would work too.
Do two coats (fully dry between coats) for a bolder, cleaner look.
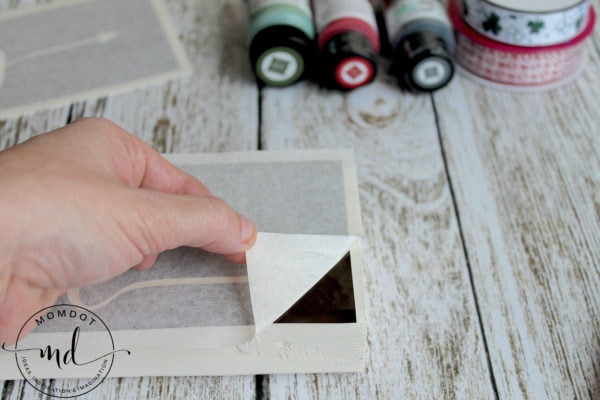
Third, peel the backing off the vinyl.
Fourth, line vinyl up with the top of your wood. Press down well. Peel off the top transfer tape.
Repeat on the opposite side with the other piece of vinyl.
Now, it’s time to start painting!
Helpful hint: If the vinyl you use is less sticky, consider painting the base color over the vinyl stencil to make the edges crisper. This seals the edges of the vinyl and protects against the paint bleeding under the edges.
Next, we used a cute green color to paint in the shamrock of the “lucky” word.
Then, use another complimentary color to paint the rest of the letters and arrow.
Helpful hint: When painting, don’t drag the brush as much as stipple it. This will also ensure that you don’t drag paint near the edges and push it underneath.
Repeat on the opposite side, but use a brilliant red or pretty pink to fill in the heart of the “love” word.
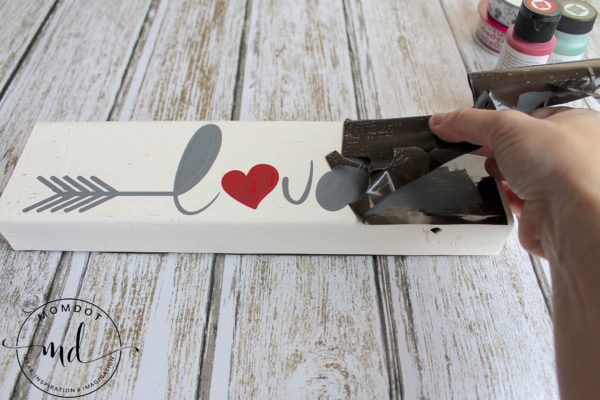
Then, carefully peel up the vinyl from the wood.
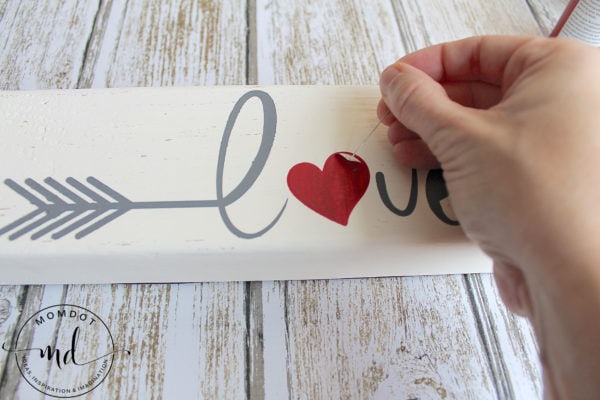
You may need to use a needle, toothpick, paperclip, or other small, sharp object to help the inside of the letters and heart/shamrock peel up.
Depending on how sticky your vinyl is, you may or may not need to touch up the base coat if some of the paint peeled off. It happens sometimes, but not all the time. Or you could even leave it and sand a bit more to get that shabby chic look1
Repeat the peeling on the other side as well.
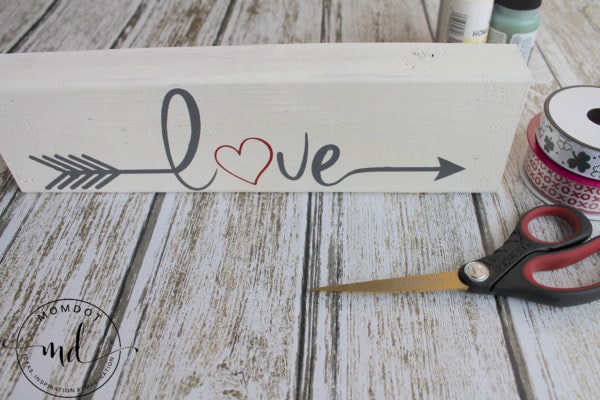
And there you have it! Your reversible lucky/love painted wood sign.
You can add some ribbon around the top. Steph tied some cute x’s and o’s ribbon around her wood sign while she displays it for Valentine’s Day.
Don’t forget to trim the edges diagonally for a more finished look!
As soon as Valentine’s Day is over you can switch out your ribbon, flip around your sign, and you’re all ready to begin celebrating St. Patrick’s Day!
We hope you have as much fun making this painted wood sign craft as we did getting it ready for you. Be sure and tag us if you make and post it. We love seeing our readers’ creations!
~Kimberly


