Now National Pirate Day was September 19th, so its passed, but I’m declaring that we should be able to act (and celebrate) like pirates any time we feel like it!
Plus, it’s Halloween, so there is that.
Of course, a pirate party would not be complete without your very own eye patches,so in the interest of awesomeness, I wanted to provide you with this really fun tutorial!
DIY Pirate Eye Patch Tutorial
This is a super easy eye patch that you can either sew or glue!
Materials you’ll need:
- Sturdy white paper

- Scissors
- Pencil
- Fabric chalk
- Black (or your favorite pirate color) fabric.
You can get thrifty and reuse an old t-shirt or tablecloth. You don’t need much fabric. - Batting or any other quilting filler.
- Sewing machine, needle and thread, or Hot glue gun.
- Ribbon or Elastic


 or any other quilting filler.
 , needle and thread, or
 or Elastic
First step would be to cut out an eye-patch shape on your cardstock.
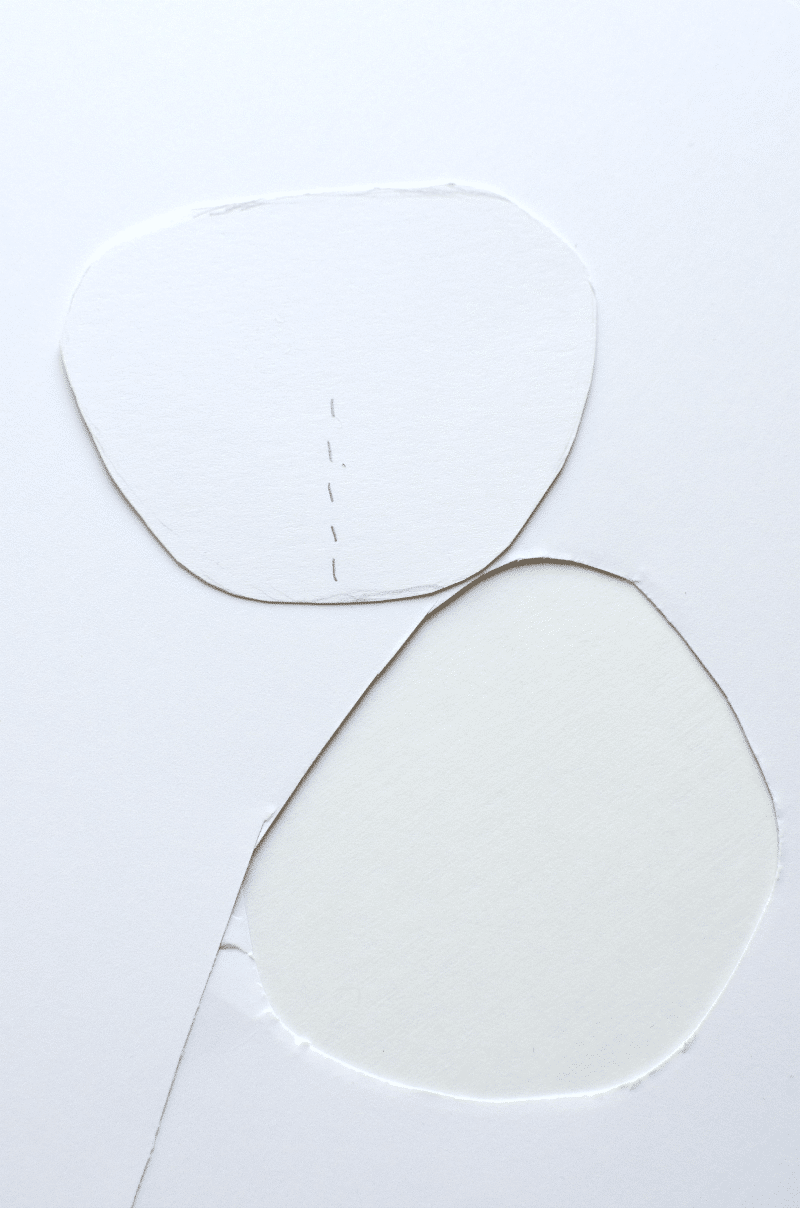
You should be able to draw it by hand easily, and adjust until you’re happy with it. (Tip: Use a pair of sunglasses as a template!)
Take note of the dashed line. It is important!
Use your new eye patch template to trace your fabric, then cut out the two eye patches.
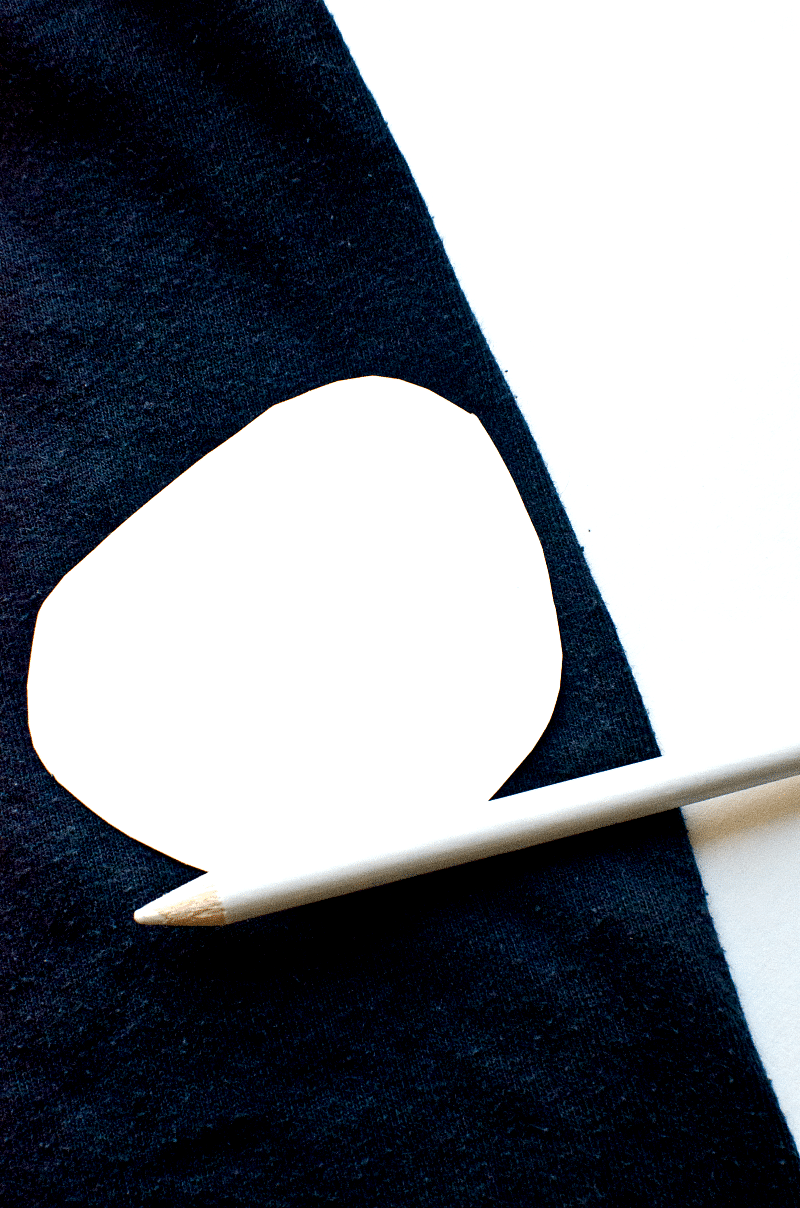
Using the same technique, cut a piece of batting in the same shape.

Now is where you create that fun crease you see on Pirate patches. This is totally optional but for those of you that want to get all authentic, you can use these instructions. Otherwise just skip down!
Cut one eye patch from the bottom up the middle, stopping half-way.

Sew the slit closed. This is the crease you see in pirate eye patches we were talking about. With right sides facing, sew your eye patch closed, leaving a one inch gap open.
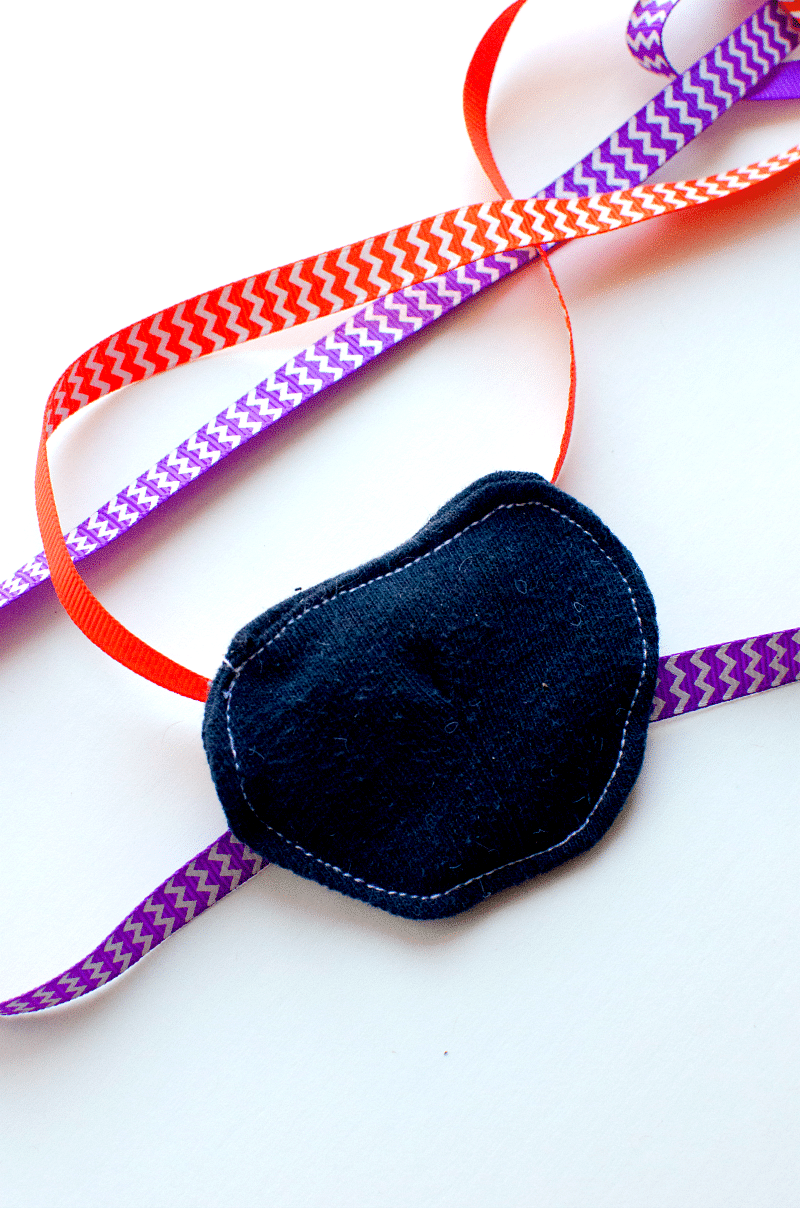
Turn your eye patch right side out, and place your batting inside. Carefully adjust the opening so it is uniform with the rest of the patch and stitch it shut, continuing around the entire eye patch to add some decoration.
You’re almost done!
Get your ribbon or elastic and measure around your head, adding about 8 inches to that length. Cut the piece. Fold in half, and cut again. This will leave you with two pieces of ribbon.
Now all you do is hot glue each piece to the back side of your eye patch. Make sure if you’re using ribbon that the printed side is facing out and not towards you!

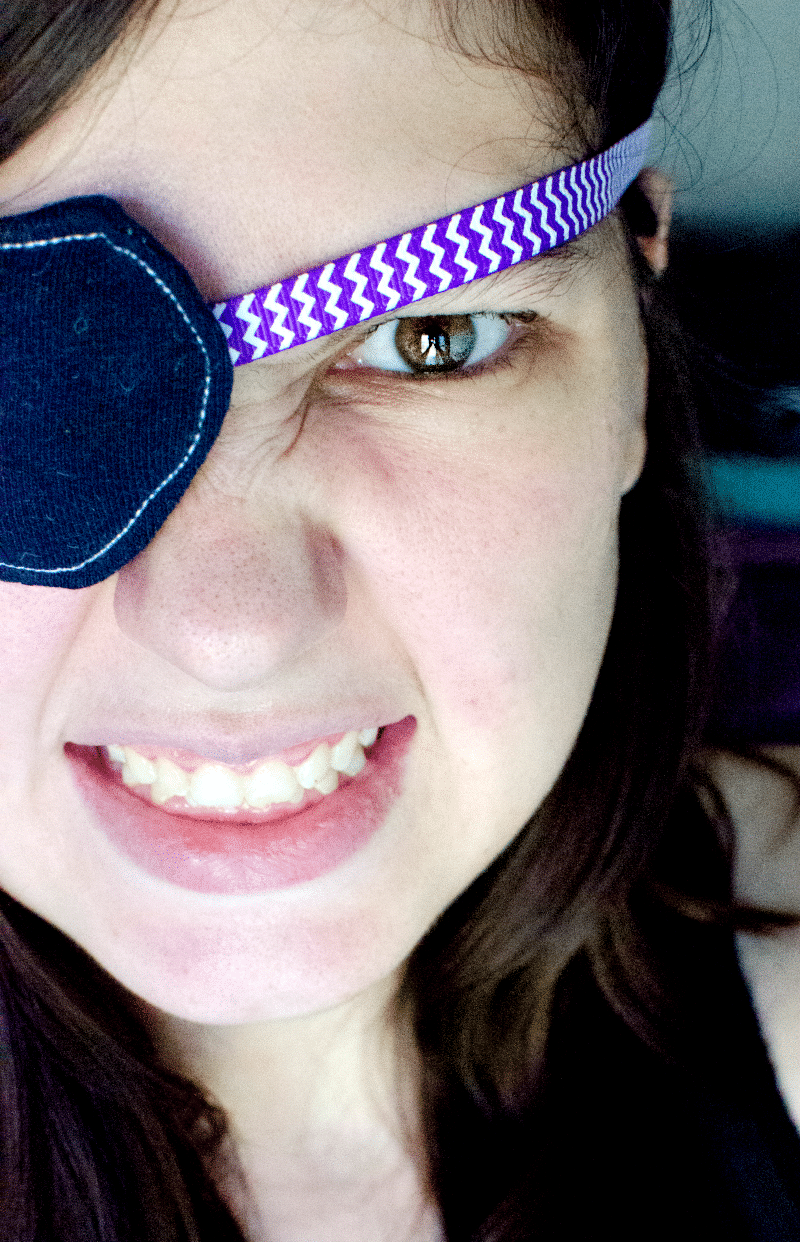
You should now be able to tie it around your head comfortably.
Now you can show off your Pirate face!
Ready to head to more tutorials? Check out the rest of my Halloween Ideas here !
~Trisha