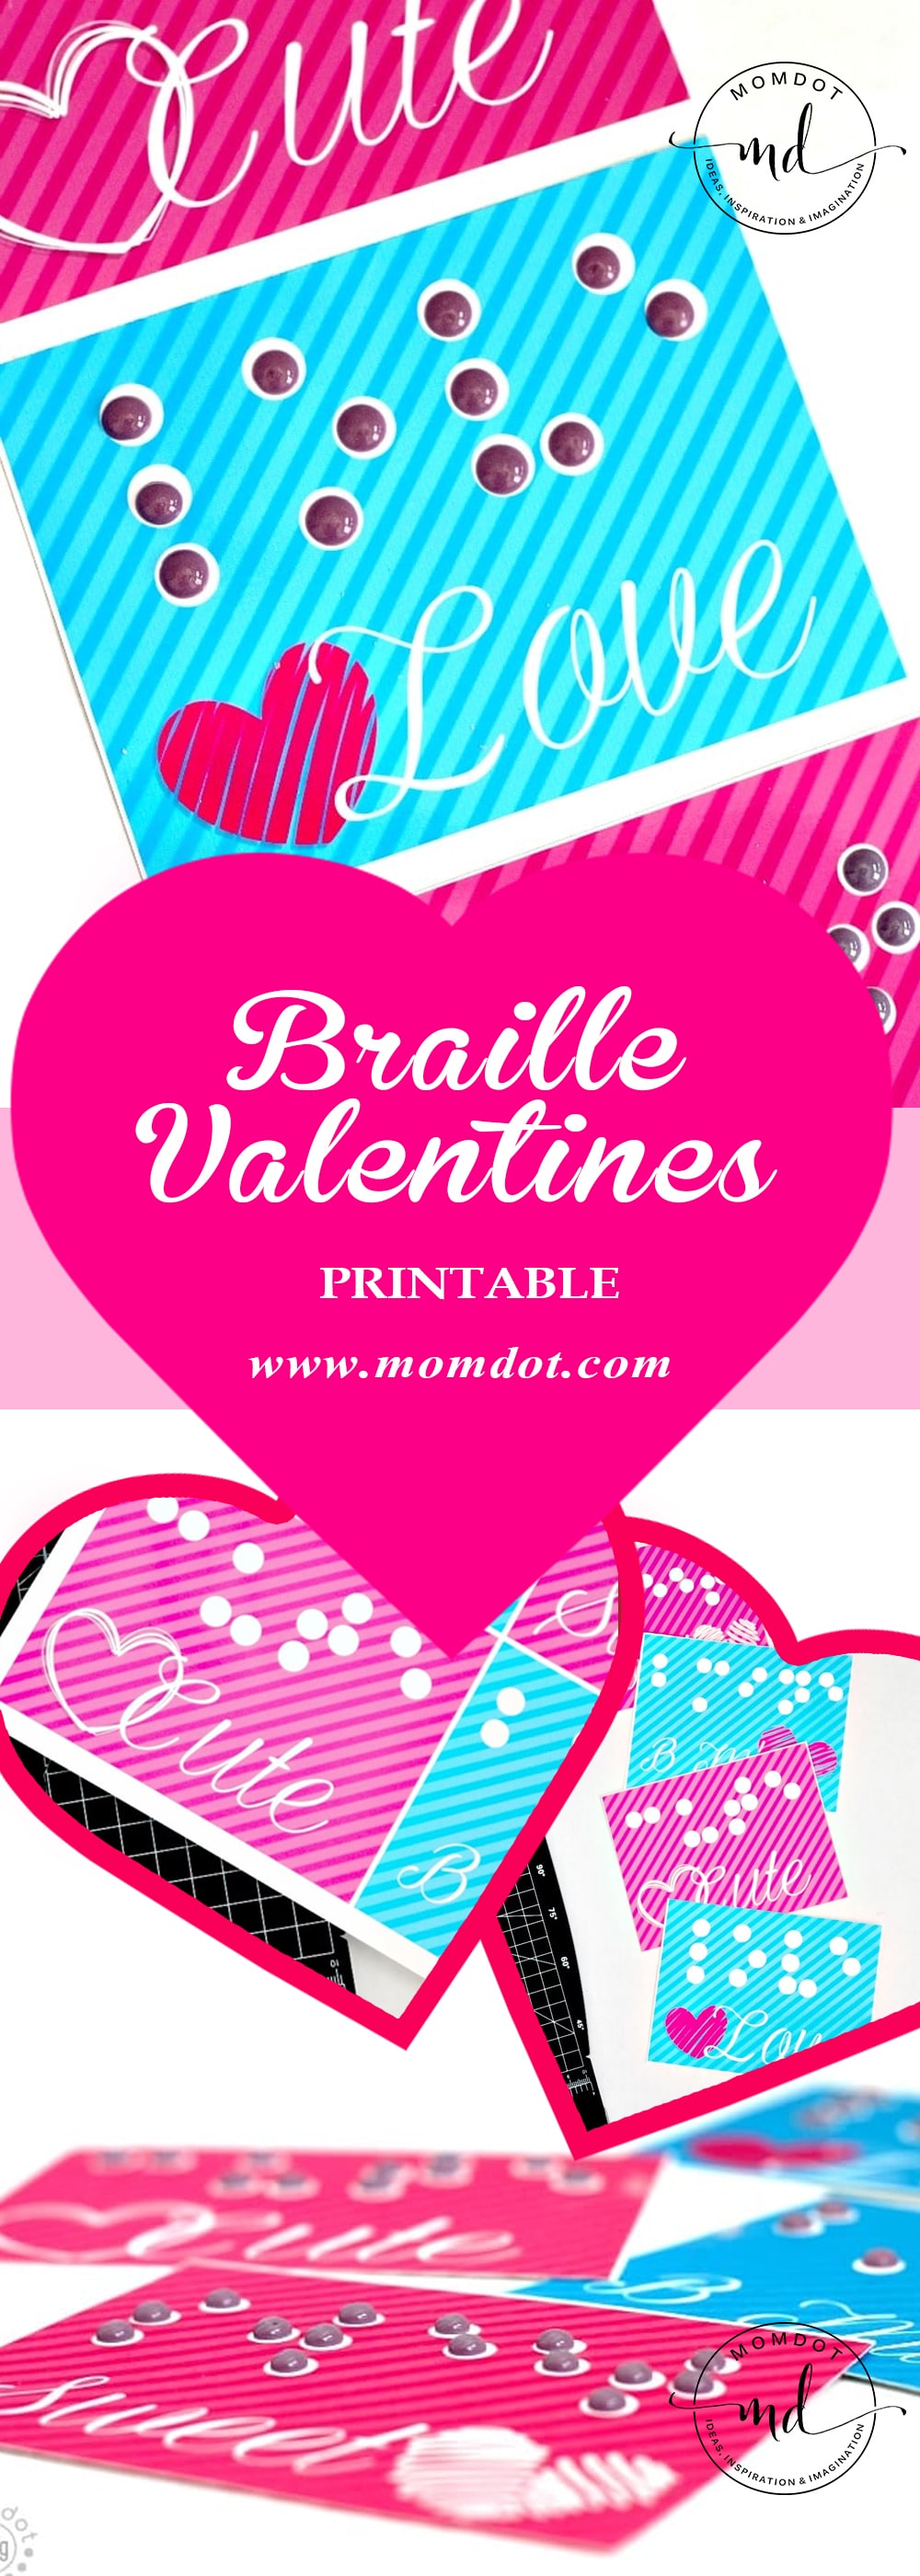
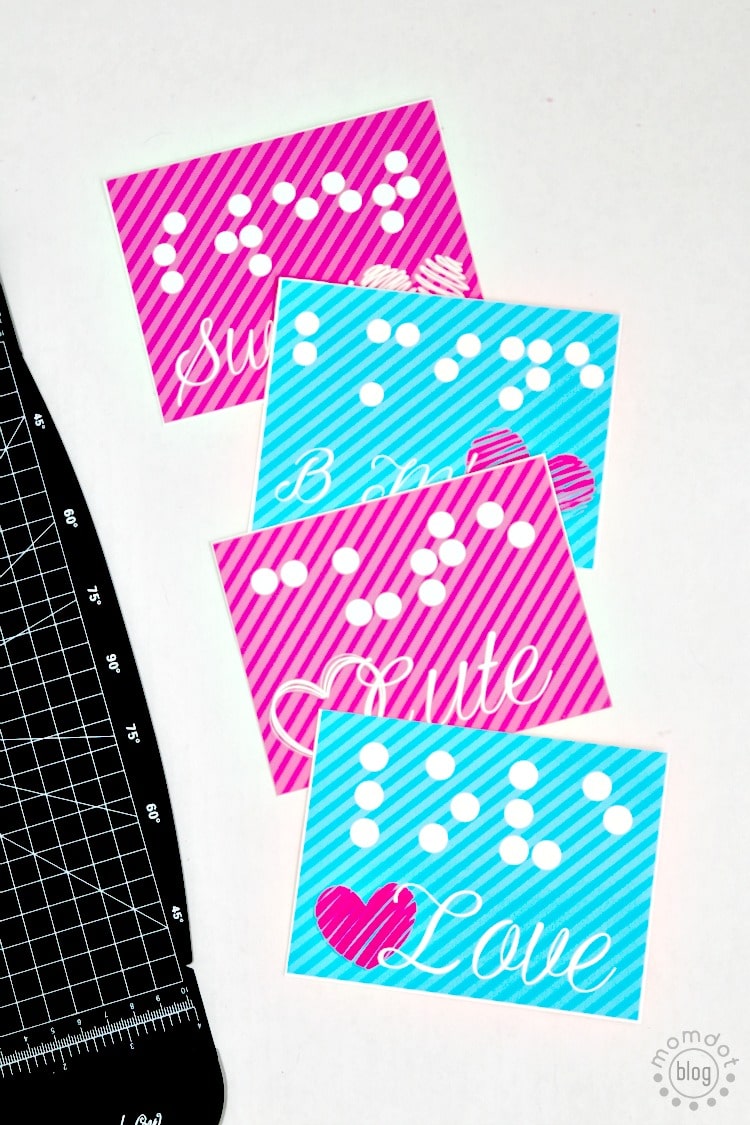
 A few weeks ago I shared these homemade candy button Valentines and someone on twitter from an organization for the visually impaired messaged and told me that the concept would be great for a braille valentine…and I was like….yes! Yes, it would! So I am really excited to share with you this FREE PRINTABLE I have been working on that you can use to pass out Valentines this year to kids you may know that have a vision impairment.
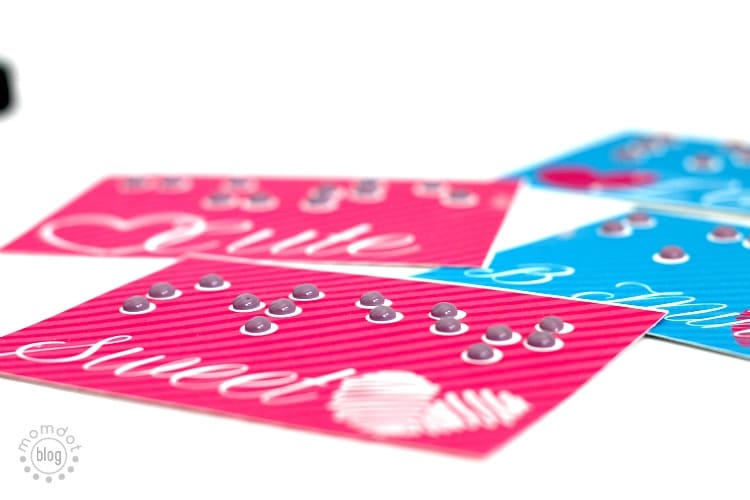
This is so easy to do. It took me only 5 minutes to print the sheet, take the small recipe list and whip up and then add the dots to the sheets to dry.
BRAILLE VALENTINE PRINTABLE
(color will depend on how you print it)Just print off this
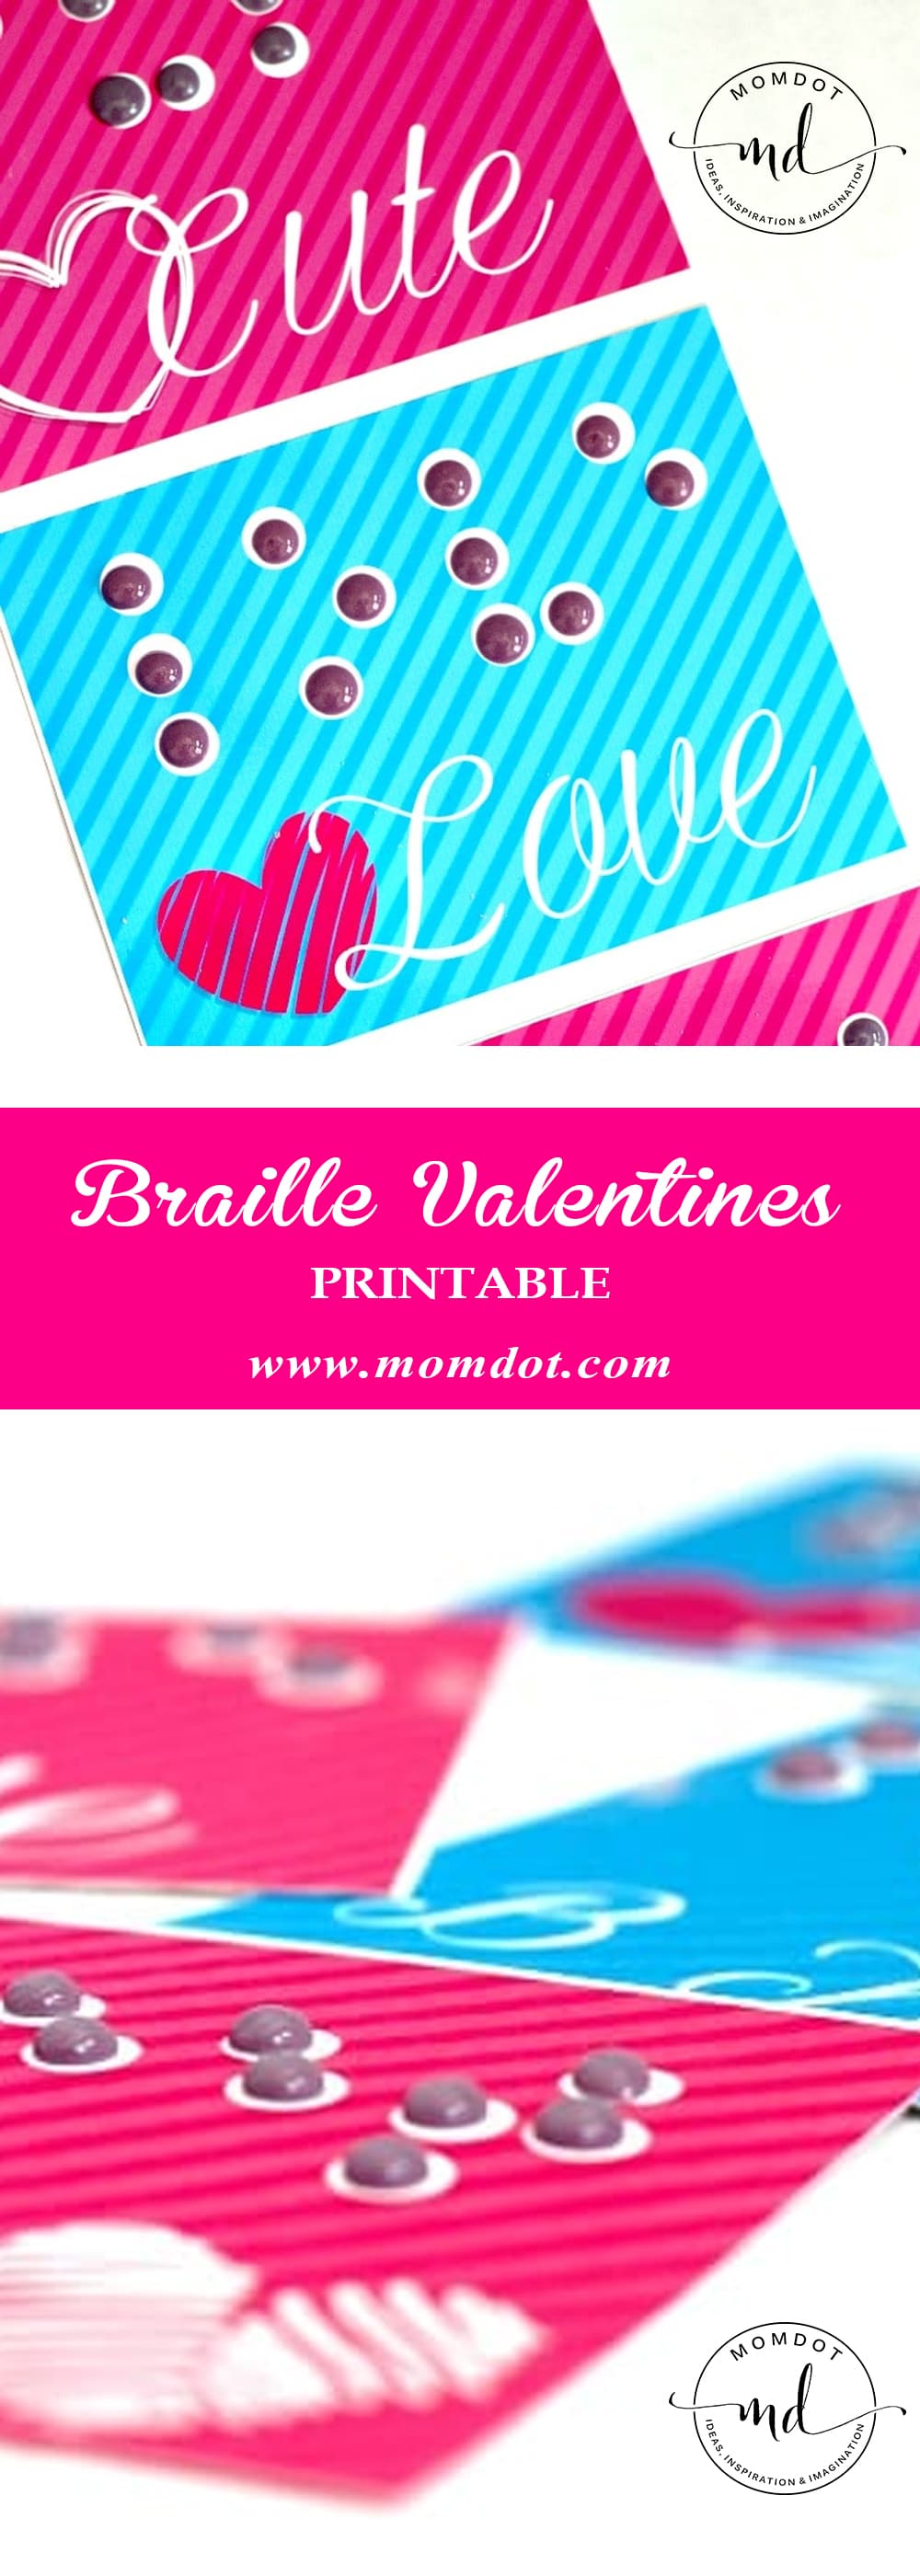
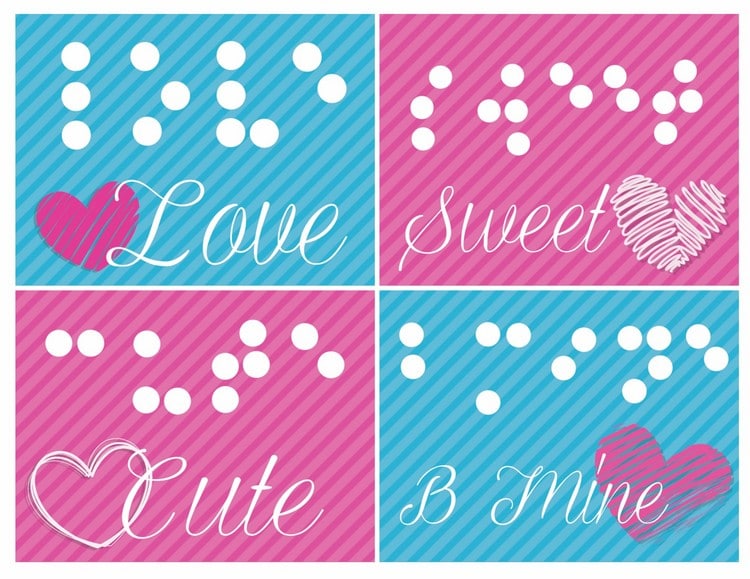
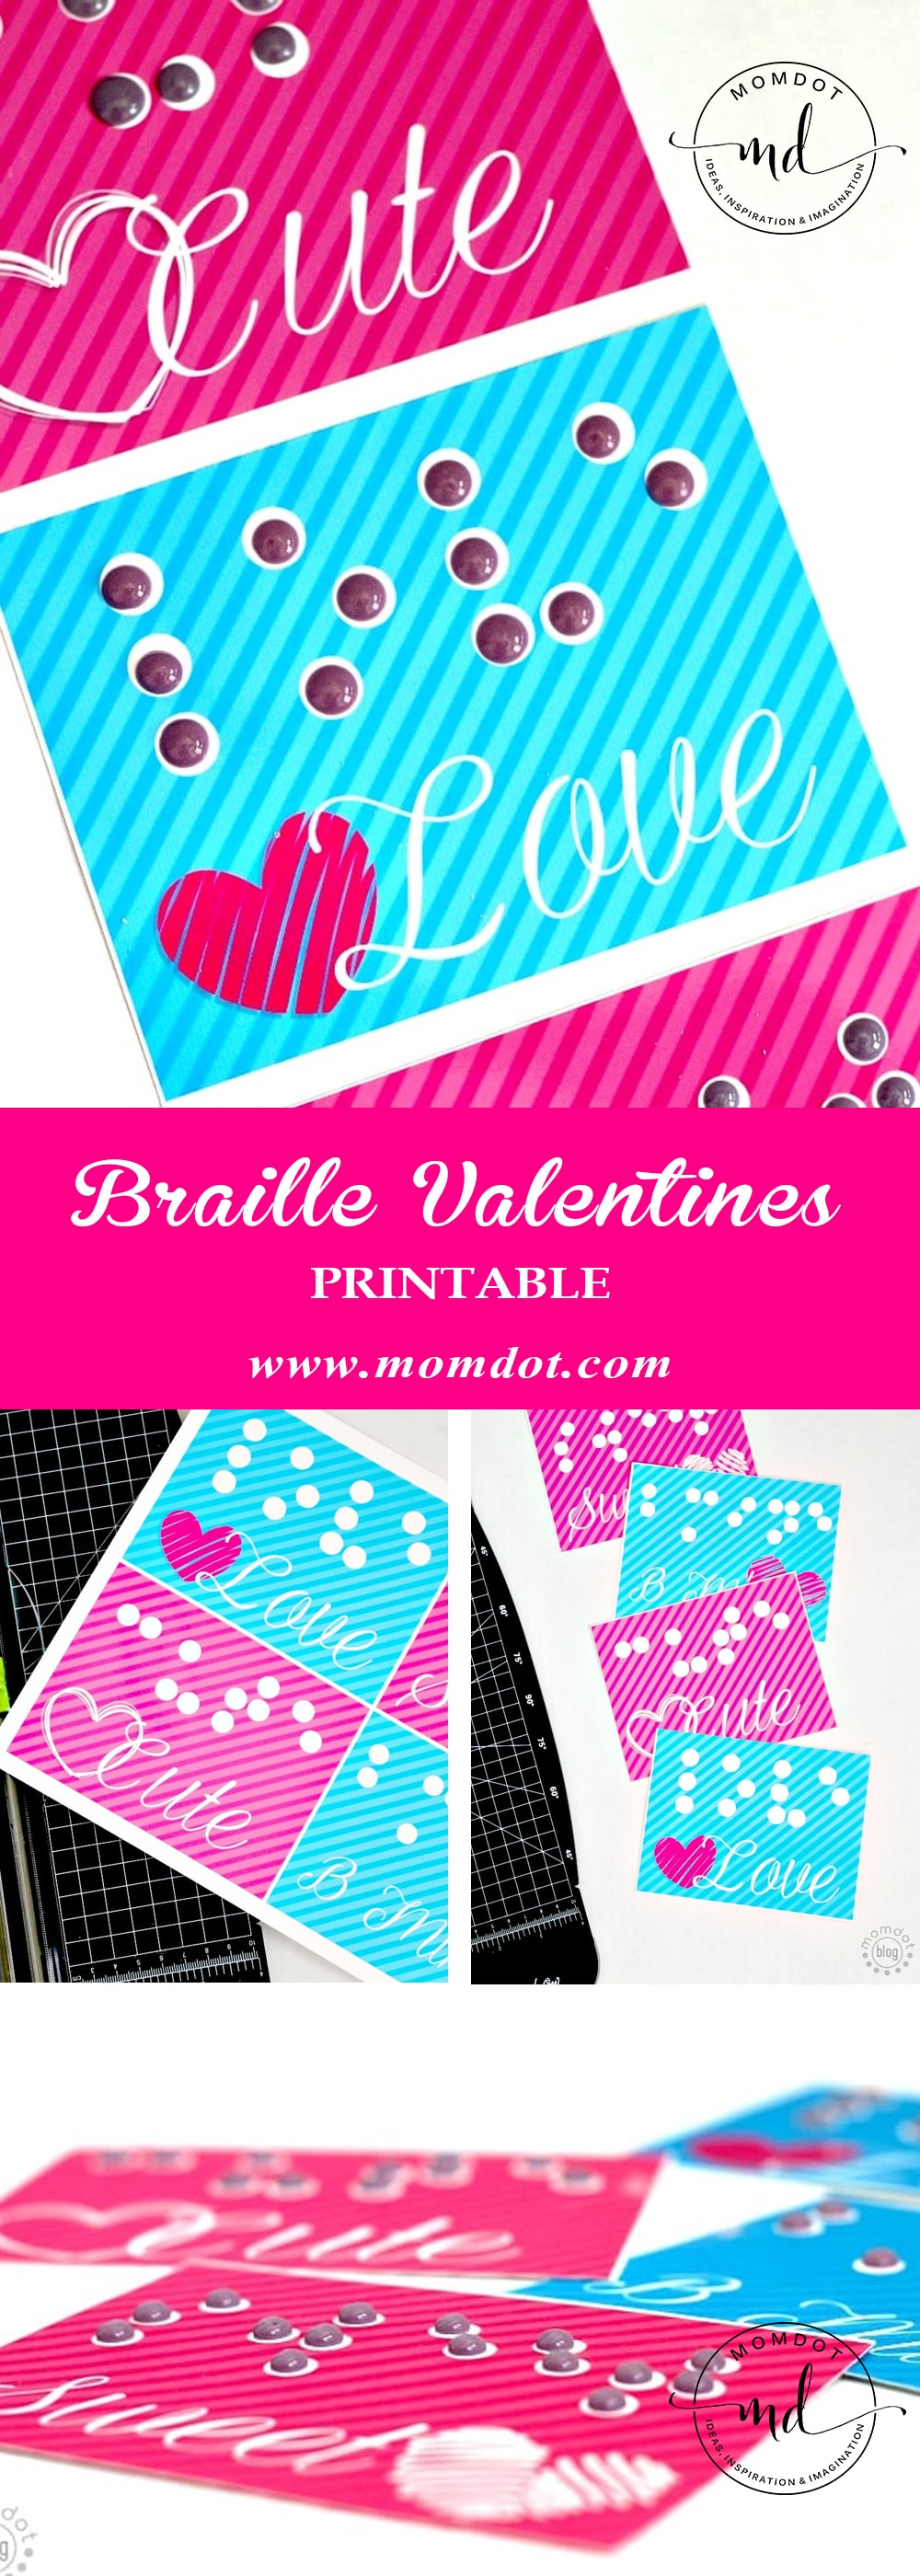
Just print off this FREE PRINTABLE sheet by clicking here, then use the recipe below to create candy dots that peel right off and can be enjoyed. The best part is the candy dots, when dried, spell special words so a child you know that may be vision impaired can enjoy Valentines day!
When I was making these, I accidentally spilled some dot sugar onto my hand and then I transferred it onto the sheets, so sorry for the messy creation!~ Either way, I hope you get the concept and they make someone in your life feel very loved this Sunday.
Recipe (batch for 2 sheets) – if you want a larger candy button recipe, you can go here to get the measurements.
- FREE PRINTABLE HERE
- 1 1/2 cups confectioners sugar
- 1 egg white
- 1 tsp water
- drop of extract
- food coloring (optional)
- Combine your egg whites and sugar in a mixer for approximately 1 minute.
- Once mixed, add your flavoring and 1 tsp of water to the mix. Now mix for about 30 seconds. I found a spatula made it easier to mix up in these smaller batches myself. Your sugar should start to get thicker. If it’s TOO thick, you can add additional water to the mixture but start slowly. Once your icing mixture is smooth and the right consistency, you can add food coloring.
- Add your candy button mix to a pastry bag and snip a TINY bit off bottom. TINY. Then use that to slowly put a dot of icing onto the pre-measured circles. Remember that the icing will expand, so just do a little at a time. It took about 2 dots to get the hang of just the right amount.


 Love these? Save them on Pinterest or pass them on!