How to make a flip book for your toddler, child, or even to keep as a memory. This easy to create flip book can be made in minutes at home and require nothing more than a little bit of time, some photos, and an idea. You can even make a flip book with leaves or flowers and just about anything that can be safely laminated. See below for a tutorial on how to get started.

This week I was tasked with the challenge to find a creative use for my Fellowes laminator . Pretty much, 900 things ran through my head. From laminating everything in the baby box (cards, bracelets, mementos) to keep them safe over the long years, to categorizing and laminating all of Charlotte’s drawings from Pre-K on that are sitting in a box gathering dust. Goodness knows they are starting to get some strain. But with P getting ready to be 1 year old next Thursday, I wanted to make him something that would not only be helpful to his growth and development, but also showcase the love our family has for him.
How to make a flip book for your toddler
What you need to create a flip book
- pictures
- Fellowes Laminator

- Lamination sheets for the size photo you are covering
- printer paper
- markers/pens
- ribbon
- hole punch

 for the size photo you are covering

Few things to note: When picking out lamination sheets, there are several kinds of ‘mil’. You usually only need 3mil , which is what I used here, for photos. If you are going to protect something larger or more long term, you may need to find stronger sheets to cover your photos. the “mil” is how thick the sheet is. My laminator machine
 does 3, 4, and 5 mil.

Instructions for your DIY Toddler Flip Book!
1) Print your pictures! I ran to the store this morning and printed pictures right on a machine that spits them out immediately. They were 25cent a print and looked pretty nice. It’s hard to remember since we do things so much digitally to get this done, but its smart to print your photos monthly or put them in a photo book. If you ever lose your computer or digital files you will have wished you did this! I have a computer under my desk that was hit by a virus in June and I can only pray that the photos will be recoverable.
2) Decide the type of book you are making. I made two kinds. In one book I wrote a little story and included family photos:
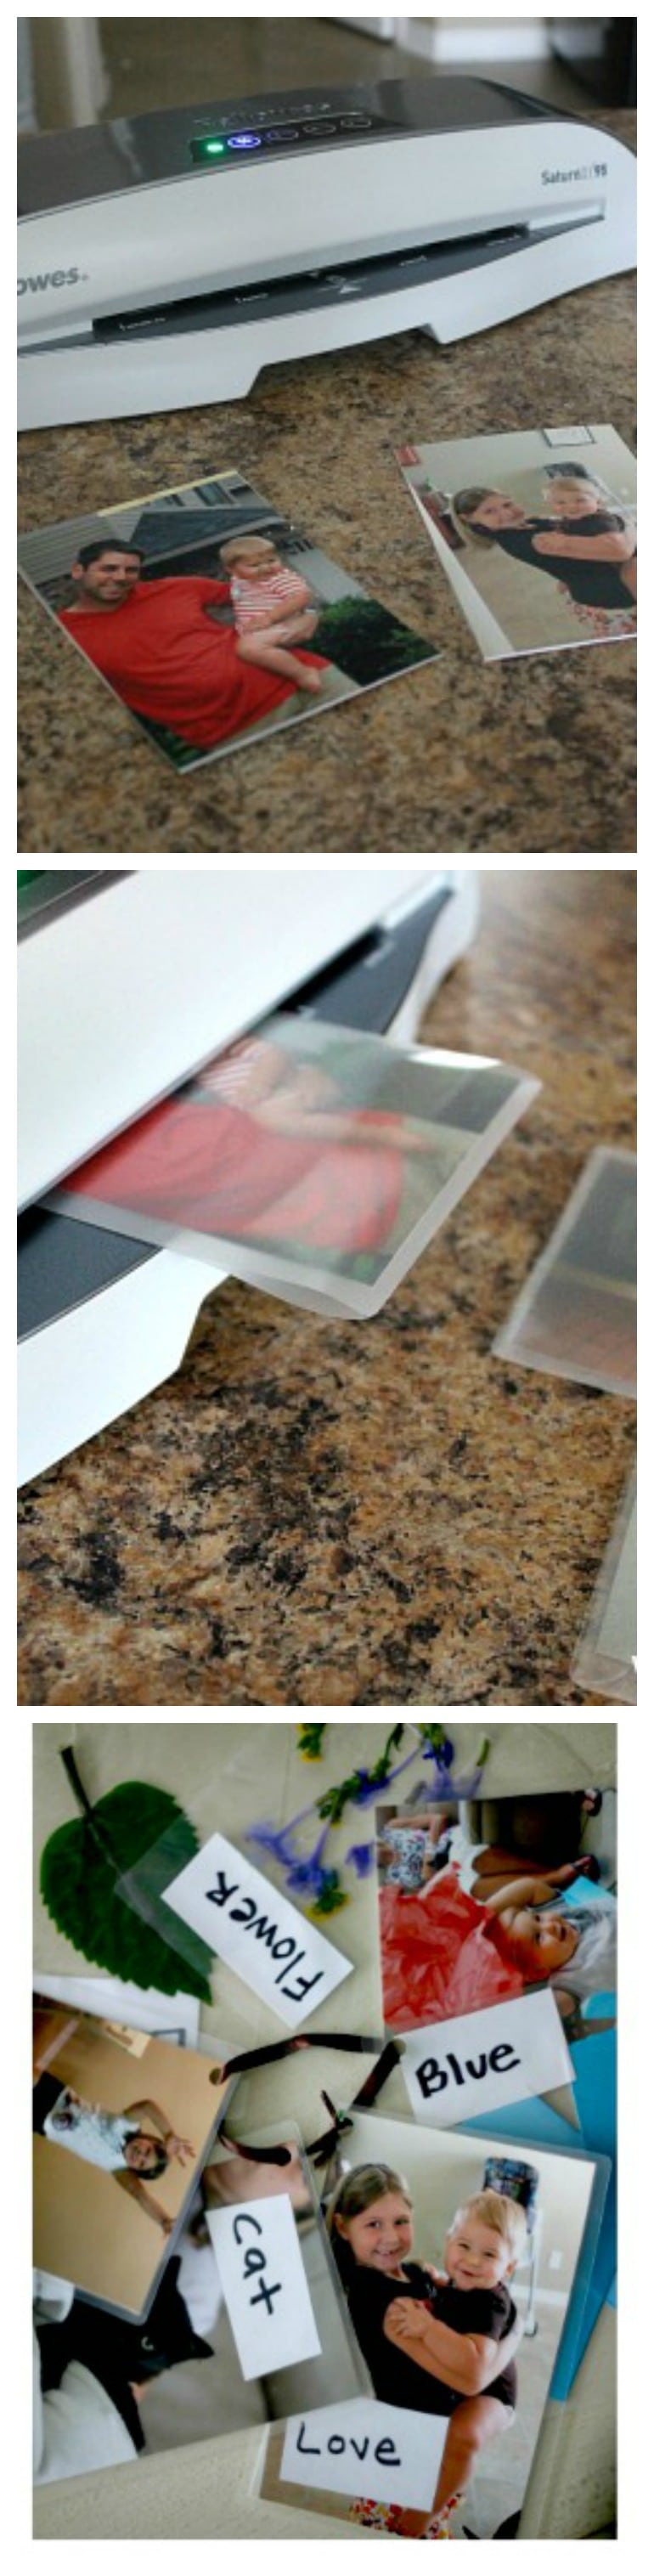
in the other, I created more flash cards with words to read to Phoenyx.

In this instance below, I added a leaf and laminated it. I was able to do this with several outdoor items including flowers, grass, and types of leaves. Because the item is more raised than a flat photo, I ran it through once and then turned it around and ran it through again in the opposite direction. (top to bottom, than bottom to top to seal it)

3) The lamination is easy.
Just insert your pictures between the lamination pages.

Then put through the machine.

In seconds, it spits out the other side ready for what ever baby drool your toddler wants to put on it.

4) Use a hole punch to put a hole in the corner of each sheet you created.
4) You can either use a loose ribbon to secure the pages together or purchase a key ring for long term use. I had ribbon available, so I chose that route and double knotted the ribbon.
Book complete!
If you don’t have a lamination machine and need one (there really are a million uses for one…and truth be told, its super fun to laminate), grab one on amazon.
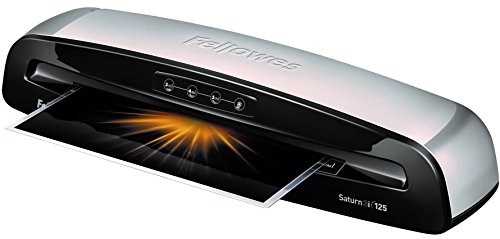
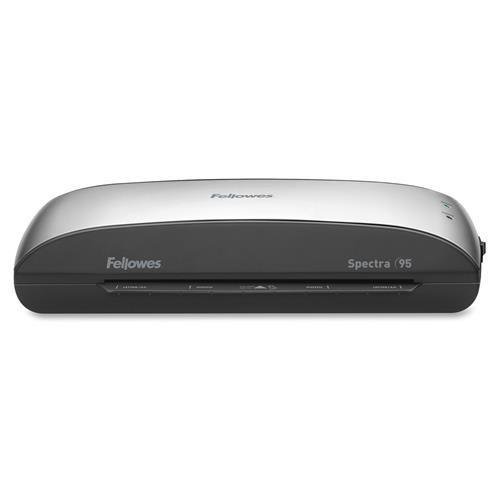
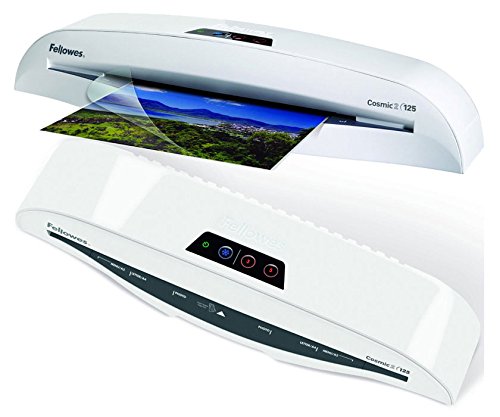
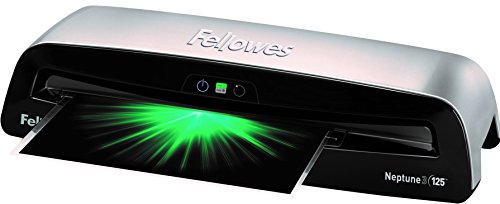
Fellowes Laminator Saturn3i 125, 12.5 inch, Rapid 5738201 Fellowes Spectra 95 Laminator – 9.50Fellowes Cosmic2 125 Laminator with Pouch StarterFellowes Laminator Neptune 3 125, Rapid 1
Don’t stop there!
As your child ages, you can add more pictures with advanced words, additional family members, or even create a book that includes pictures that represent every part of the alphabet!


The family book reads:
My family book.
This is my sister.
(pictures)
My family loves me!
This is my mom.
(pictures)
This is my dad.
(pictures)
My family loves me!
This is me.
(pictures)
I am amazing! I love my family!

Very cute idea! I had a blast with my laminator today making all sorts of stuff. Everything from a recipe ring, chore charts, meal plans, preserving Danika’s art work and making Aiden an Allergy Alert kit. It was addicting lol.
When you punch the holes through does it later bubble up at all? Would it be better to punch the hole only through the tip that has no picture or paper in between in? Does that make sense? I won a laminator a year ago and have never used it. Looks like I’m dusting off the box in the morning! Great ideas!
Well I just made it yesterday but I imagine that if you seal it really good that it wont. Mine didnt move at all its so tight. You could punch a hole and THEN run it through, then it would seal the edges.
Ok thanks!! I’m going to try it later today.
I actually had a laminating machine that just gave out a couple of months ago. I’ve been looking at all the back to school specials to replace it. I used mine for EVERYTHING! Personal, home, business and gift giving. I need to find a replacement by October so I can get started on my Christmas gifts. Especially since my girls are in school I can add teacher gifts to the let! 😀
I think $30 off is a good deal!
I love the book idea I want to laminate the things Aiden learns this year 🙂
yeah laminating is kinda addictive. I was walking around the house looking for stuff.
I made a flip book for Zoe when she was 1 with sight words, it worked really well! Great photo book Trisha.
That is such a smart idea. I was just thinking that I should make some flashcards for Emma since the preschool wouldn’t accept her this year. I may have to get one of these for a little homeschooling.
That’s awesome!! I LOVE the book! The laminator looks really easy to use, too.
you know, it really was. Once it warms up, the papers just slide in and it comes out down. Charlotte could do it.
Love, love, love, love this… LOVE THIS!
yeah! thankyou!! I had a ton of fun making it. I swear I walked around wondering what else I could laminate. I am going to do a whole book of the alphabet with personal pictures next. “A is for Aunt…” etc.
This is a GREAT idea! I’d rather use personal pics for flip books and I think they little ones will enjoy that more.
You sure made some beautiful things – and I hope you found more to laminate (run Chris!).