I should honestly name this How to NOT make a Ribbon Rosette, because I made about 4 million mistakes before I found something that would qualify in the category of “working”. After all these mistakes, which undoubtedly you have been there if you found this post, i thought it would be beneficial to share what didn’t work (atleast for me), but perhaps inspire you to try a new direction.
Here are my attempts to make a variety of Rosettes, although if you want a simpler craft, you can try my how to make a tutu instead! Working with tulle was so much easier than ribbon. HA!
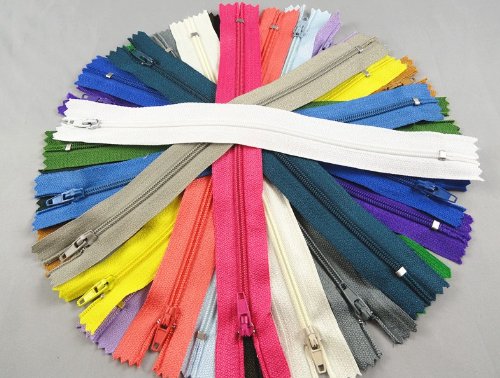
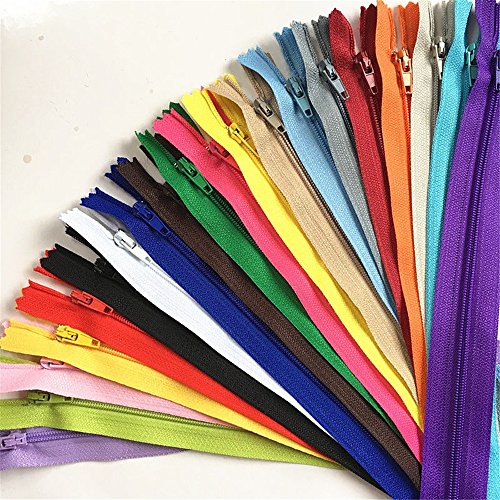
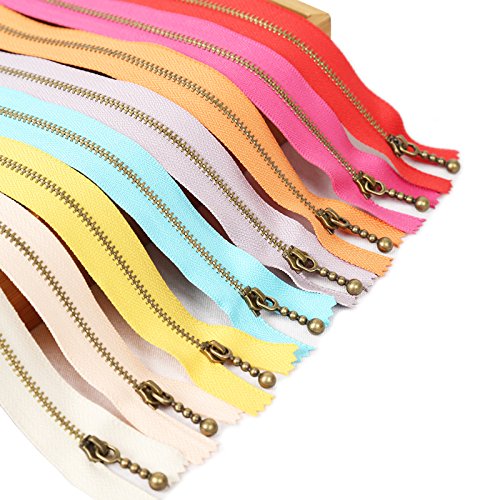
GET A VARIETY OF COLORED ZIPPERS FOR THIS CRAFT!
YAKA 54pcmix Nylon Coil Zippers Tailor Sewer WKXFJJWZC 60Pcs 30cm (12Inch) Nylon Coil ZippersAssorted Zippers 10 Pcs – Nylon Coil
How to make a Zipper Rosette
Materials:
- Floral Wire

- Zipper
- Hot Glue


Step #1: This step is going to be firm with all the Rosettes you make. After the obvious of cutting the zipper in half, you will begin by securing an end piece to your wire and begin wrapping.
Step #2: Wrap the zipper around, dotting at the baseline, gather and stick. This is where I went wrong. My zipper was WAY too small and I ran out of length before I even had a rose.
Step #3: I took the remainder zipper size and began looping a figure eight around it to make petals. This gave me a half a flower. So there you have it….Half Flower Zipper Rosette.
*cough*

#Poor Preparation FAIL
———————————————
How to make Grosgrain Ribbon Flower Rosette Thing
My next thoughts were that I had massive amounts of grosgrain ribbon and how I could put it to usage making a Rosette. Grosgrain is very stiff ribbon, but its also bulky when you are talking about a soft petaled flower, so I was unsure how it was going to work.
Materials Used
- 7/8th inch grosgrain
- Floral Wire
- Hot Glue
Step #1: Same theory. You have to fold it and start it on the wire, then start wrapping.
Step #2: Instead of just doing a straight wrap around, I decided to pink together some of the ribbon in lengths of about 1.5 inches so when I folded the petals I had a flat surface to hot glue back onto the flower. I also thought this would make my petals a lot more even.
Notsomuch.

(I showed some flowers at the end which I did NOT make because I thought you could cut those and include on the center of your flower as seen below)

(don’t worry, I wont subject her to Kindergarten humiliation with this flower)
#All Kinds of Messed Up Fail
————————————–
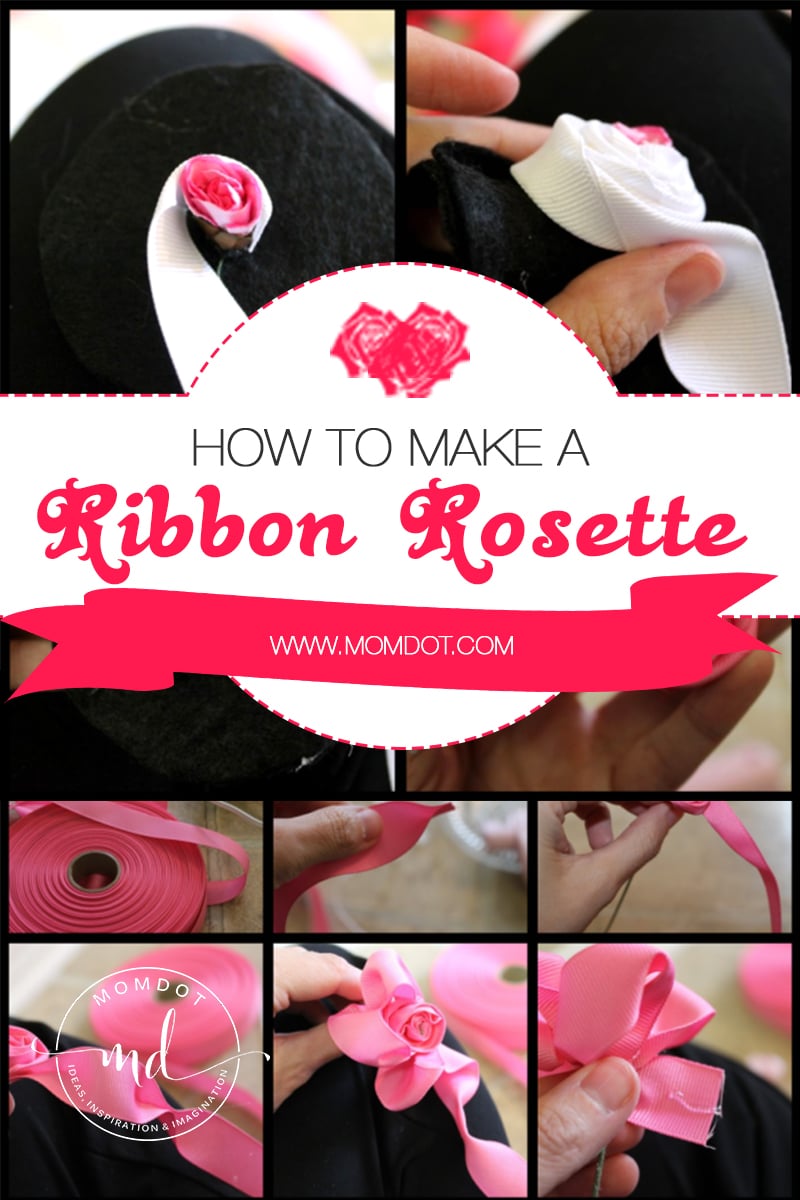
How to make a Silk Ribbon Rosette
At this point, not ready to be defeated by a piece of ribbon, I decided to wrap the ribbon the way a floral expert would. That means no hot glue…just fold and wrap, fold and wrap. At the end you are supposed to secure it with ribbon (or wrap a thread) at the bottom.
I imagine this works really well with ribbon that has silk and acetate as part of its ingredients, but not on straight silk 1.5 inch ribbon like I attempted. It kept coming unraveled no matter how hard I held onto it.

That’s as far as I got.
#Too Hard for my Fingers to Hold Onto FAIL
——————————————–
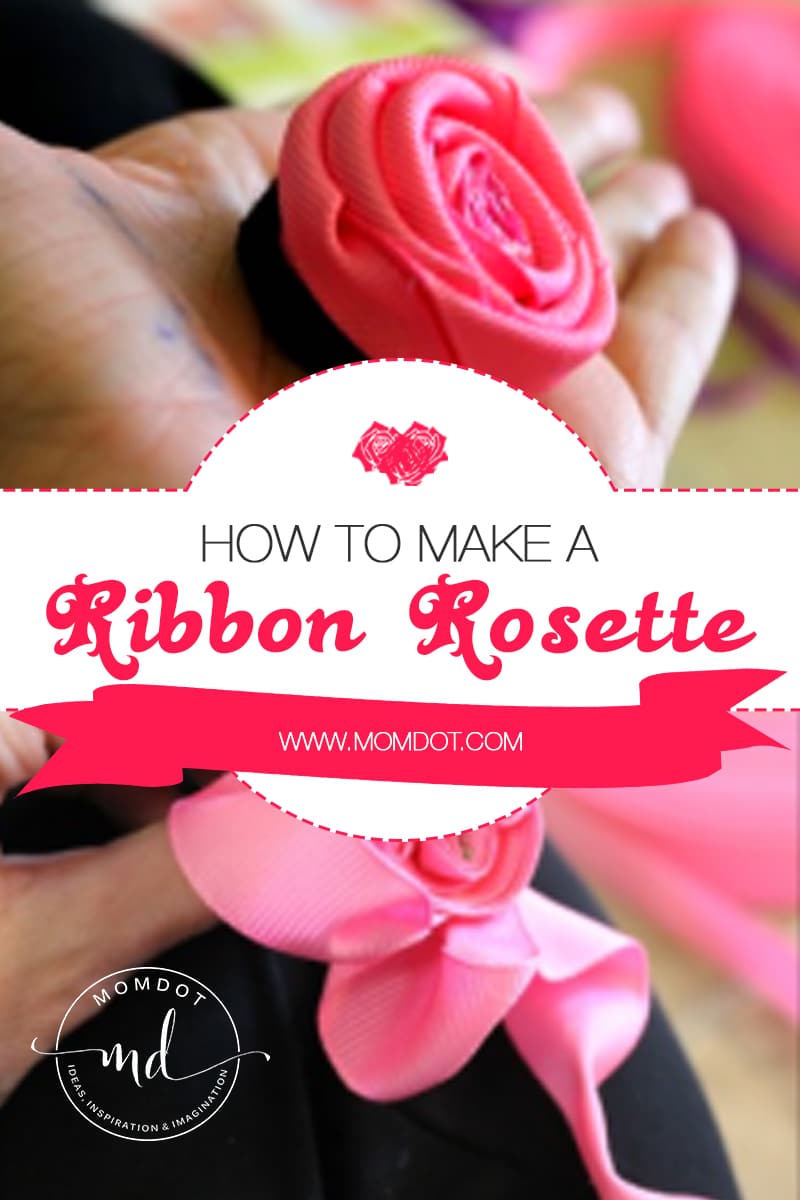
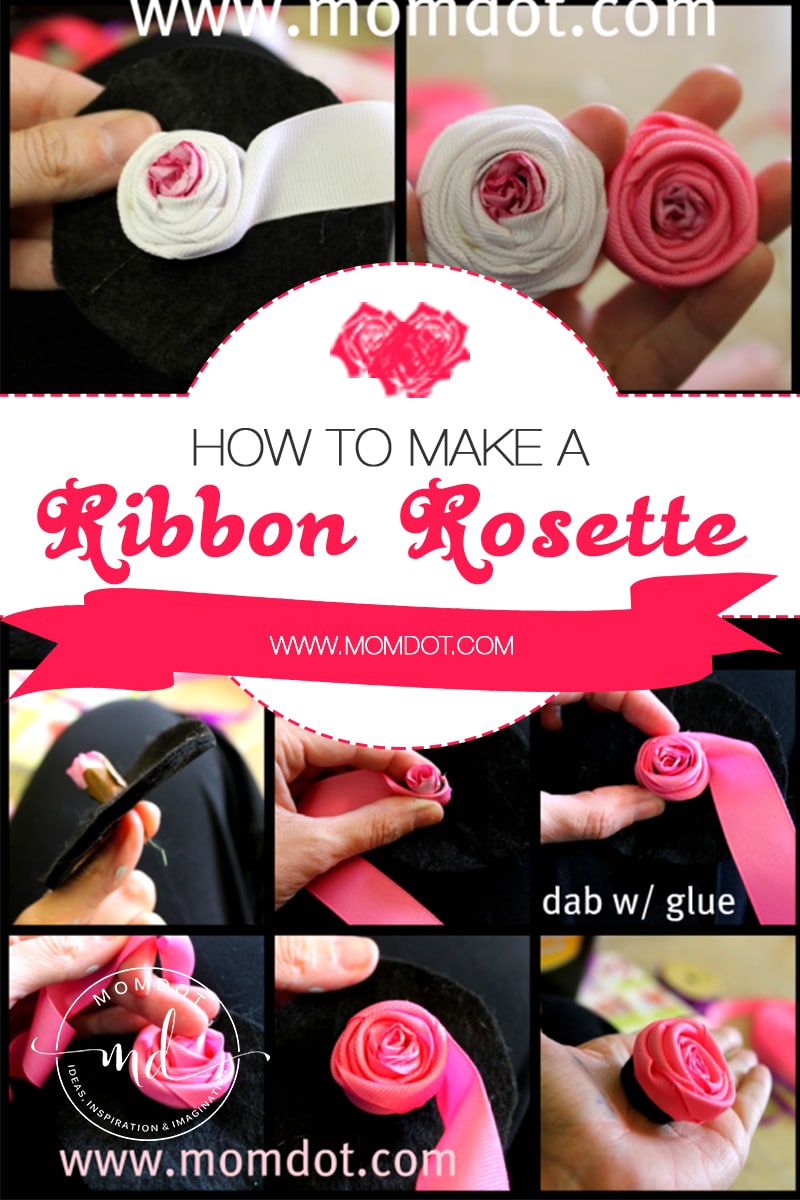
But I am done showing you the fails. I actually had one #success today. Its basically how to make a ribbon rosette that would be good for a headband or hairbow.
No Sew Ribbon Rosette Tutorial
Supplies needed:
- Felt
- Ribbon
- Button, Flower, or other centerpiece
- pen + cup
- Patience
Step #1: I used a cup to define two pieces of felt, traced, and cut out. Then I hot glued the 2 pieces of felt together. I wanted to have a good firm base.
Step #2: I decided that instead of creating a center, I would use something that was already together as the middle. I had some flowers on hand, so I used those and hot glued a flower to the center of my felt.
I was accomplished. Nothing was falling apart yet.
Step #3: Starting my ribbon on the flower, I hot glued the first piece to the flower and began twisting and wrapping, twisting and wrapping and kept going and going and going until I got a size I wanted.
Then I cut the base and the ribbon, secured, and Voila!

#WIN WIN WIN!
Depending on how tight you twist and wrap, you can really dictate the shape of the flower as you go. As you can see all three of my flowers turned out differently depending on how loose or tight I wrapped and how much twisting or folding I did on the ribbon. I also secured with hot glue as I went because I did not want to take the risk of it coming undone.
 (two!!)
Once I had three flowers done, I hot glued side by side and then hot glued the bottom felt to a French Clip Barrette.

So that might have been tutorial overkill, but atleast you know I am just like you…trial and error. As I come up with new ways (and easier ones!) to do this, Ill update this post. A friend of mine also did a tutorial on rosettes and included a rosette video! Head on over for some visual learning…..
In the mean time, feel free to check out some other tutorials…that are a lot easier to do…I promise.
- 3D Outside Art Projects
- How to make a Crayon Roll
- How to make a fairy wand
- How to make a hairbow holder
- How to make a mini hat
- How to make a purse
- How to make a Tutu
- How to make a tutu for your Barbie
- How to make Christmas HairBow Holder
- How to start an online boutique
- How to Tie Dye a Shirt
Good luck~!
Want some other crafts before you go? Try my Unicorn Poop Cupcake Cones

Really cute!! Don’t say it failed!! Here is a quote by Thomas Edison when he was asked about failing to make a light bulb work: “I have not failed 1000 times. I have not failed once. I have succeeded in proving that those 1000 ways will not work. When I have eliminated the ways that will not work, I will find the way that will work.”
🙂
-thanks for the tutorial!!!
You are so good at all these crafts! I wish I could do half the stuff you do. I love the last one. Great job Trisha!
Kas
Some of these turned out really nice. Thanks for putting up with all the failures so you could share the successes with us.
Very cute! I would NEVER have the patience to do this though. My foot would be tapping soooo hard on the floor and I would need to get up and move! LOL.
OMG that is too funny. i would just have went to the store and bought one….i’m not crafty at all
Those are cute! If i tried they’d turn out looking like a potato.
Very super cute! Thanks for the tutorial!
I’ve never tried a zipper rose!! Super cute : )
Super tutorial! Now, I need to get myself to a Hobby Lobby store!
WOW! I love the last one. So cute. I also love that you can go with three different colors. i may have to try my hand at making some hair bows for Lexi. You inspire me, but I also know how easy you make things look lol, so I won’t get my hopes up!
I love that you show the fails – so helpful and it makes me feel better about my sometimes not quite successful attempts – maybe I will post on my recent chair covering with a staple gun and a tablecloth!
Thanks for the great share – the last barrette is super cute.
GREAT tutorial! I’ve always wanted to make these! Thanks SO much!
RJ
Oooh love. I would love the last one on a headband for me, but sadly I have NO crafty blood in my veins. None. At. All.