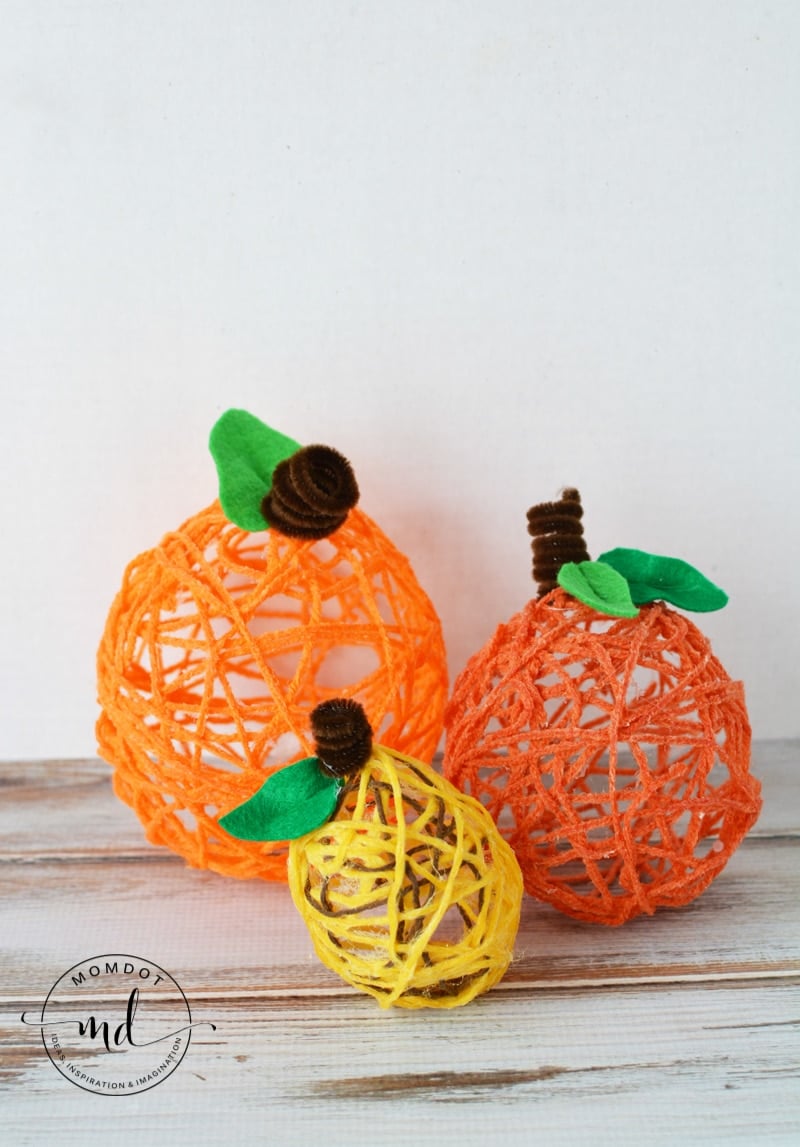
If you want to know how to make yarn pumpkins with balloons, you’re in the right place. All you need is yarn, glue, and small balloons to get started! These lacey yarn pumpkins can be as simple or as elaborate as you like. I did it with kids, so ours are simple.
Holidays are so super fun when it comes to crafting, so do not miss out on this Cat Ears DIY as well! My daughter wears them all year.
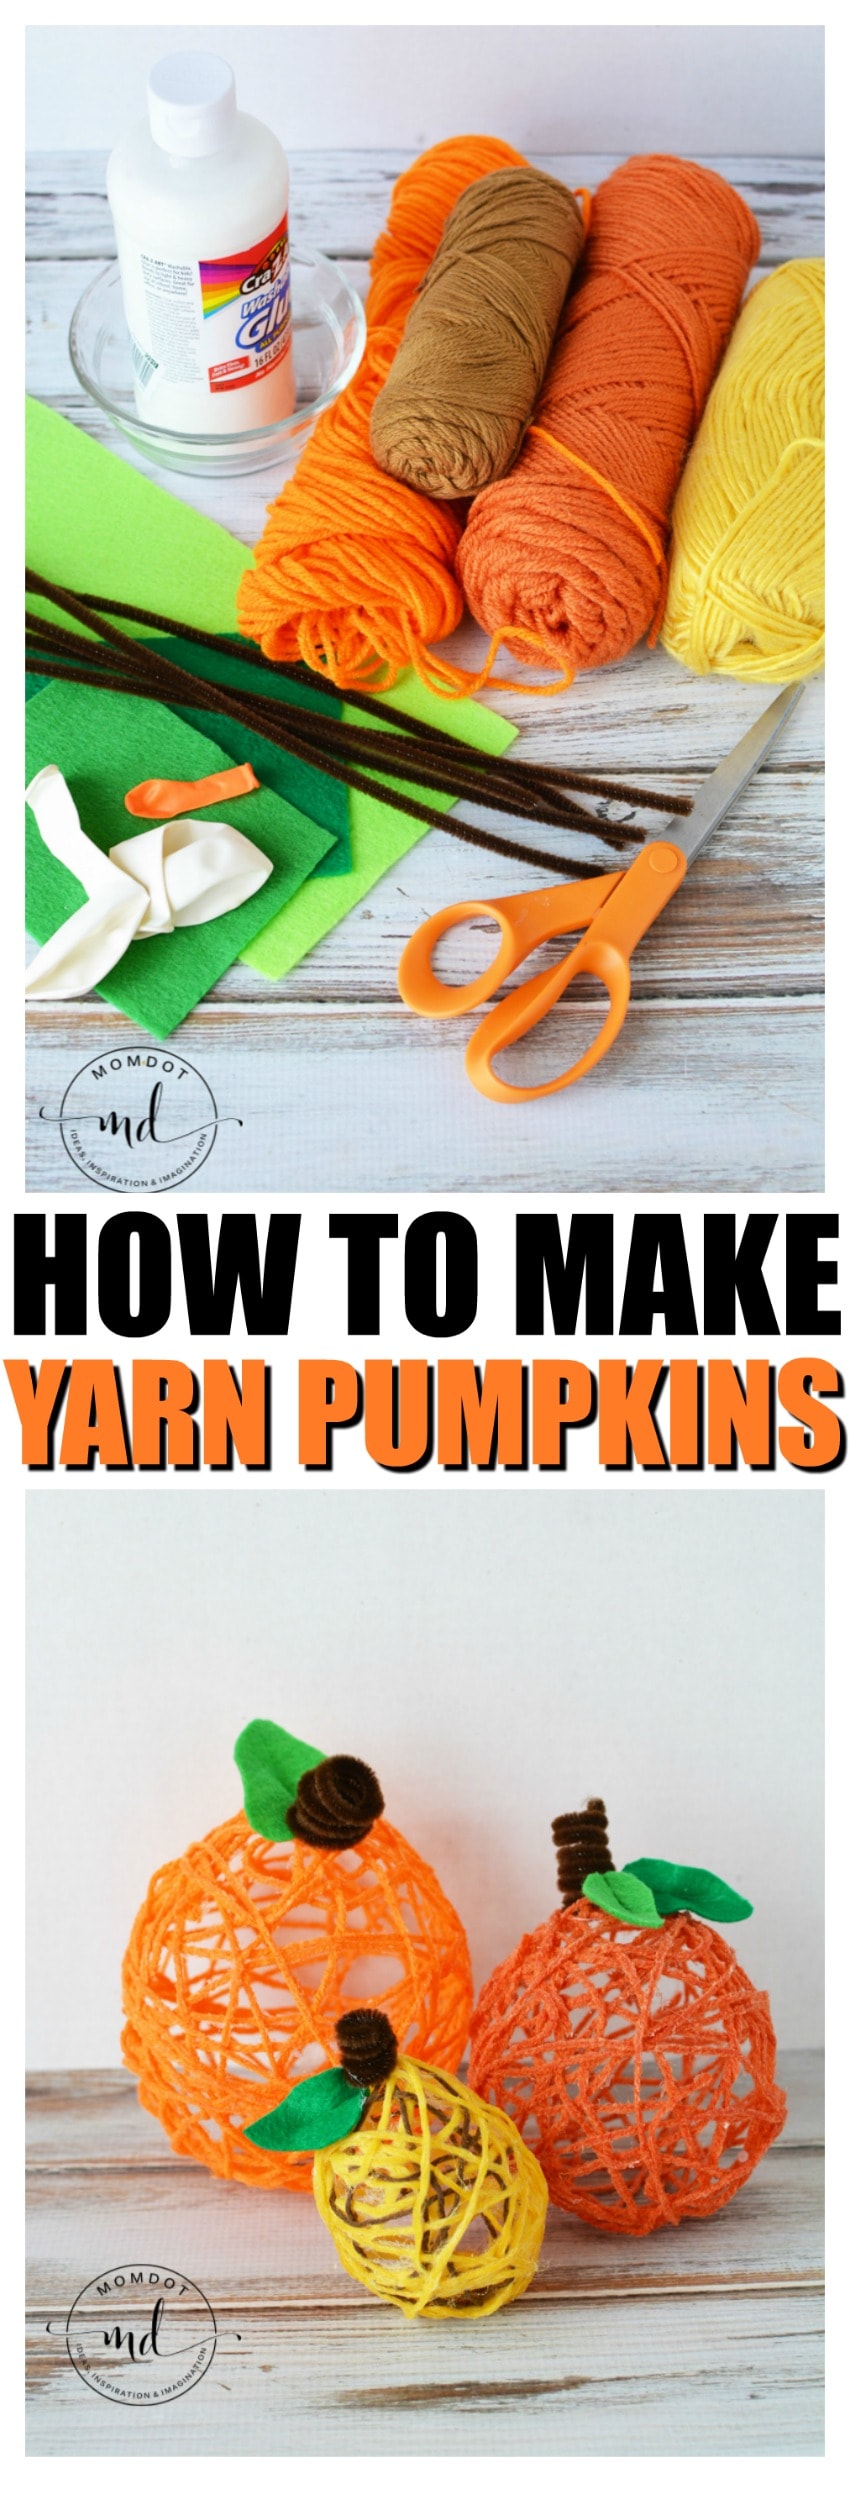
How To Make Yarn Pumpkins With Balloons
Materials for your yarn pumpkins:
- Balloons
 (regular and water balloons)
 - White Glue
- Yarn
- Scissors
- Wax Paper
- Small Glass Bowls, optional
 (regular and water balloons)


 s, optional
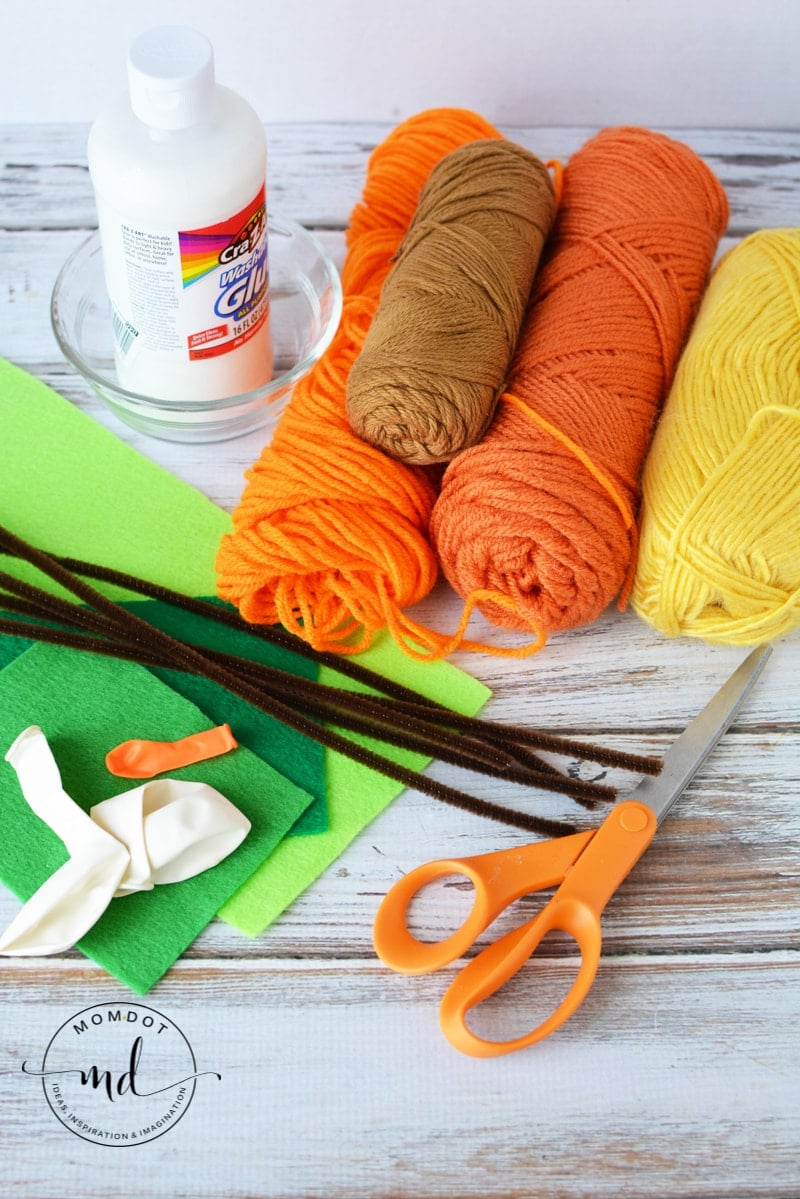
Directions for Making Yarn Pumpkins
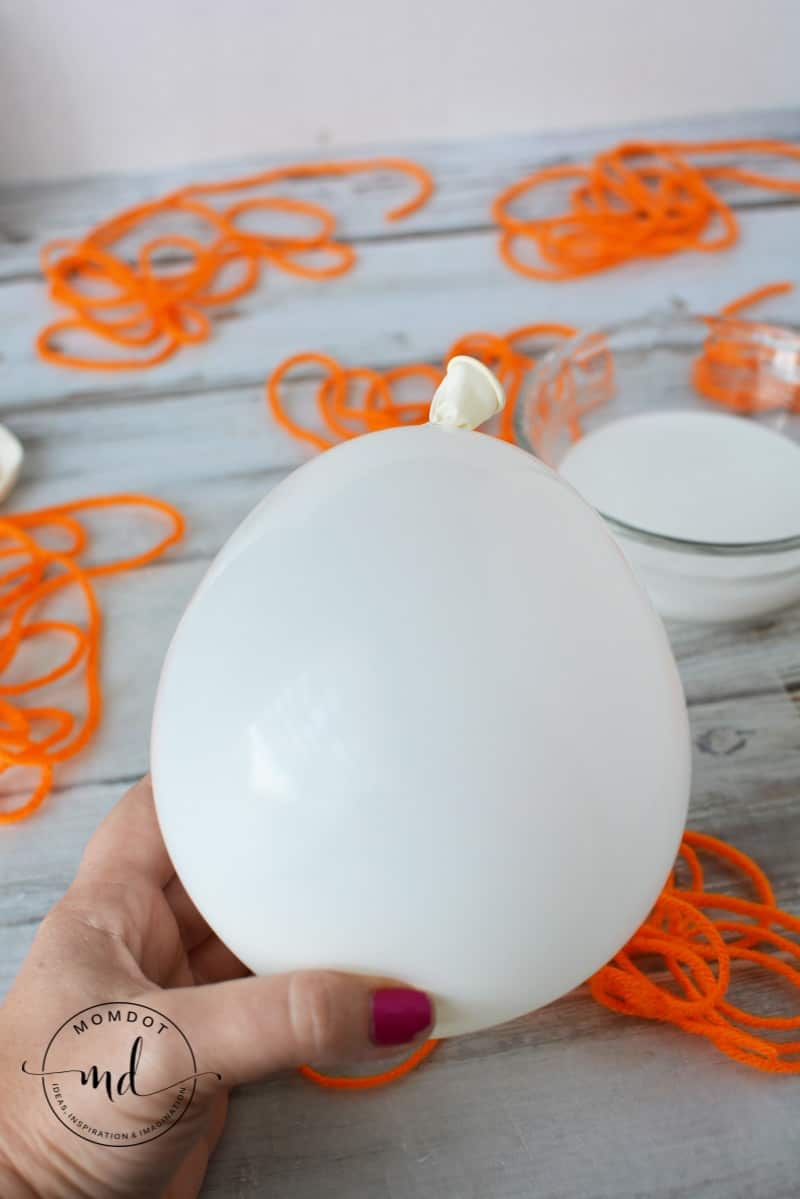
Blow up a balloon to the desired size and tie the end.
Protect a flat surface with wax paper .
.
Cut about 16-20 pieces of yarn the length of your arm (from your shoulder to your wrist, roughly. Lay the pieces individually on the table. Do not stack one on top of the other.
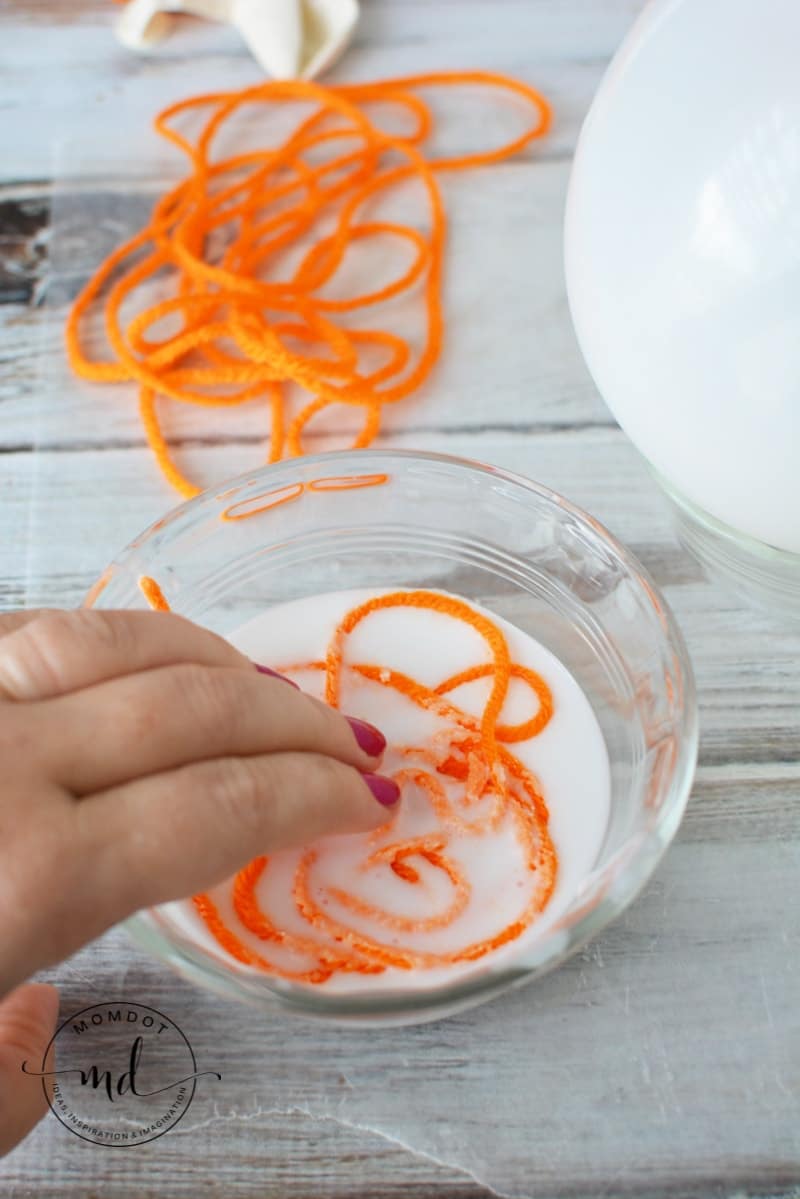
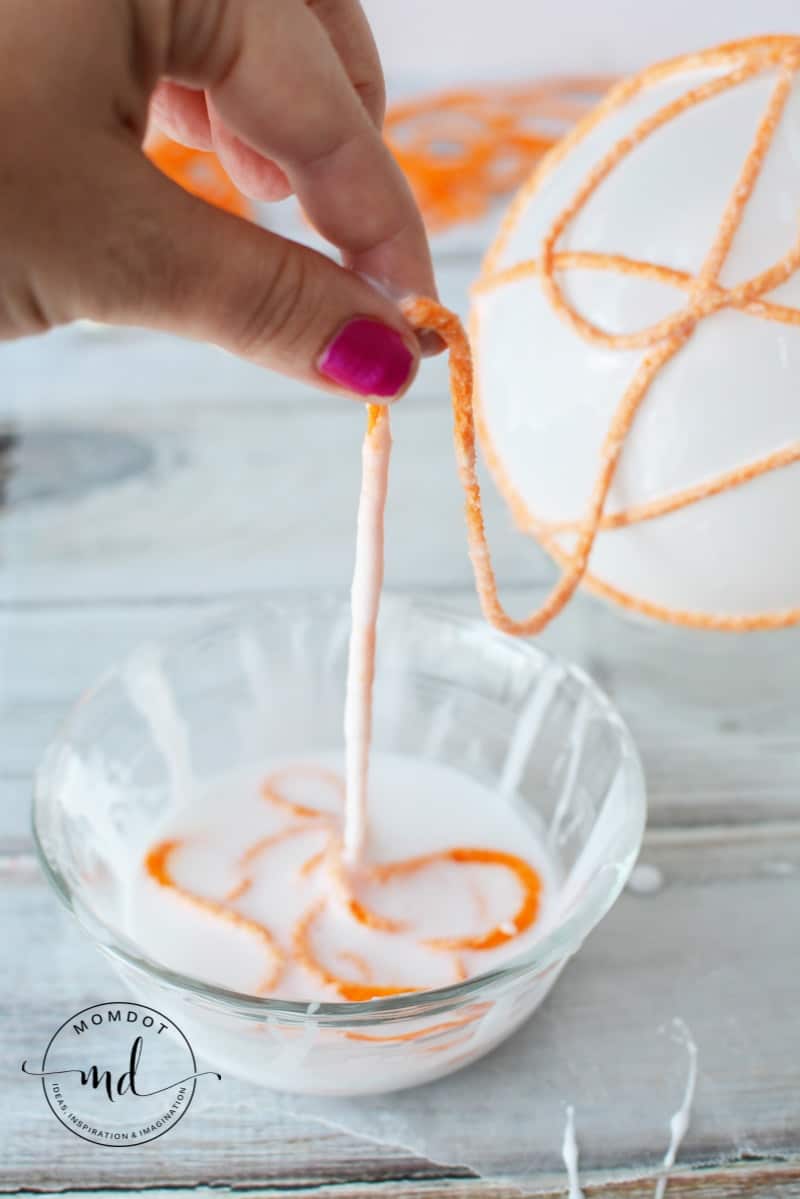
Place some glue into a small container and dip one piece of yarn into the glue. Press into the glue to coat all sides.
Grab the end of the yarn and pull it out of the glue. As you pull it out of the glue with one hand, gently place your thumb and forefinger of your other hand between the yarn. Pull the yarn with the other hand so you are wiping away some of the excess glue.
I didn’t squeeze out any glue, just wiped it away.
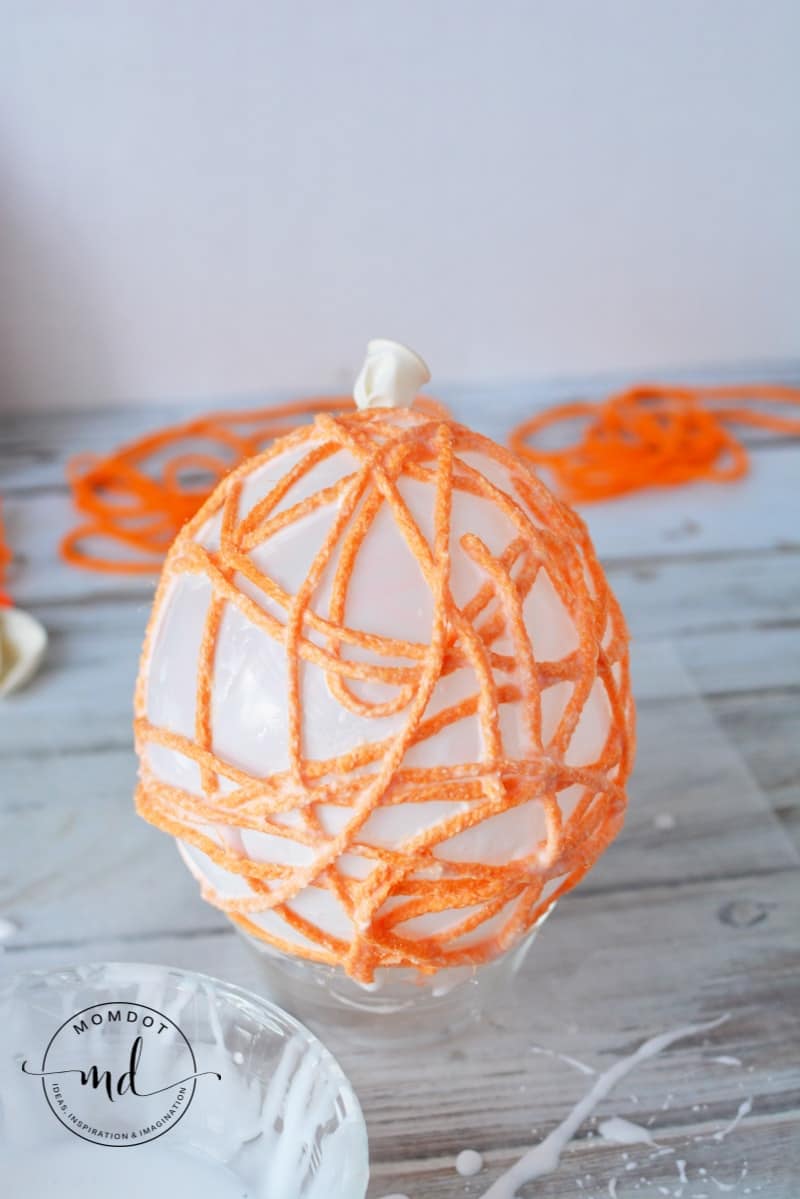
Lay your yarn onto the balloon crisscrossing and wrapping around. Continue with additional pieces of yarn until you are happy with your results.
If possible, tuck the loose ends under another piece of yarn to keep it from coming off of the balloon.
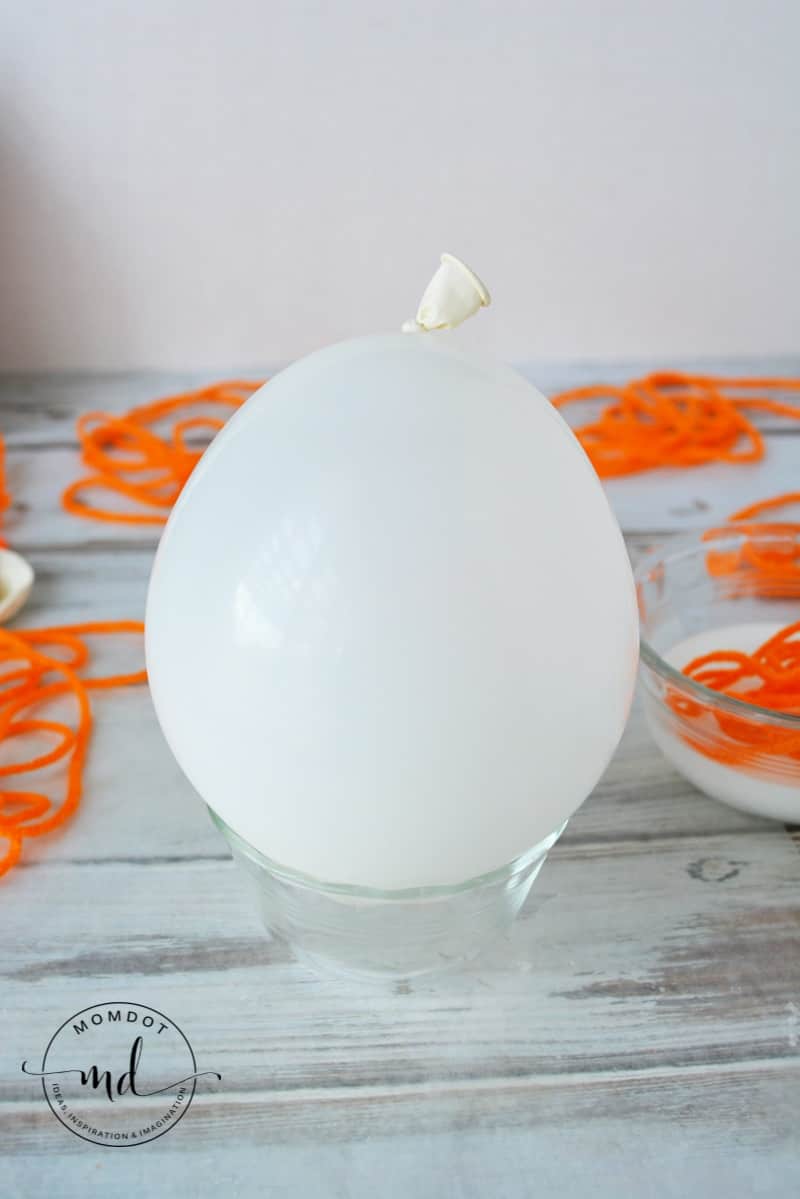
At this point, it helps to place your balloon onto a glass bowl (glass because it washes easily, and usually stays put on the table vs plastic bowl that will stick to the balloon and lift with the balloon.) Set your balloon onto the bowl after each yarn addition.
Repeat until you have the look you want and let aside to dry completely, rotating the ball of yarn so it dries on all sides.
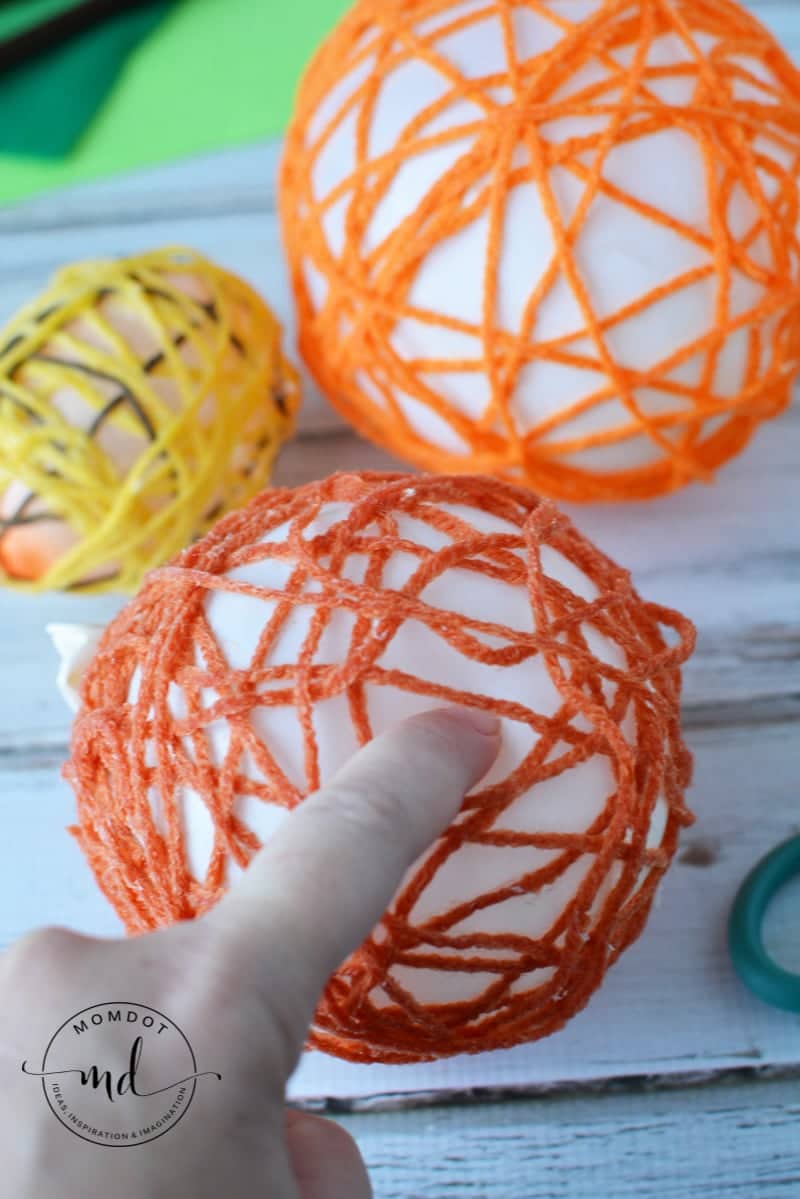
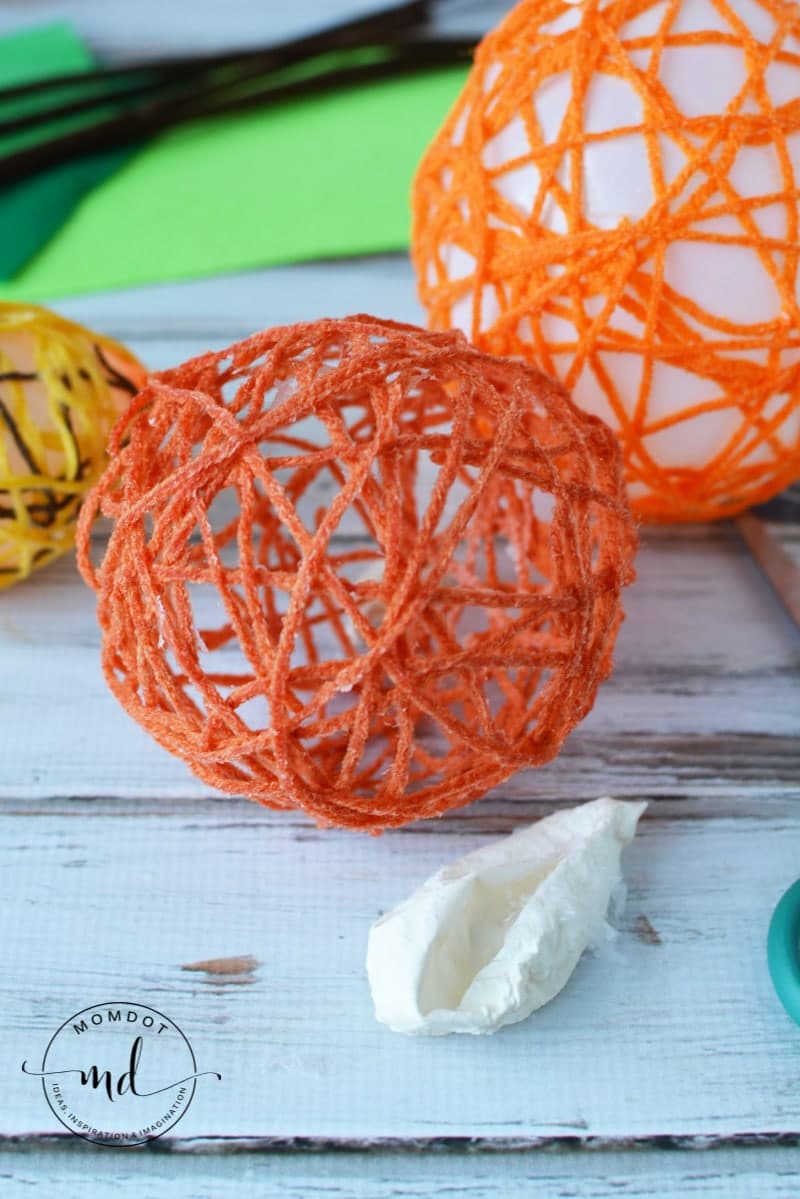
When completely dry, use your fingers to press into the balloon to separate it from the glue on the sides.
Snip the balloon at the top to deflate, and carefully remove it from the inside of the balloon by pulling it out with your fingers.
Discard the balloon.


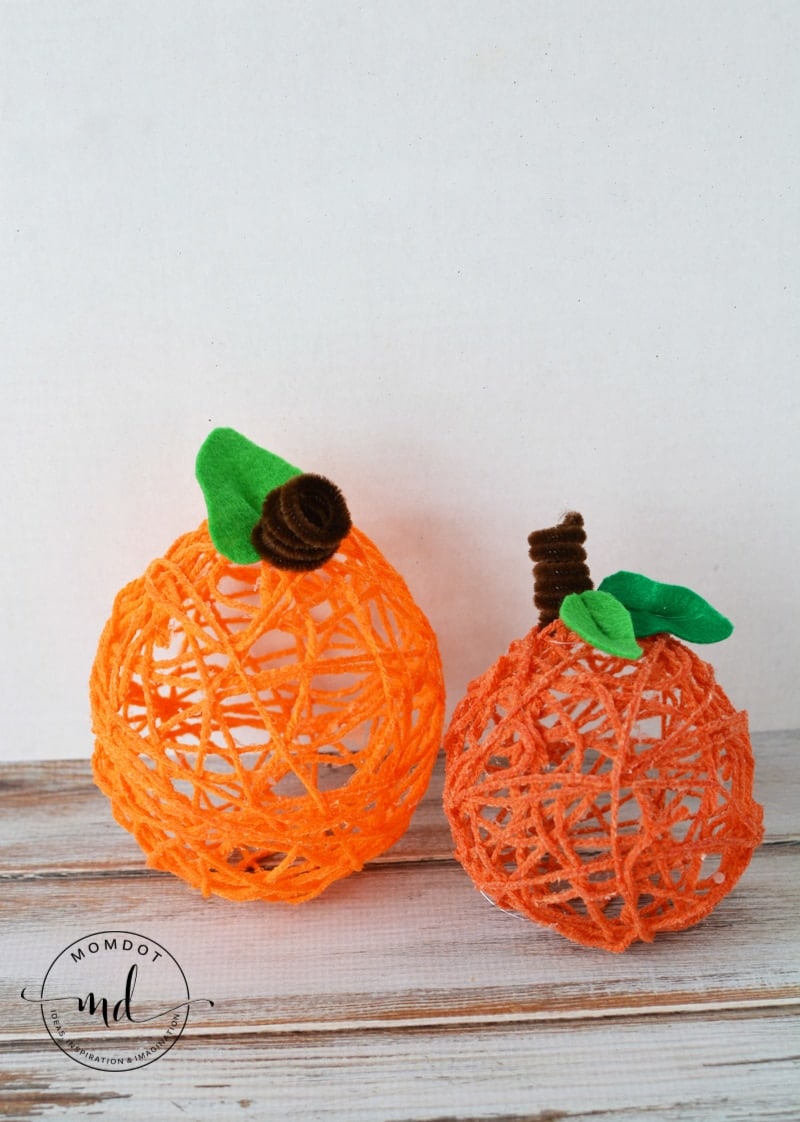
Add Stem and Leaves to the Yarn Pumpkin
Cut out small pumpkin leaves with felt and fold them in the center. Place a small amount of hot glue on the center of the felt leaf and hold it together to create a fold or crease.

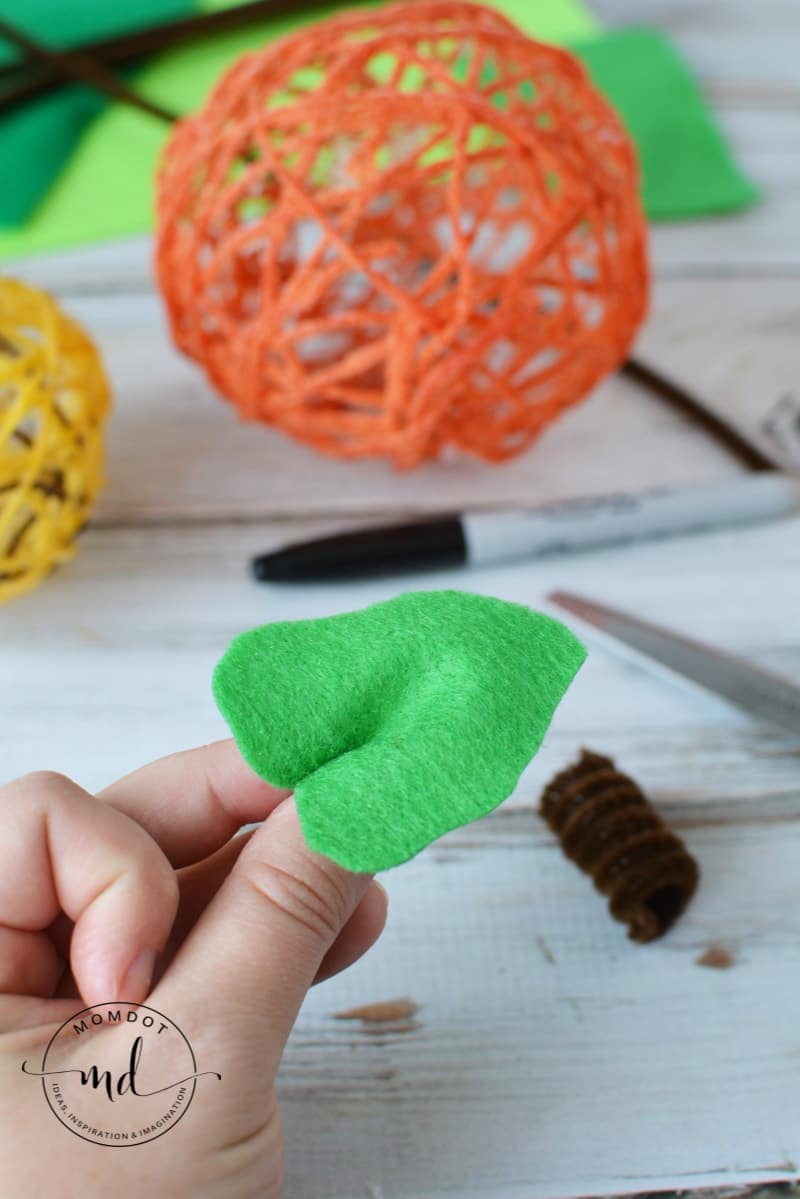
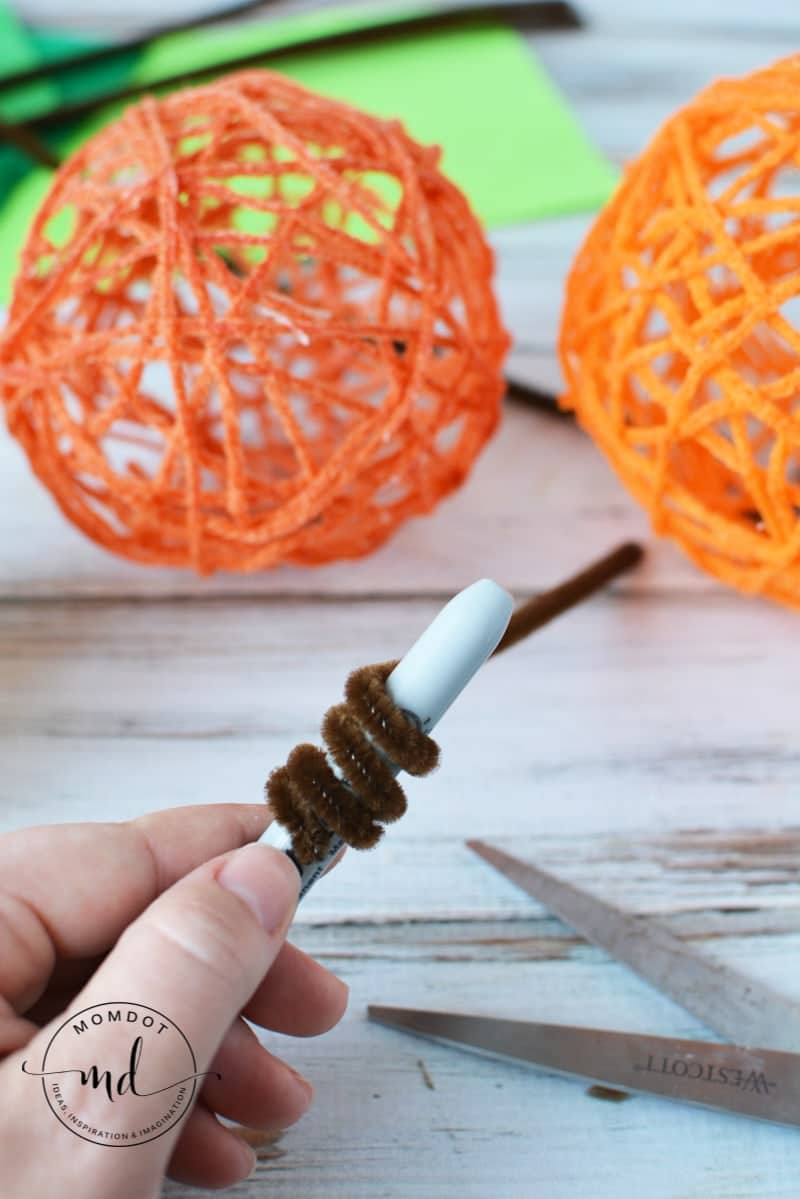
Wrap a brown pipe cleaner around a marker or wine cork and create a spiral stem. Attach the stem and leaf to the pumpkins as desired.