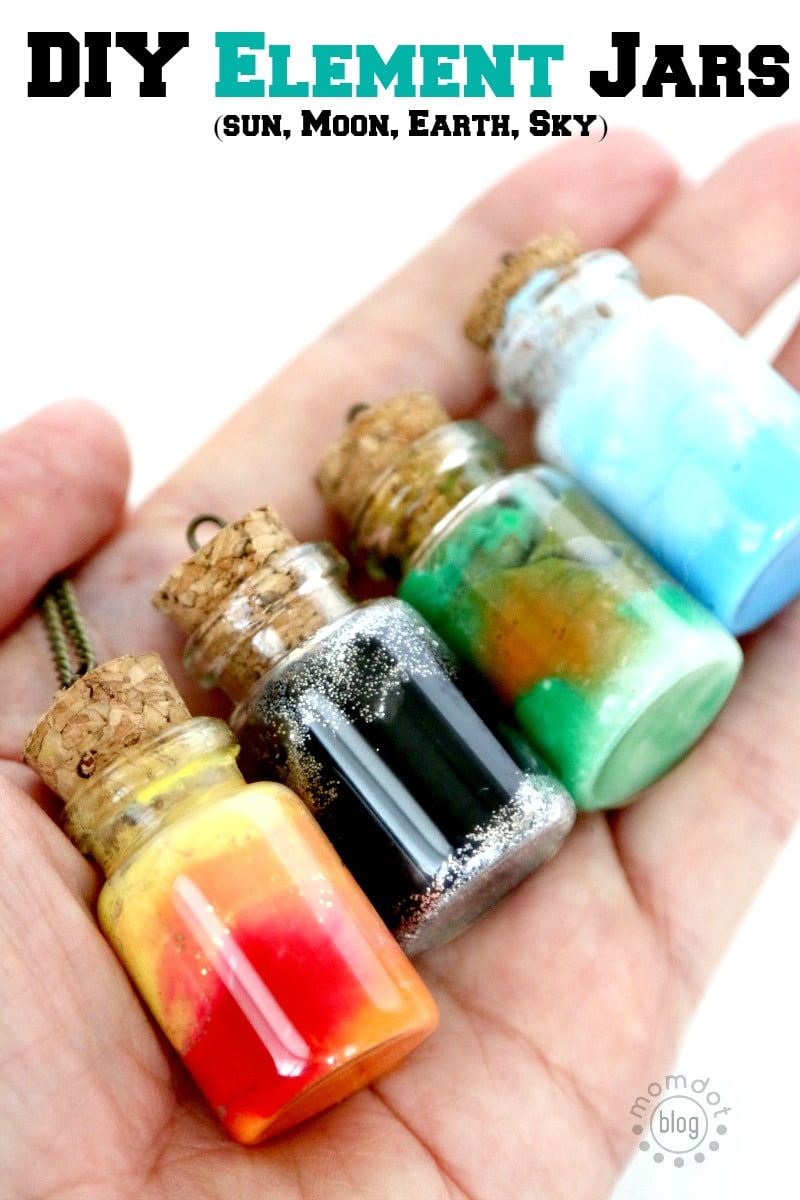
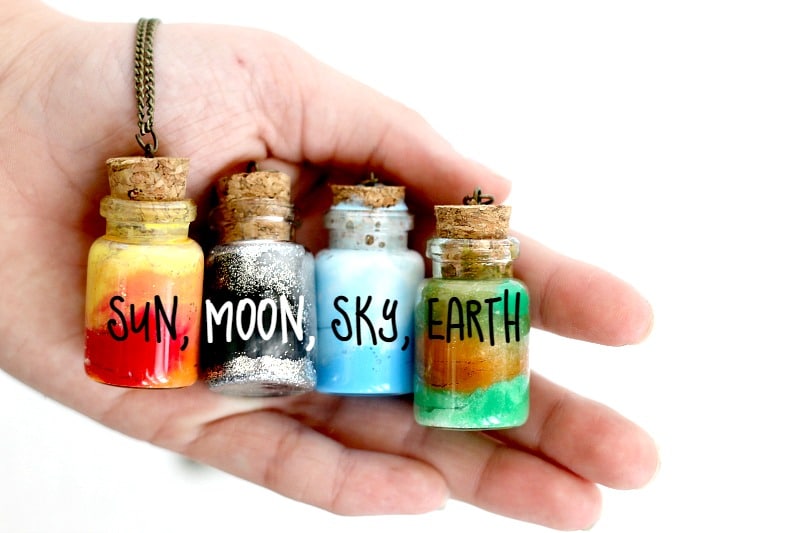
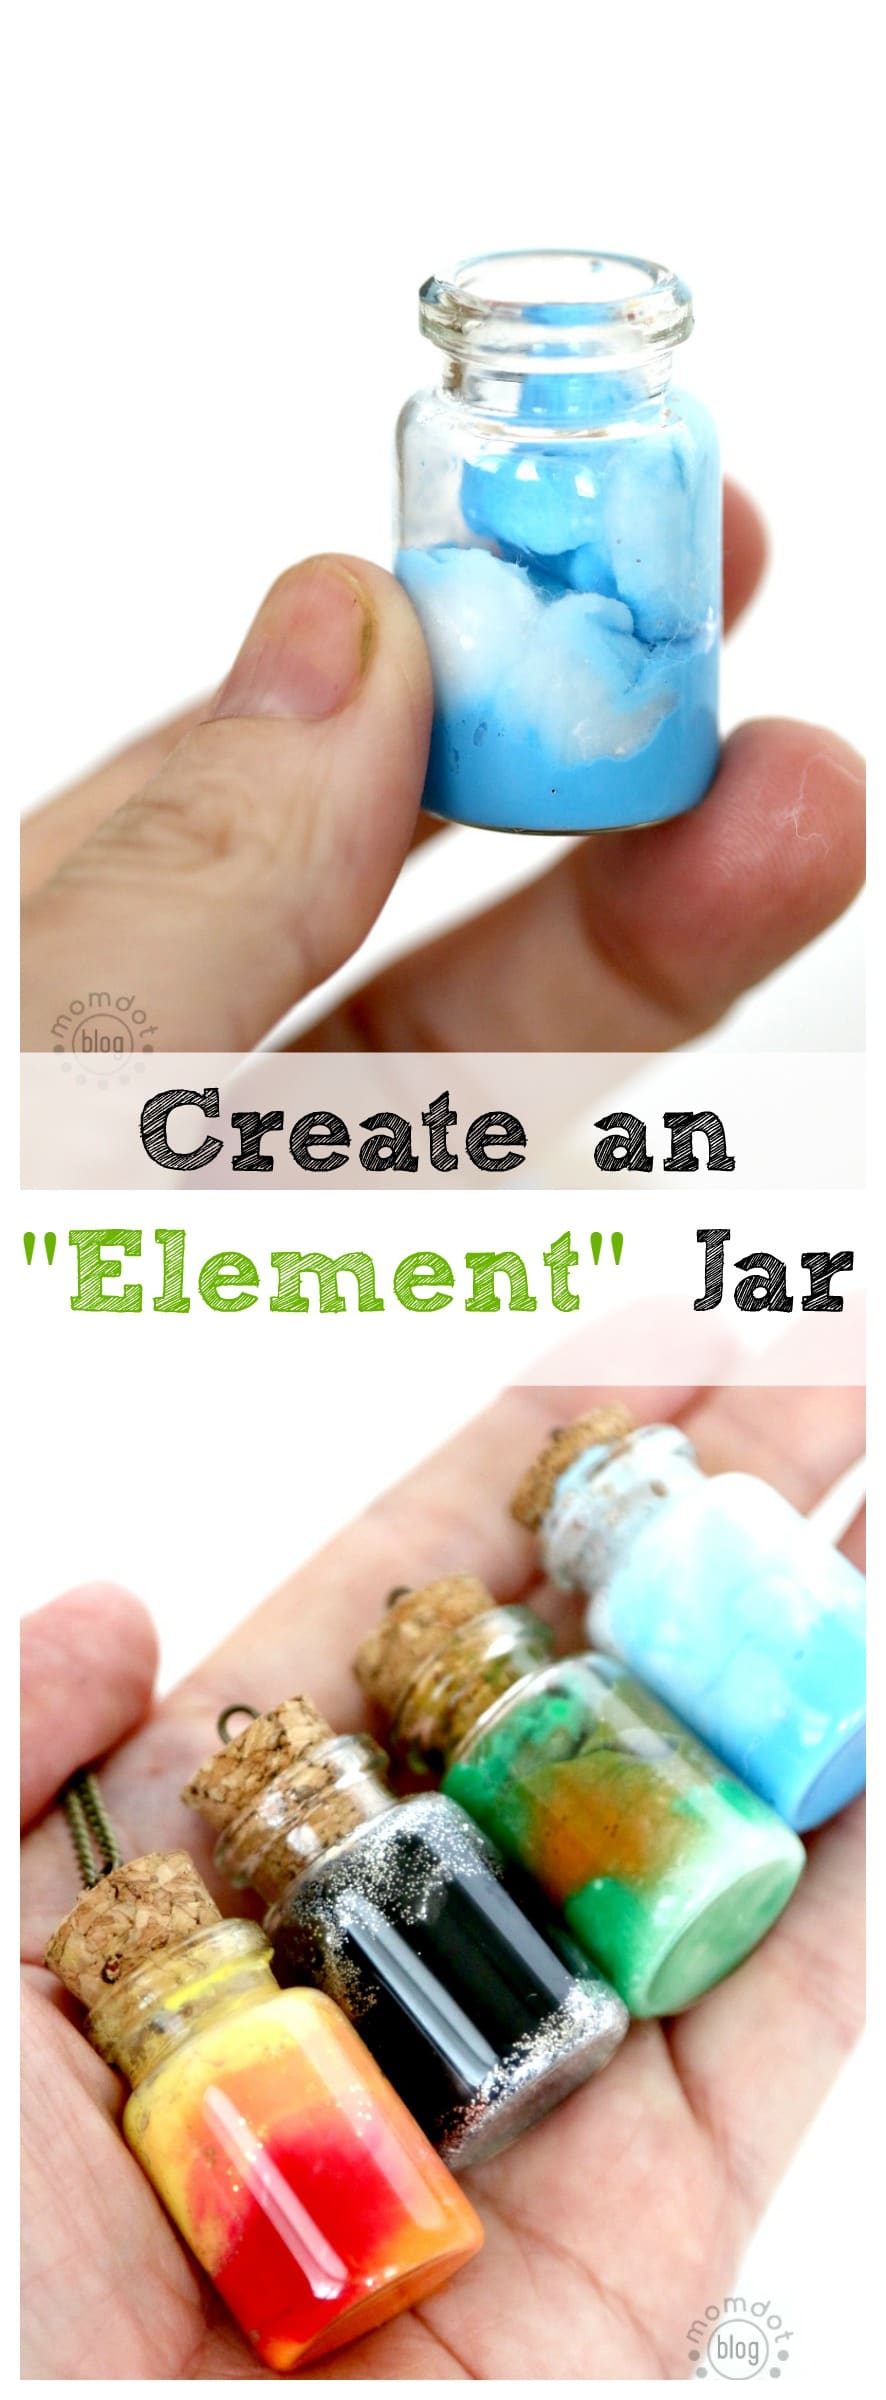
Create an Element Jar Necklace, which shares the sun, moon, earth and star and turn it into mini necklaces you can hand out to your friends. Super cool, super fun, and super unique craft tutorial. You may be on this post because you visited my Nebula Jars, Constellation Jars, or Galaxy Jars and are looking for a new project.
If so, these Element Jars gonna rock your world! To be honest, there are so many fun crafts when it comes to mason jars, that I’ll be sharing our creations all year long, so do not forget to follow me on Pinterest to keep watch.
Because we love jars so much, I keep a variety of them in the house but recently bought this mini necklace jars for a DIY Love Potion Necklace and had some left over.
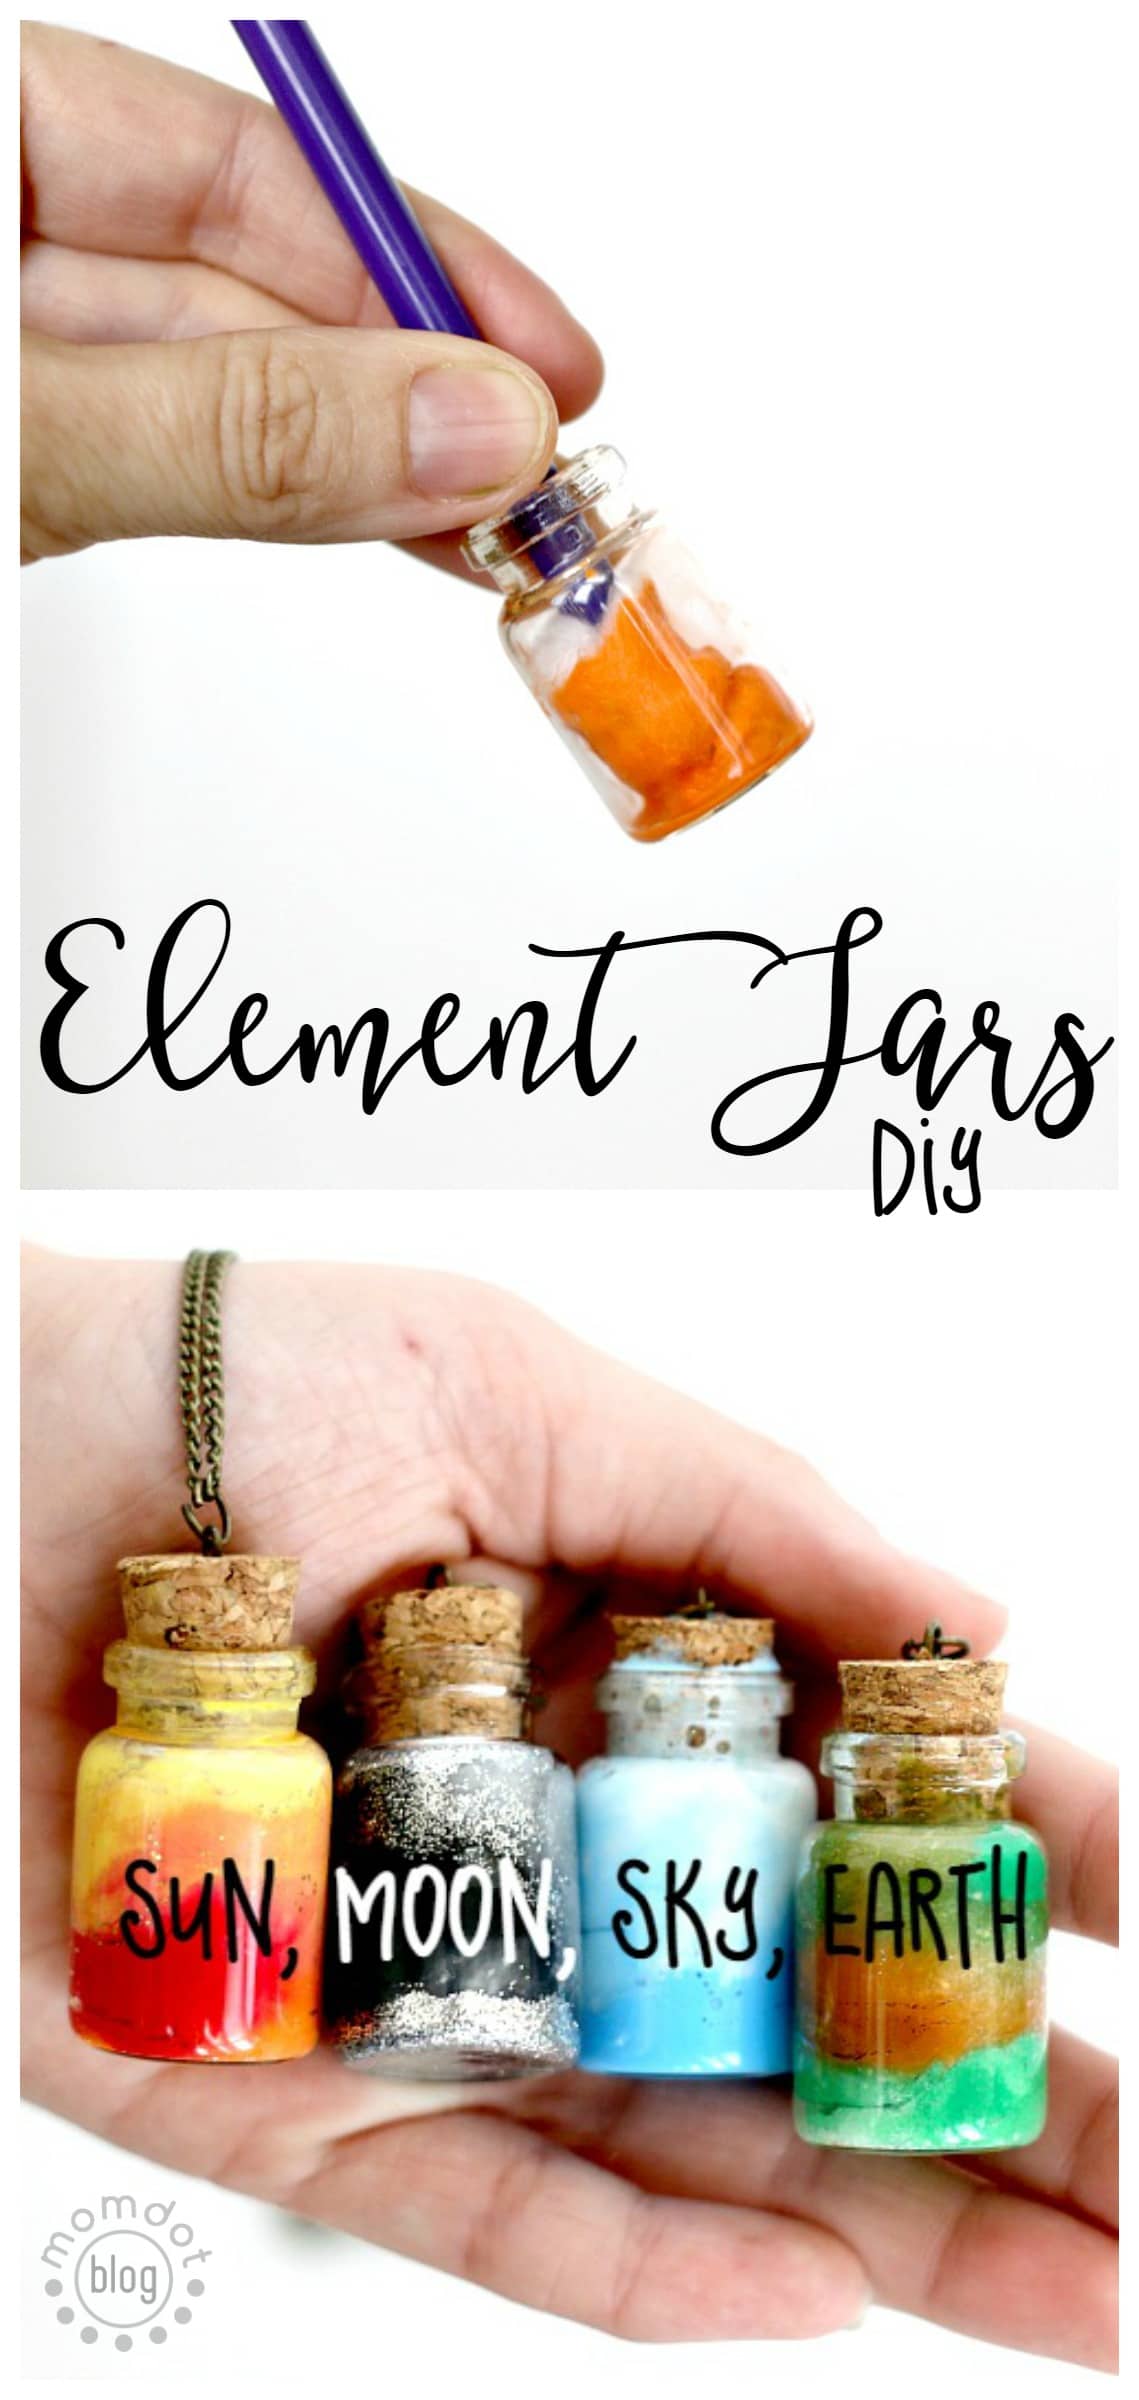
So the kids and I went back to the drawing board to create some Element Jars to include the Sun, Moon, Stars, and Earth.
Meanwhile, someone reading my blog emailed and asked me if you can use acrylic paint over tempura and I really didn’t know the answer, so we decided it was a perfect opportunity to test acrylic paints on this project and share the results.
STOP! YOU NEED THESE MINI JARS!
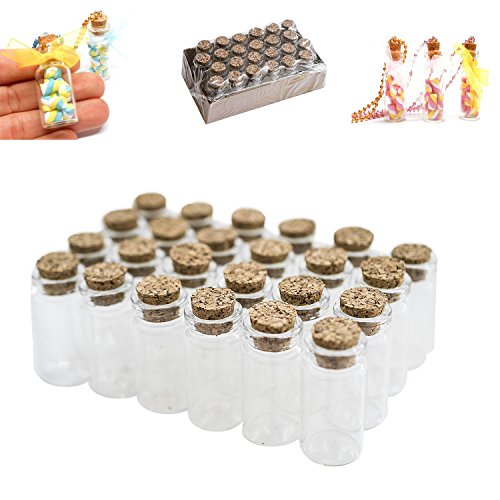
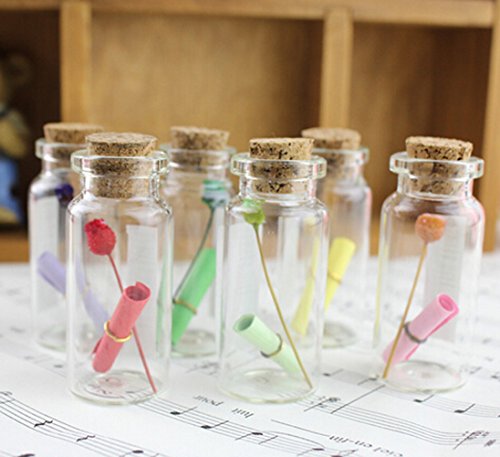
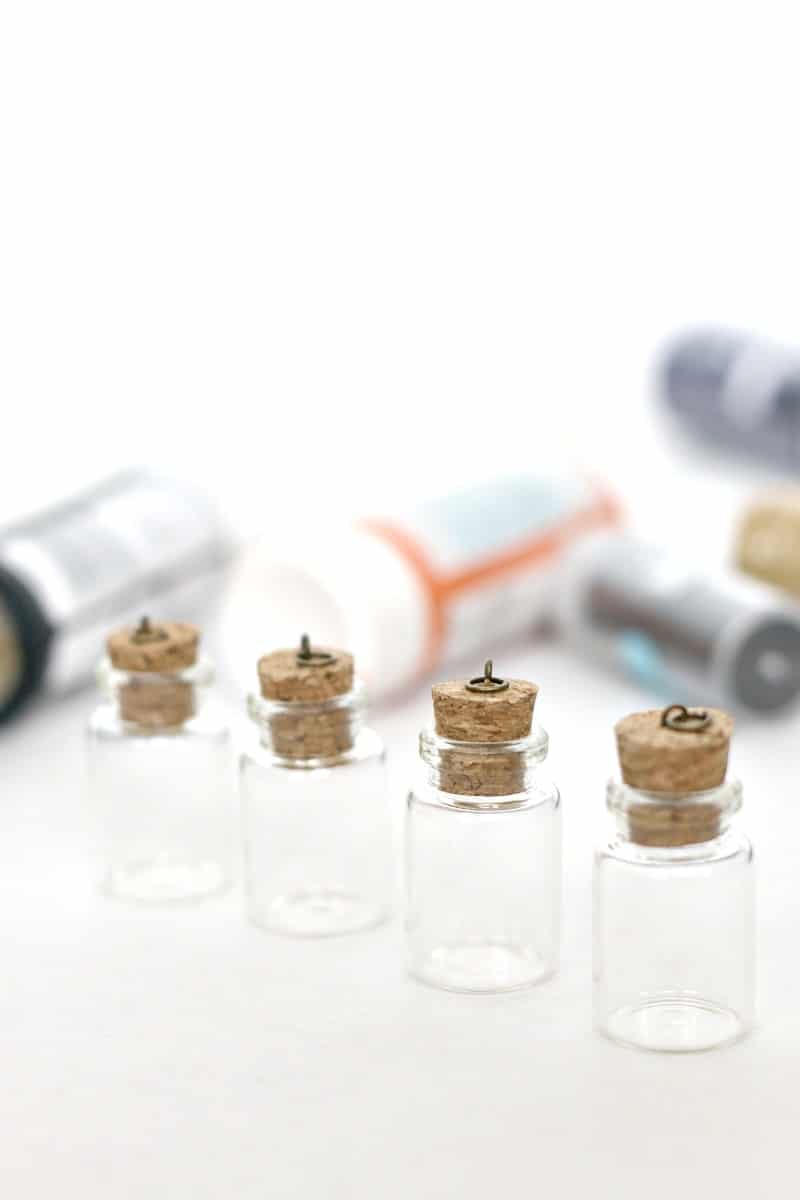
To create these amazing and fun element jars, you will need to grab some tiny vials that have a ring for a chain. I love these with the cork stop because they are totally adorable and work perfectly for this project as well as other fun necklace ideas.
These are not so easy to find in the craft store and since this project, I have spent a great deal of time trying to locate them again. Grab them on amazon so you don’t have to run around all day, trust me!
The ones I bought locally were also nearly $15 and they are half that cost on Amazon.
There are a variety of sizes for jars and the size you want your necklace is up to you, but I recommend atleast 1.5 inch in height and atleast 1 inch around.
Mini Clear Glass Jars Bottles with Cork Mini Glass Wish Bottles Cork Tops for
To do this Element Jar project, you will need the following element jar supplies:
- Pack of Necklace Jars
 with cork lids –
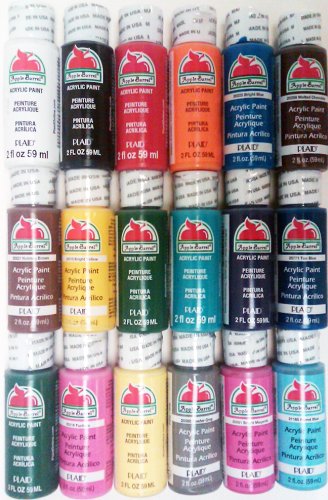
 - Paint– for the pictures below we used acrylic paints in the colors of the elements we were creating, tempura is fine and runnier
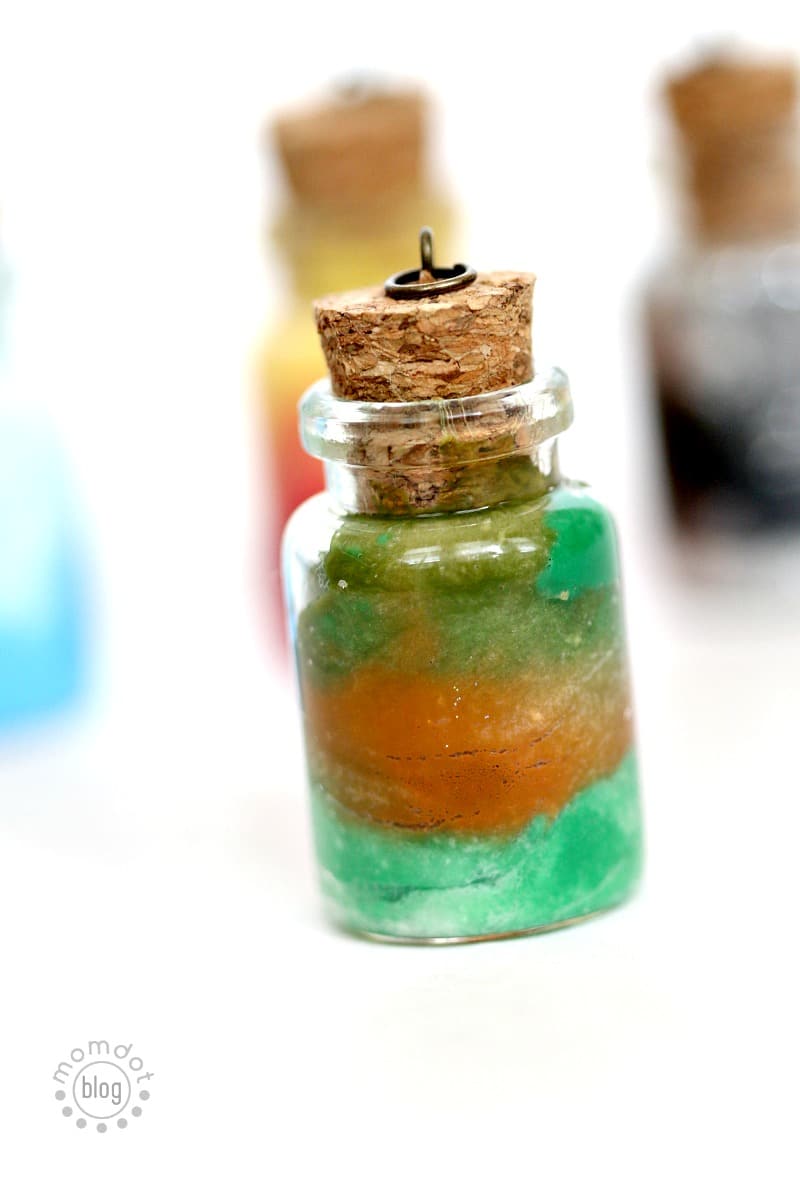
- Earth– Brown/Green
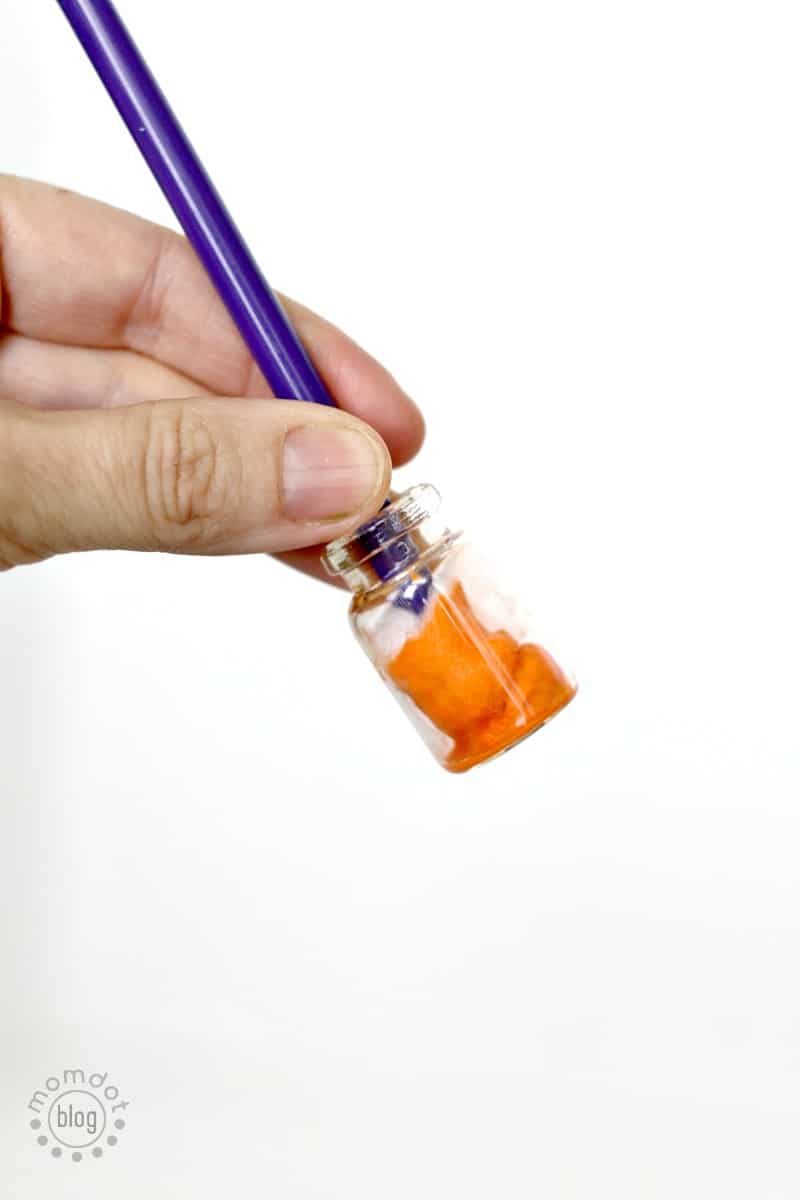
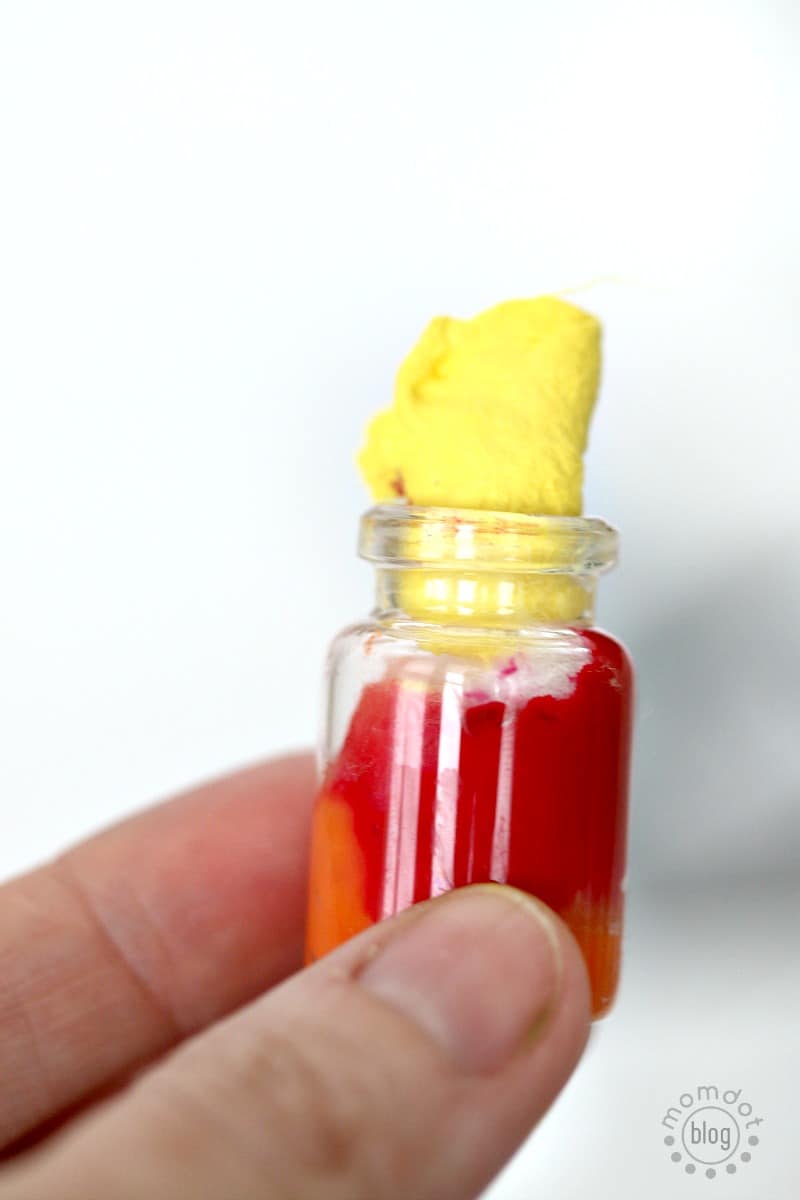
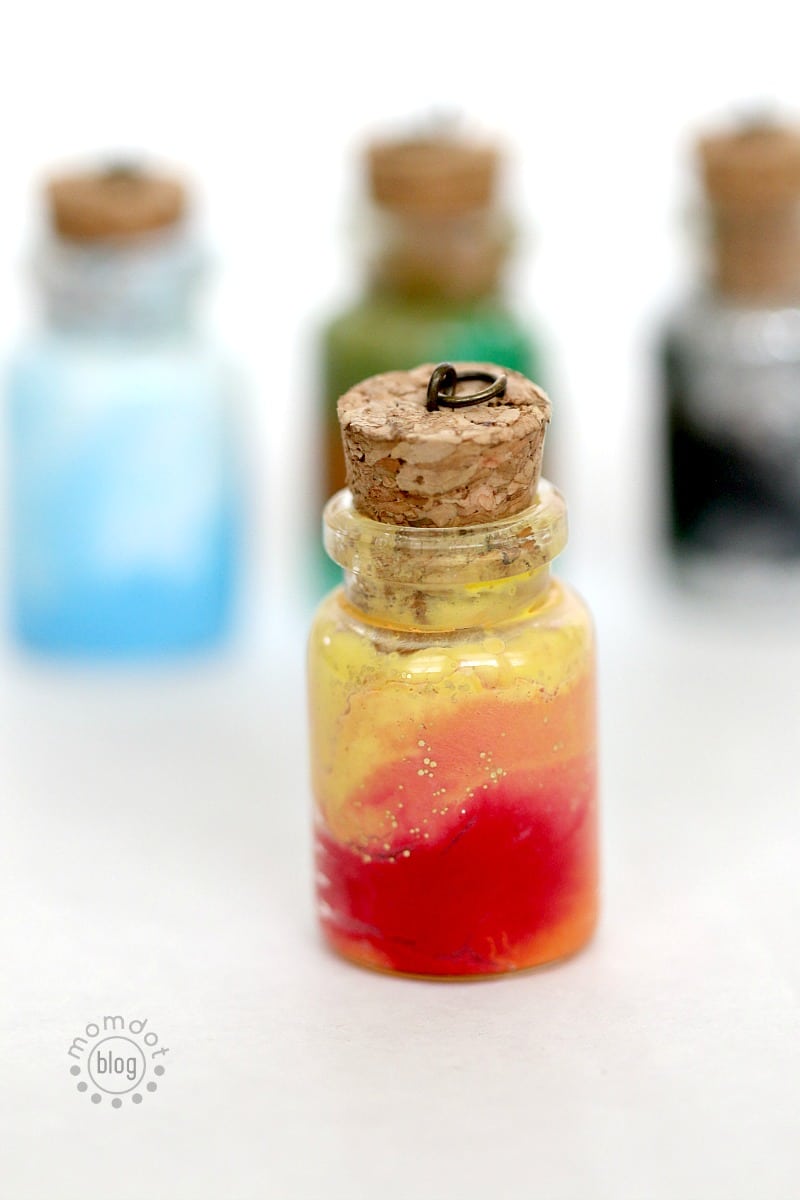
- Sun: Yellow, Red, Orange
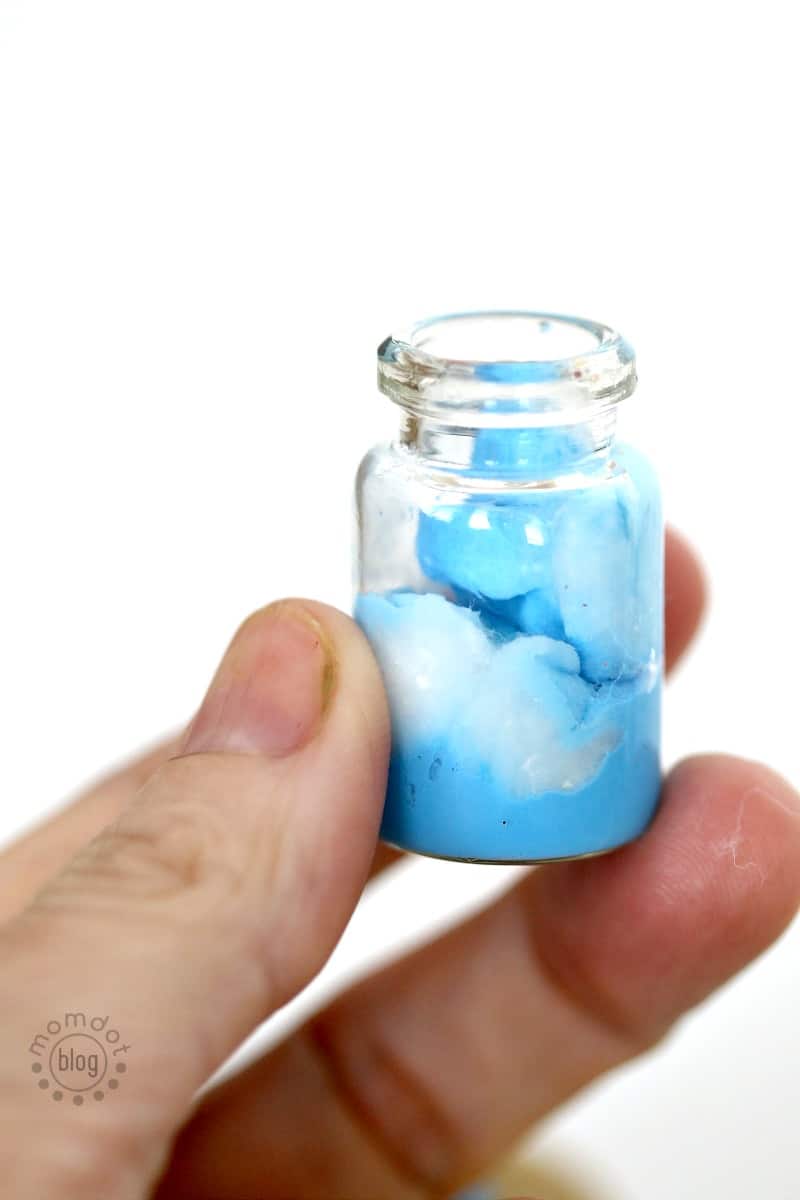
- Sky: Blue, White
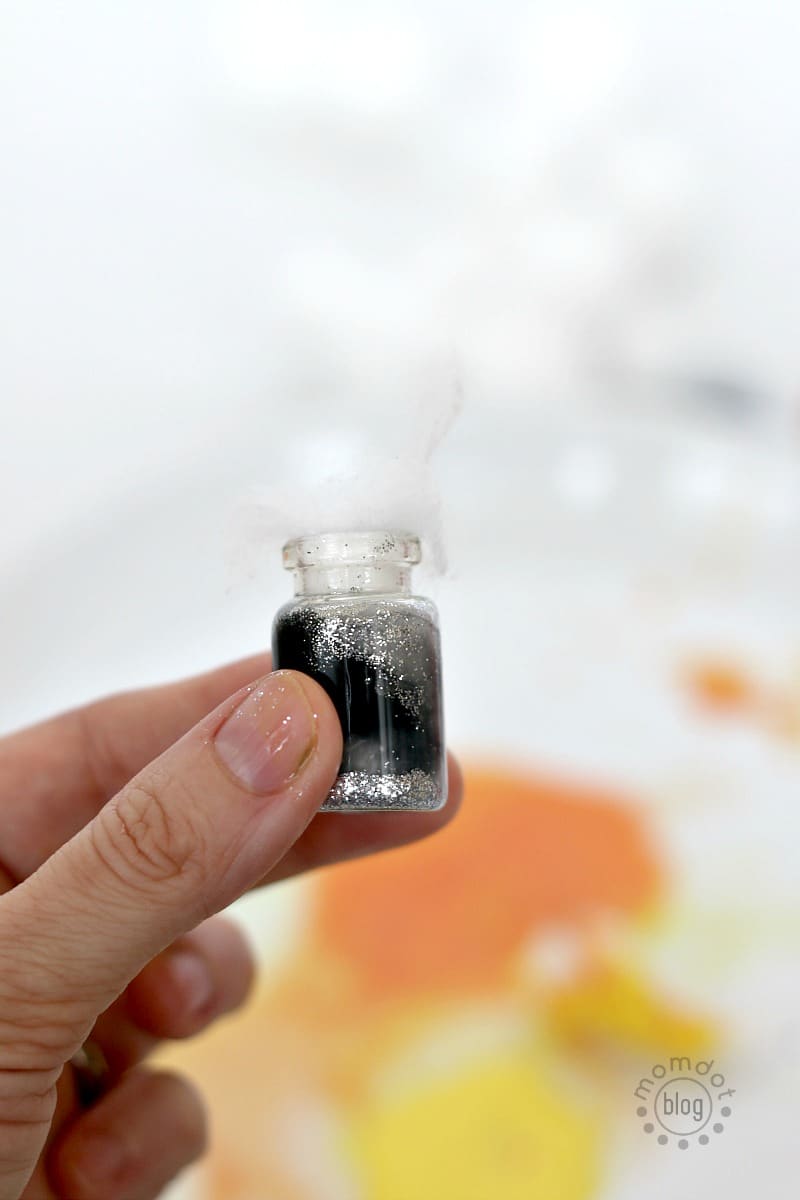
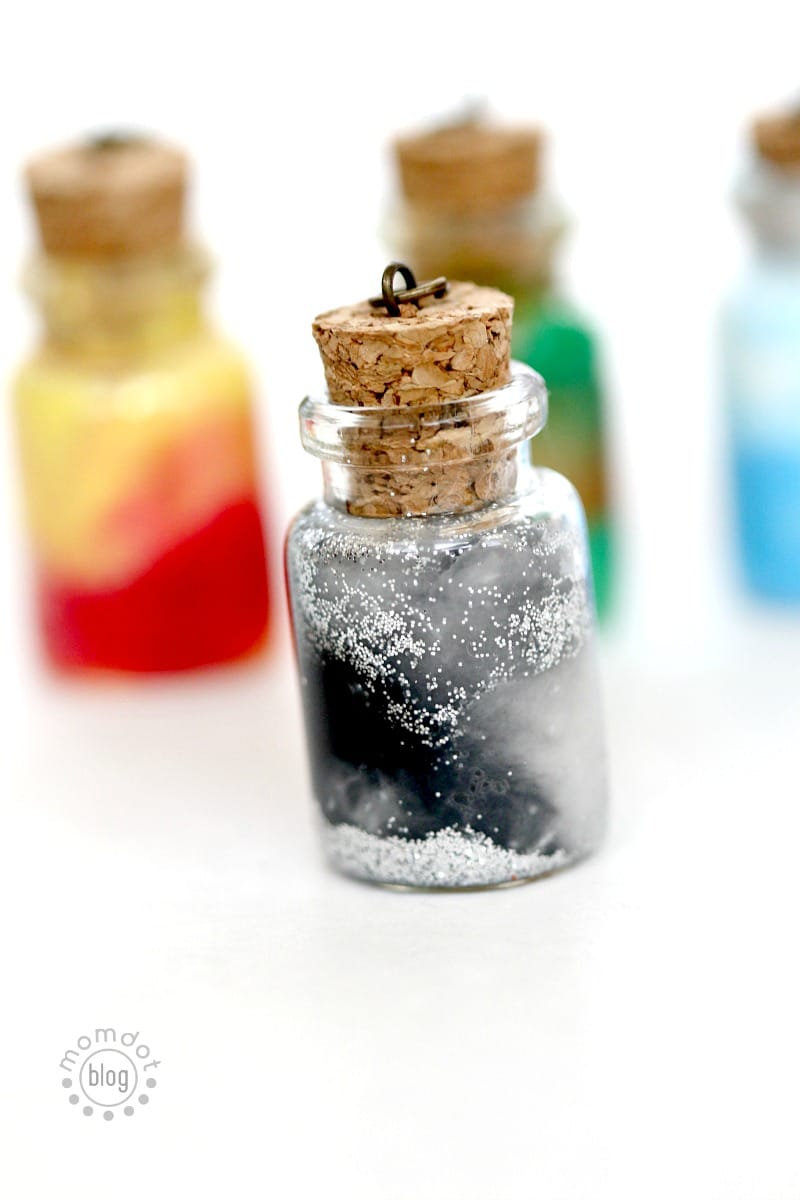
- Moon: Black, Silver Glitter
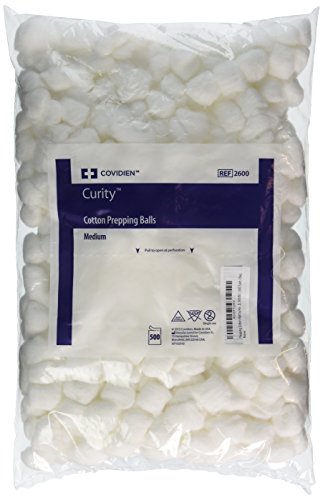
- You will also need cotton balls. If you are doing the necklace size, you will only need about 2-3 per jar, however, if you are doing LARGE jars, you may need a couple of bags and I’ll explain why below

 with cork lids –
 – for the pictures below we used acrylic paints in the colors of the elements we were creating, tempura is fine and runnier
 . If you are doing the necklace size, you will only need about 2-3 per jar, however, if you are doing LARGE jars, you may need a couple of bags and I’ll explain why below
If you came by this project by way of social media or Pinterest, you can grab the rest of the supplies here and be prepared to come back and do this project! They also make super cute jars for best friends or Valentines day.
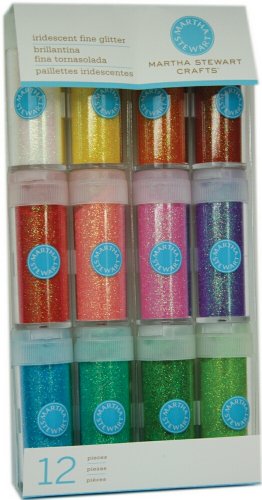
There is a reason I suggest buying multi-packs of paint and glitter- there is nothing worse than getting inspired to do a project and not having the right supplies on hand.
Apple Barrel Acrylic Paint Set, 18 Piece (2-Ounce), PROMOABI Best Selling Colors IKendall/Covidien Prepping Cotton Ball, 500 CountMartha Stewart Crafts Iridescent Glitter, 12-Pack
Element Jar Necklace Instructions
These work quite like the Nebula Jars we made, but on a much smaller scale. I wanted to go more into depth about adding the layers.
There are several ways you can go about this. The first thing I should explain is the concept.
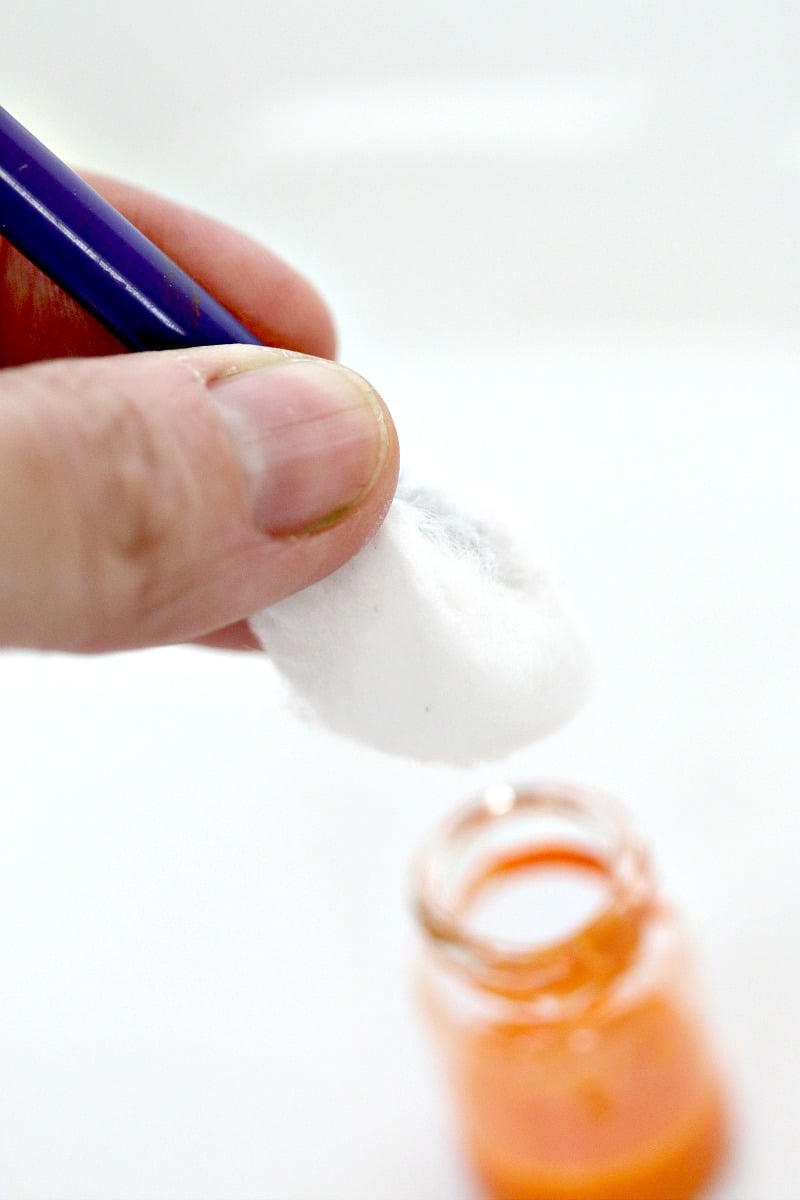
The idea of a jar like this and adding cotton is that the cotton pulls in some of the color palette and holds it in place so it doesn’t mix the paint in between, giving it a layered jar look.
How much water you choose to add to the jar can really decide how the paint flows and how much cotton you stuff in can determine if the paint stops or continues up the jar.
You can also guide your paint but putting it in and then using a paintbrush to pull the cotton from the sides and let the bottom paint flow up.
You can accomplish your jars in one of the following ways:
Put water down, stuff the cotton ball, add paint and use a paintbrush to push the cotton ball in areas the paint is, then stuff more cotton, more paint, letting the cotton ball soak up the paint.
With acrylic, it’s a lot thicker and doesn’t flow, so you will need to add water and then move the paint around to absorb.
I use the handle end of the paintbrush to adjust the cotton ball on the inside and push the paint up the sides till I get the look I want.
Paint the cotton ball first and then stuff it inside, add a white cotton ball, then a painted one and so on and so forth till it’s full. Then add water to loosen the paint and use the handle to move the cotton/paint around for your look.
If you over-add water, it will mix the colors just like watercolors and muddy it up.
If this happens, just dump some of the water out and stuff a new cotton ball in and try again.
The larger the jar, the more cushion between colors you will need to keep the paint from bleeding. This really is a fun craft, but it’s also something you take your time on to get the prettiest long-lasting look.
Please look below to see some of the samples of how to create your layered cotton look and closer images of how it absorbs.
Love this? Pin it here and share it with friends, plus check out other jars before you go!
Love Potion Necklace Jars (That really explode – come see!)
Want to see how it works with tempura and on a larger scale? Nebula Jars below:
Jars are also super fun to play with- Have you seen Calming Jars?
Mini Clear Glass Jars Bottles with CorkMini Glass Wish Bottles Cork Tops for
Arent the elements fire, water, air, and earth?
These look so awesome!