This weekend when Charlotte and I were out she wanted to buy some earrings. We recently discovered her ears are still pierced. Both of us thought they had closed up due to an infection she had gotten 4 years ago..turns out, nope. Of course now she wants earrings of all shapes and sizes. So like a good mom I took her out and let her pick out a set of earrings. Charlotte is like a lot of girls, girly on the outside, but a tomboy on the inside.
So to encourage her to keep the glam but all of the play, I decided for a craft on Saturday that I would create her a special blinged out hair tie . Great to keep her hair pulled back but also with a little bit of personalization. As you know she is a horseback rider so I did include that bit. On a level of 1 being my 2 year old could do this and 5 being Martha Stewart skills, this craft is a 2. Must be able to purchase things and have a steady hand…other than that, easy craft.
Custom Hair Ties with a little Bling!
Gather up
- hair tie with edge (got one for a buck at craft store- I will be doing more~!)
- rhinestones
- charm or inital charm that means something to you
- Modge Podge Dimensional Magic
![]() First, the expense in this craft is the Modge Podge. It’s about $6. Modge Podge has like 25 items and they all do really special things. I had grabbed this on a whim a month ago and it has been sitting dormant in a drawer. I was excited to test it out and love how fast it dried. Plus you need very little so its literally a few drops and voila. You could easily make 100 hair ties with this bottle. Once you have it, you have it so while I only bought ONE hair tie stupidly, probably buy a few more. I did enjoy how this turned out so much I am going to create a whole line for Charlotte.
First, the expense in this craft is the Modge Podge. It’s about $6. Modge Podge has like 25 items and they all do really special things. I had grabbed this on a whim a month ago and it has been sitting dormant in a drawer. I was excited to test it out and love how fast it dried. Plus you need very little so its literally a few drops and voila. You could easily make 100 hair ties with this bottle. Once you have it, you have it so while I only bought ONE hair tie stupidly, probably buy a few more. I did enjoy how this turned out so much I am going to create a whole line for Charlotte.

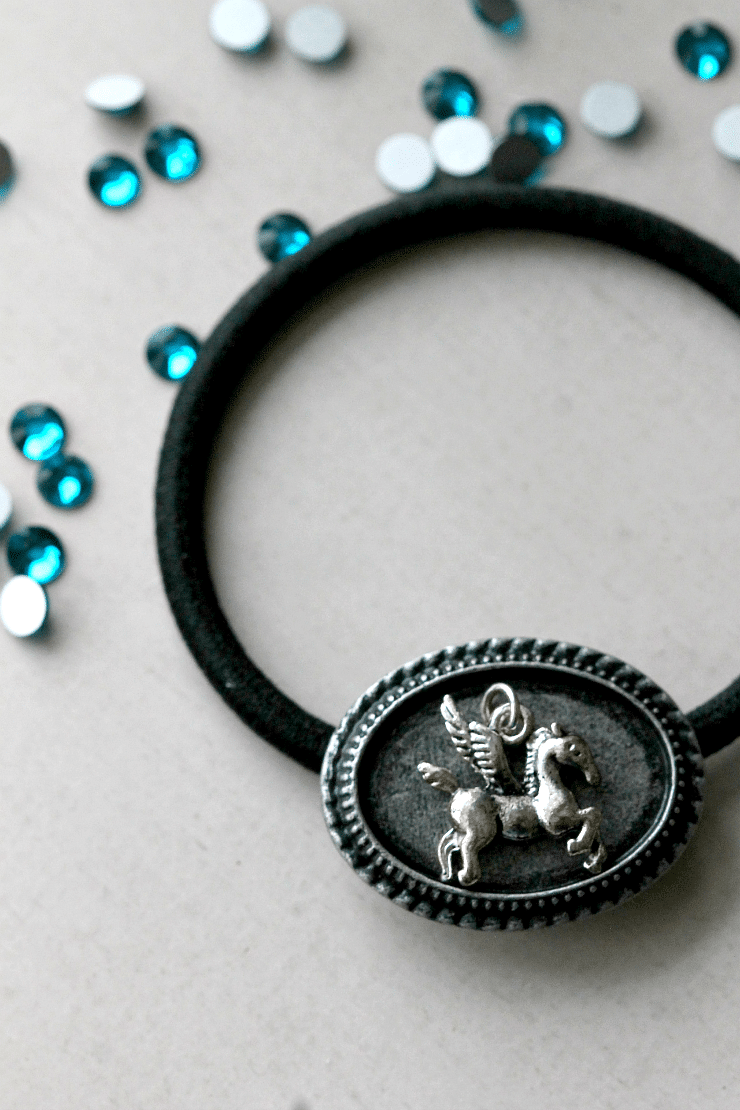
![]() I lined up a little horse charm I found in the middle. It is ok that it is not flush to the ledge as long as it is inside the circle. You could add beads, initials, feathers, whatever you want here.
I lined up a little horse charm I found in the middle. It is ok that it is not flush to the ledge as long as it is inside the circle. You could add beads, initials, feathers, whatever you want here.
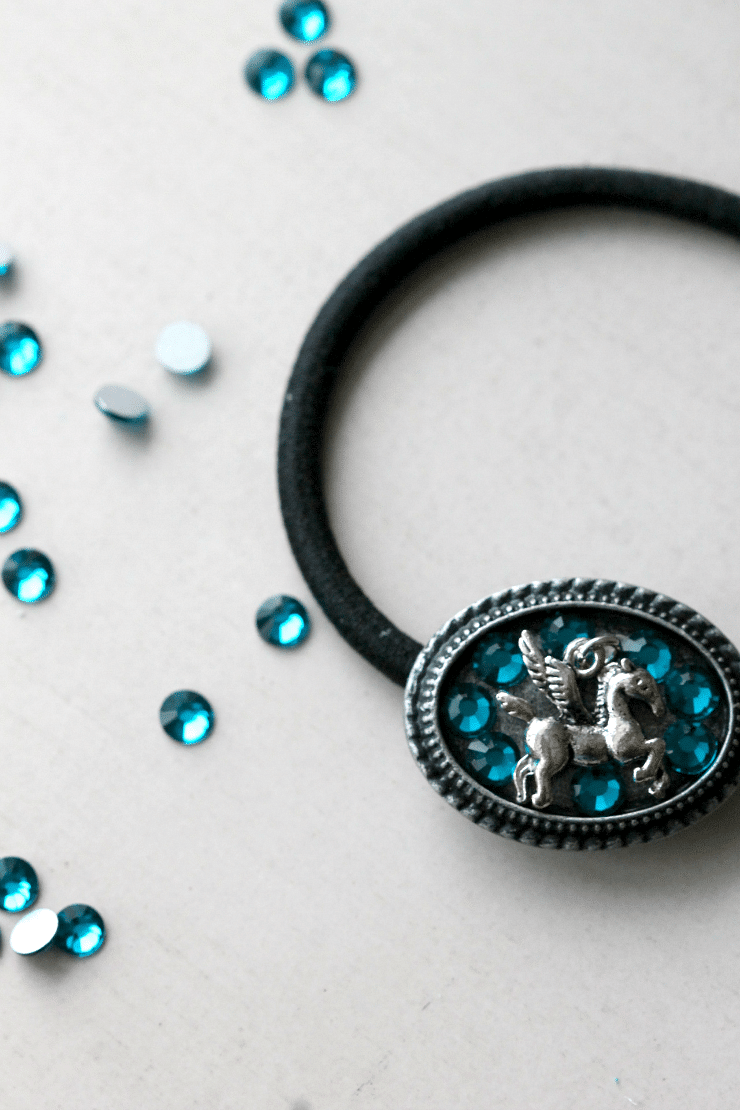
![]() Next I decided that the horse was a little boring by itself so I added a few baby rhinestones and just picked them up and centered them closely around the charm. Because of the shape of this charm I could not get all the space but I was pleased with how many I got in there.
Next I decided that the horse was a little boring by itself so I added a few baby rhinestones and just picked them up and centered them closely around the charm. Because of the shape of this charm I could not get all the space but I was pleased with how many I got in there.
![]() Now its time to add the Modge Podge. Slowly add a few drops and let it spread, popping any bubbles that may form. Make sure you get around your charm. Initially I did not and had to add more when it dried.
Now its time to add the Modge Podge. Slowly add a few drops and let it spread, popping any bubbles that may form. Make sure you get around your charm. Initially I did not and had to add more when it dried.


That is it!
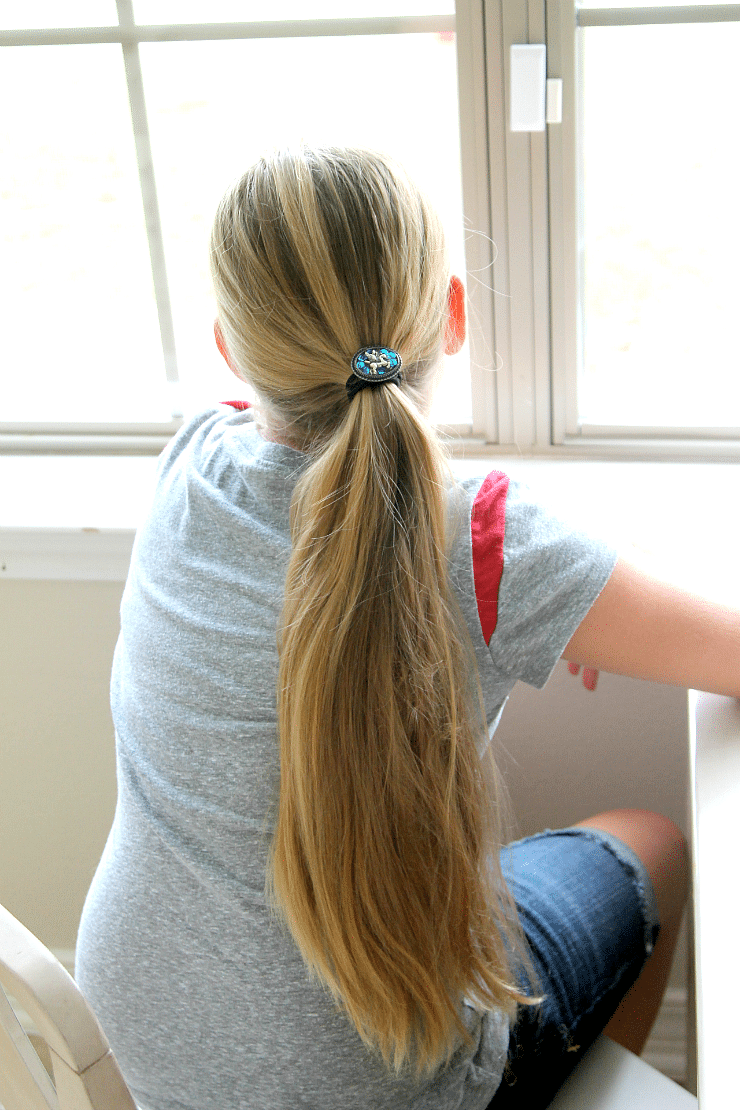
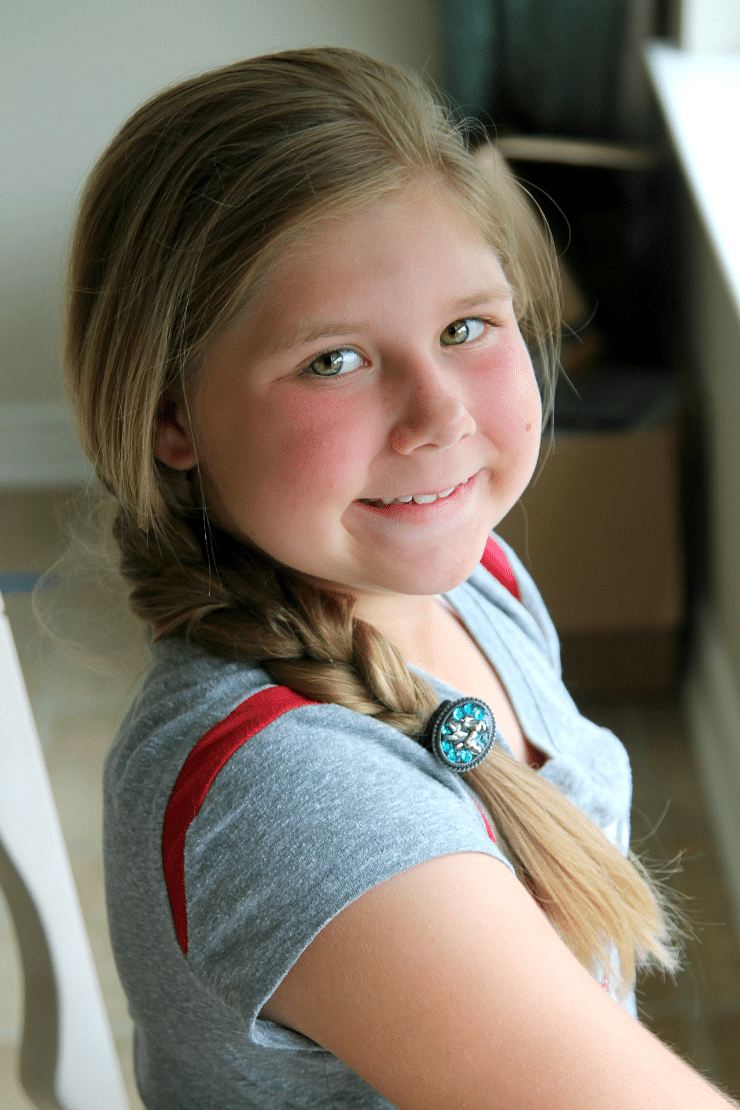
Let dry for a few hours and it will be ready! I know I made this for Charlotte, but I have been wearing it every day myself. I loved doing this and will be a go to craft idea for me!
You can see some other great crafts on momdot by heading to Creating an Indoor Sidewalk (<—good for kids of all ages) or checking out Charlotte and I’s other craft from this weekend, Creating a wire necklace.
Very cute! I bet if I made some for my daughter she would let me fix her hair more often.
Very cute! Simple and great looking is a great craft combination.
My daughter would love making these!
So adorable! I love the difference the stones make! This would be a great summer project for my daughter.
Very pretty!
~Crystal