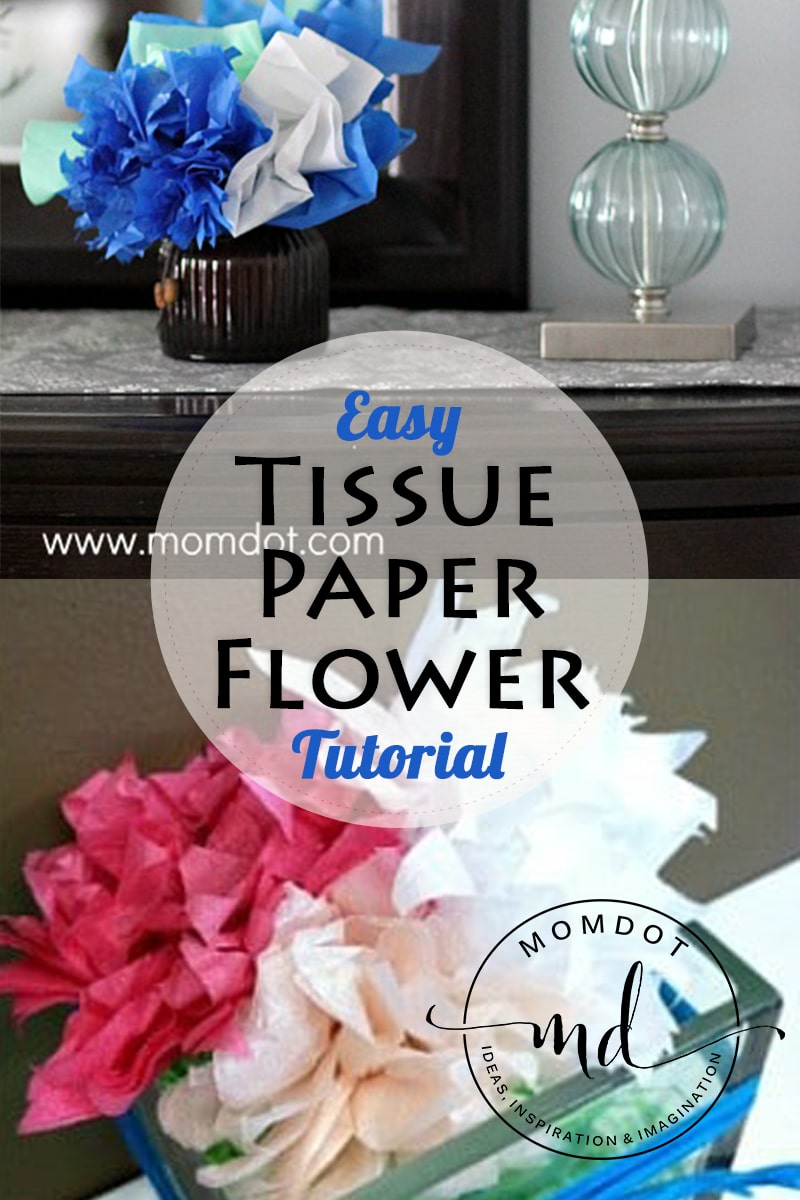
The other day my friend Lynsey and I were out at the cupcake shop drooling over some cupcakes and I noticed this really adorable table top tissue flower decor:

Cute, right?
So we headed over to Micheal’s and picked up some tissue paper so I could attempt a similar craft at home. What I found is that this is a super easy DIY craft that would add a fun (and inexpensive) decoration to any room.
Tissue flowers are great for:
- Flower girls
- Table tops (change w/ season)
- Holiday
- Living room mantel
- Little girls room
- anything you can think of!
- (psstt…bloggers, cute idea for your food pictures!!)
DIY Easy Tissue Paper Flower Tutorial
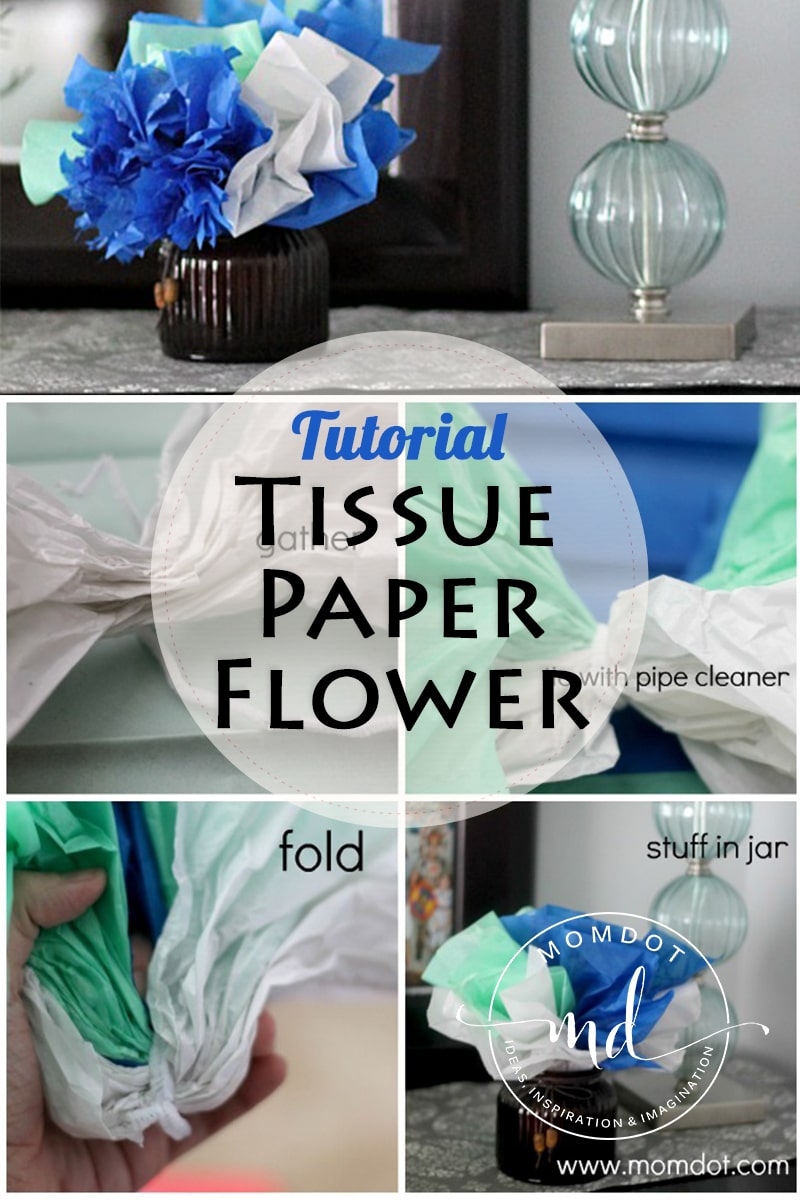
1) Gather your tissue in the middle. You really only need 1-2 sheets, but you can use more if you are looking for a particular color scheme. I used really big full sheet tissue for this set up, the same kind you would get for a present.
2) Tie in the middle with a twist tie, ribbon, or metal tie as seen above
3) fold in half with both ends facing the same direction and then put the bottom inside a jar. Some ideas are to fill the jar with marbles, tissues, or shells to “pretty it up”.

After I made this “big” flower, I decided to cut the tissue in half, gather both pieces in a bunch, use the same method of tying, and cut around the edges to give it more of a “flower” look. I combined both tissue flowers into the jar.
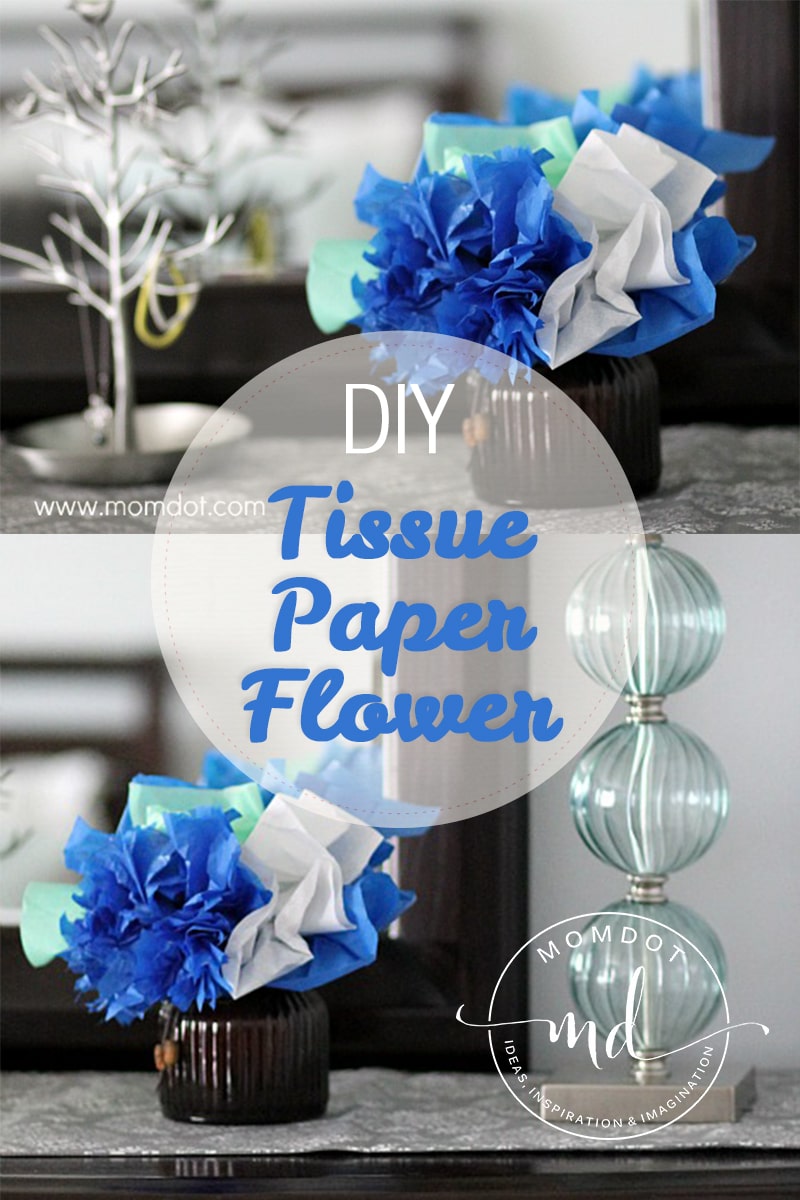
Here is the result:


And because you don’t need to water these “flowers” they would make a perfect addition to a guest bathroom or bedroom! And before you leave, do not forget to check out my How to make a tutu Chandelier!
Enjoy crafting,
Trisha
Those are really cute. I would love them in my bathroom for guests!
It is cute and if they get dusty or dirty or sometime from to must moisture in the house like when your boiling water that sort of thing they could get ring around the petals – make a new one – throw away flowers that come back all new. Cute & great idea and doesn’t cost an arm & a leg. I remember when I was a kid I use to love to make Christmas Wreaths out of green tissue strips and a hanger. Lots of fun.
ohhh I love these! They were super cute at the cupcake place – but I love the idea of putting them on your dresser. Very nice. I think I need some for my bedroom now!