Modge Podge and I have yet to make friends. I think its because I have yet to understand the power of this awesome glue stuff. But what I have come to understand from other websites is that modge podge can be used to make wonderful awesome things like blocks with pictures and magnets for the fridge.
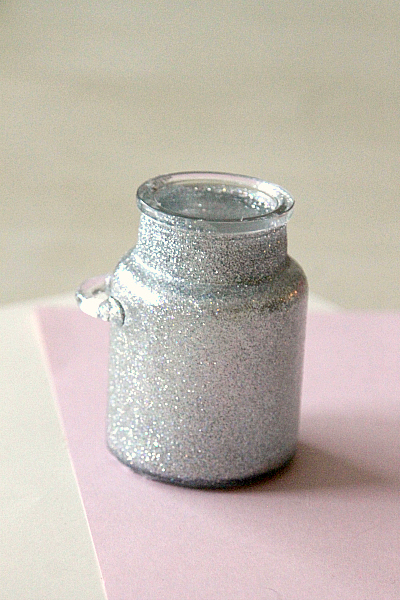
Me? I just want to make a sparkly jar.
A sparkly jar I can put some sugar scrub into.
A sparkly jar WITH STRIPES I can put sugar scrub into.
This wasn’t supposed to be a blog project, but I need to share for those wanting to pull their hair out sparkling up a jar too.
I tried a billion things. First I put glue on the inside by painting stripes and shook it up…nope. The glitter didn’t cover them enough. It was kind a mess. Like half glittery stripes and half just random pieces of glitter. That jar was a bust. Then I put double sided tape on the inside and tried that – same issue. And it was really really difficult to get double sided tape inside a mini jar straight. Another bust.
Dammit. My stripe project is getting lame.
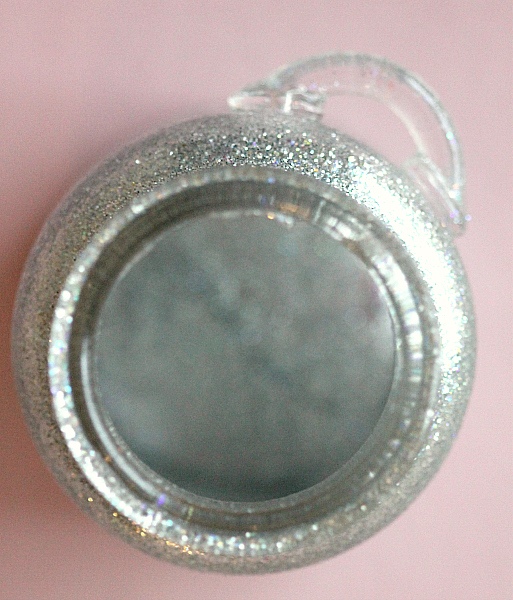
Then I decided to just paint the whole darn thing with Sparkle Modge Podge (on the outside) and was mega disappointed when it was all cloudy the next day.
Why does everyone show it all clear and perfect??
LIARS~! Photoshoppers!
Then I was like….wait. I’m just gonna put glue EVERYWHERE on the INSIDE and shake like a whole jar of glitter into it.
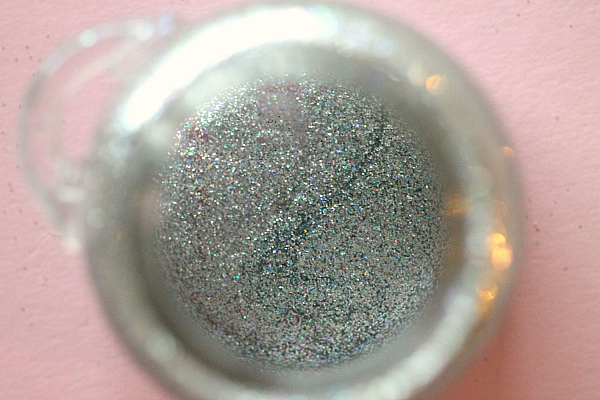
Two days later, much better.
Cute sparkly jar.
Zen once again.
Cute sparkly jar I could be proud of and stick things into, like pencils and flowers. But probably not scrub now unless I want a sparkly face. I still haven’t figured out how to “seal” the inside sparkle. 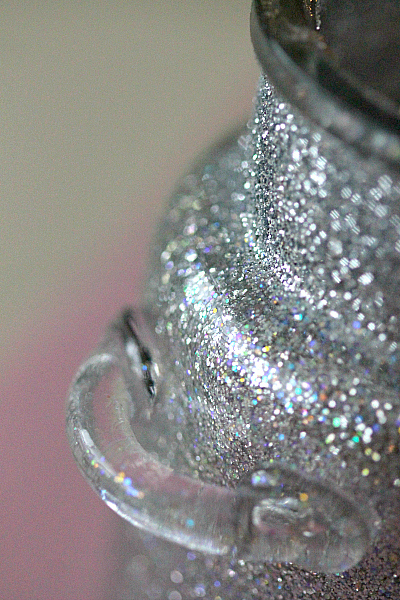
Also I made the huge mistake of leaving my glitter too close to the edge of the kitchen counter and my 2 year old took it down, opened it, spread it all over the kitchen and then tried to use a WET swiffer to clean it (which I discovered when I went to use it to clean up this mess).
I love your sparkles jars both of them