Learn how to make a korker ribbon that stays! All you need to make a perfect korker ribbon is ribbon, of course, Faultless starch, wooden dowels, clothespins, and an oven. Read on to see how in this super easy DIY tutorial!
Before I was a blogger I was a professional crafter and I started out with simple crafts like making hair bows for my then-tiny daughter.
It’s incredible to think that was over 10 years ago! And if you are new to crafts, hair bows, slime, and kid crafts of that nature, there is a secret ingredient that we use in so many of them- STARCH!
I wanted to take some time to show you a crafting basic, how to turn ribbon into a CURLY ribbon that stays for the long haul, called a “korker” ribbon.
It’s actually a lot easier than you think to make what is known as “korker” ribbon.
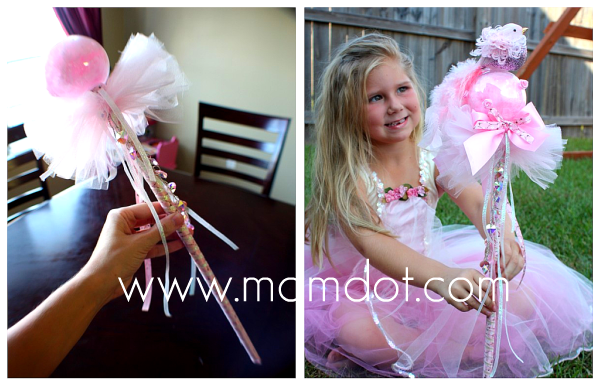
I like to make korker ribbon in batches and store it for crafting hair bows, fairy wands, tutu embellishments, and just about anything else you can think of!
Korker ribbon is most commonly used in making big fat cheerleader and pageant-type bows and it’s fun to keep various colors for every occasion on hand.
And with this tip and easy tutorial, you’ll be able to make as many as you need!
Supplies to Make a Korker Ribbon
- Ribbon
 – Grosgrain ribbons work the best, but satin and sparkle ribbons WILL curl. You just need to use Premium Starch.
 - Dowels– the size of your dowel will dictate the size of your curls.
- Clothespins– You need something wooden to bind your ribbon to your dowel, clothes pins work really well.
- Starch– this stiffens and holds the ribbon in shape.
- Fray Check: once you cut your ribbon, you will want to make sure it does not fray on either end.
 – Grosgrain ribbons work the best, but satin and sparkle ribbons WILL curl. You just need to use Premium Starch.
 – the size of your dowel will dictate the size of your curls.
 – You need something wooden to bind your ribbon to your dowel, clothes pins work really well.
 – this stiffens and holds the ribbon in shape.
 : once you cut your ribbon, you will want to make sure it does not fray on either end.
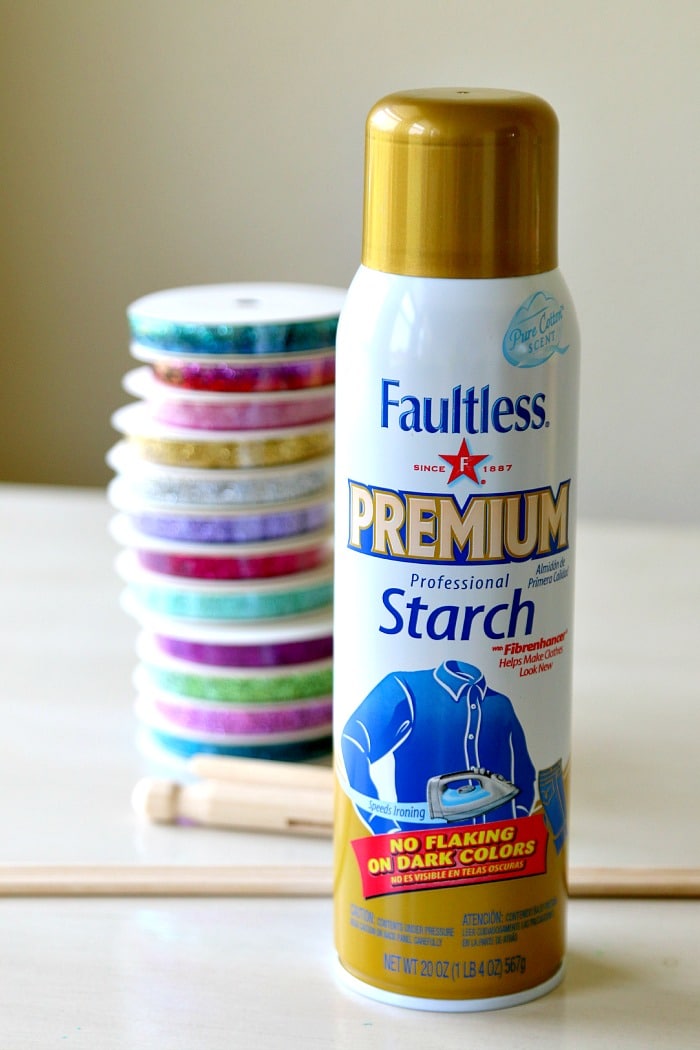
How to Make a Korker Ribbon
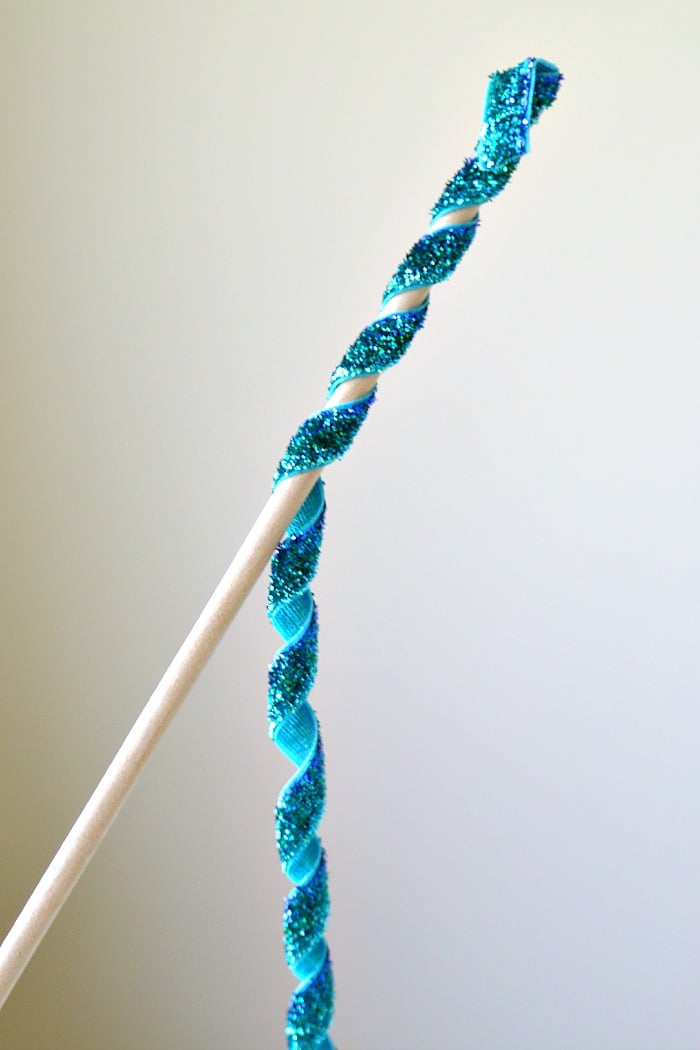
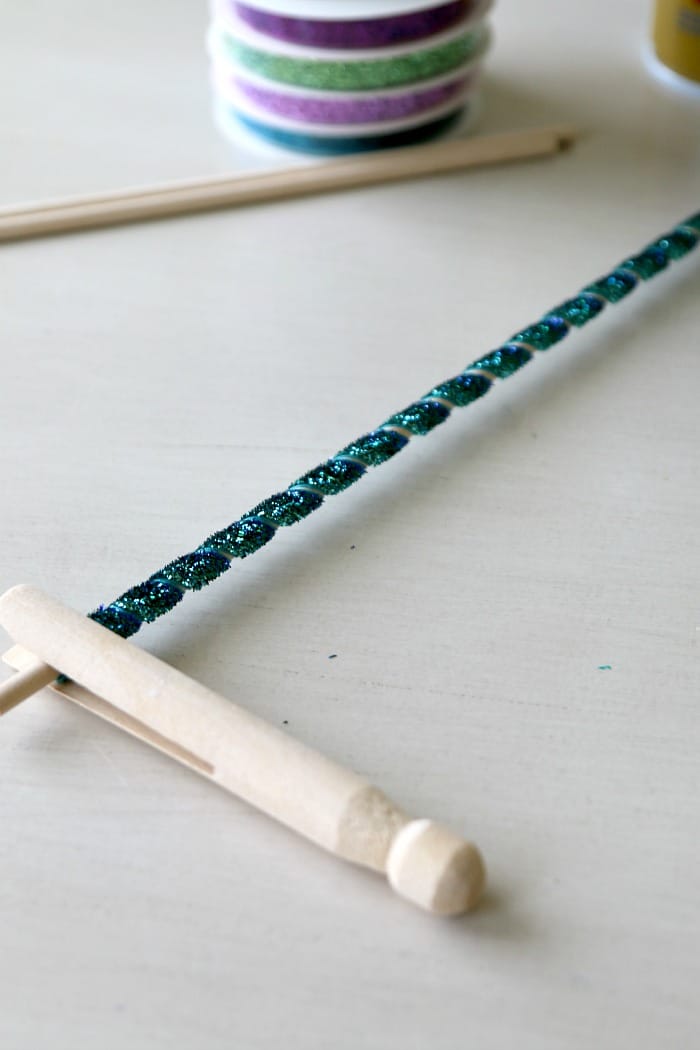
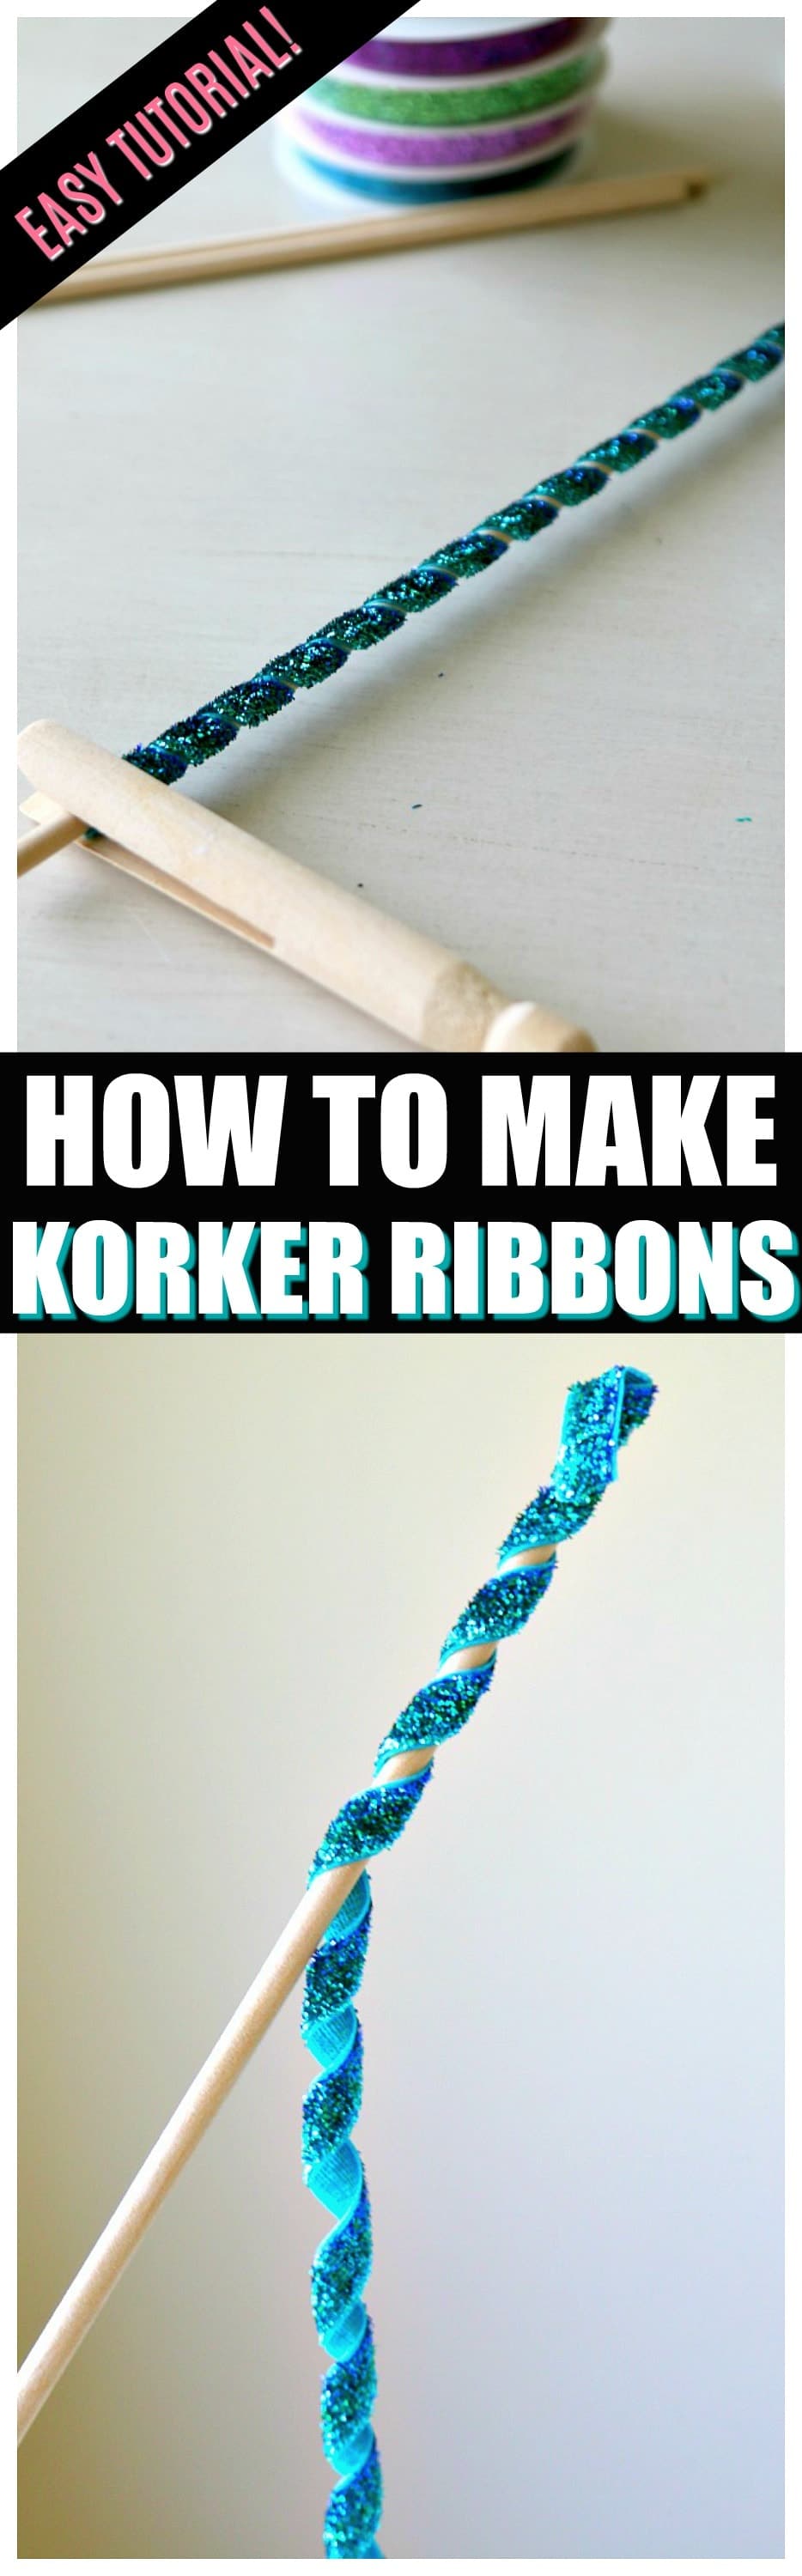
Attach one end of your ribbon to the dowel and secure it with a clothespin.

Slowly curl your ribbon around the dowel and secure it on the other end and then snip off the excess.
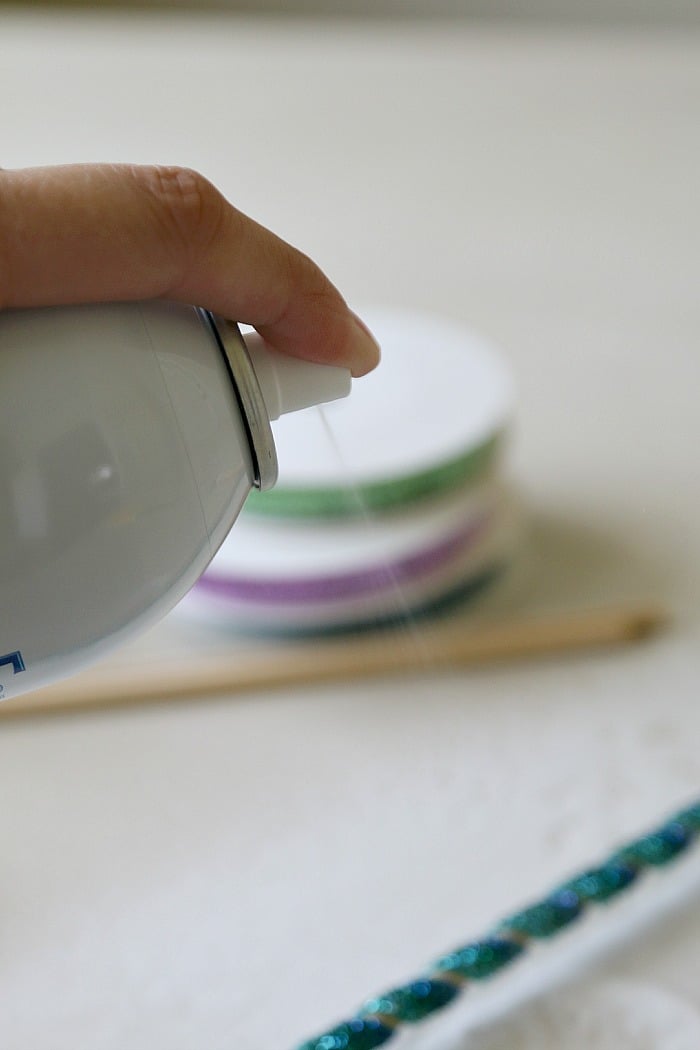
Spray the spiraled ribbon with starch.
Place on a cookie sheet, making sure only the clothes pins touch the sheet and the ribbon is above the sheet so as not to get heated and burn.
Keep in the oven warmed to 210 degrees F for 15 minutes. Remove and then allow the ribbons to cool.
Slowly unwind the ribbon. I spray it with starch one more time.
Clip your ribbons into the length you need and then seal the ends with Fray Check to prevent ribbon fraying.
You can use your new korkers in making a tulle wand! Check out the tutorial here.
FAQs
Q: How do you make Korker ribbons without baking?
A: In order to make the starch set long-term you have to heat it somehow. You don’t have to use an oven if you don’t want to. Here are two other ways you can heat the starched ribbon so it stays.
- Put the dowels with the wrapped ribbon in the hot sun for a few hours to heat and cure.
- Use an iron to carefully iron the ribbon for several minutes until the ribbons are stiff and set. This won’t work with any ribbon except grosgrain because you’ll melt the ribbon texture.
Q: Can you make korker bows with satin ribbon?
A: Yes, you can make korker ribbon out of any type of ribbon. With satin ribbon, it’s very important to use Faultless starch because it doesn’t flake. Apply the starch really evenly and be sure it doesn’t touch the pan during baking.
Q: How do you stiffen ribbon for hair bows?
A: You can stiffen any type of ribbon in any shape using spray starch. I always use Faultless because it never flakes. You can spray the starch on the ribbon, shape it as you like, then bake it at 210 F for 20 minutes. Allow it to cool then spray it with a final layer of starch. Keep the ends of the ribbon in tact with Fray Check.