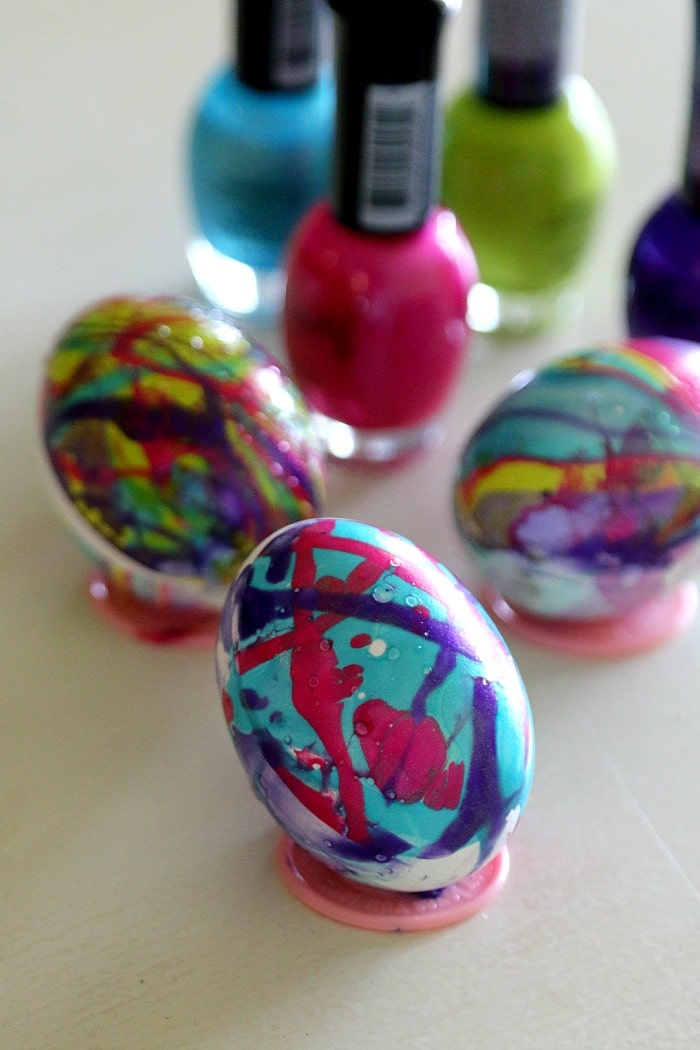
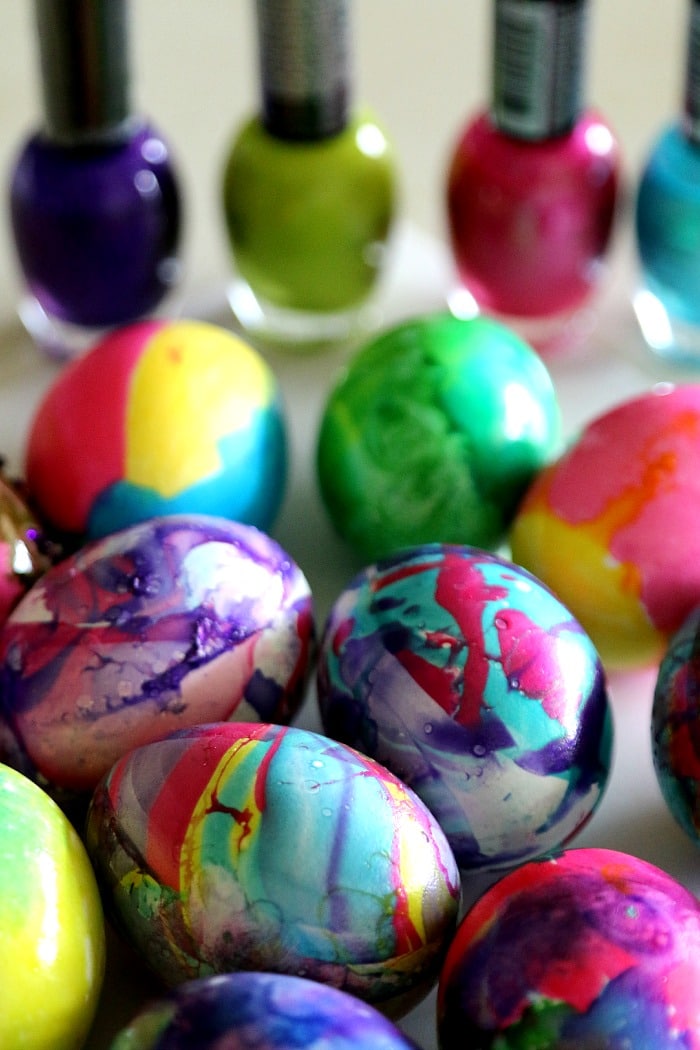
Marbling Beautiful Easter Eggs
Over Thanksgiving we marblezed some beautiful white pumpkins and I adored the way they turned out. This time I wanted to show that you can do the exact same thing as we did with the pumpkins simple with eggs!
Its actually a super simple process.
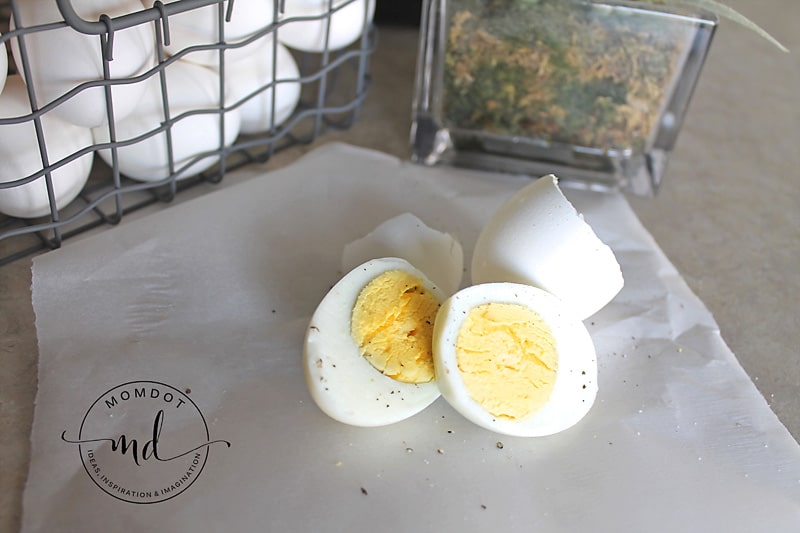
Learn how to Hard Boil Eggs in the Instant Pot {Here}
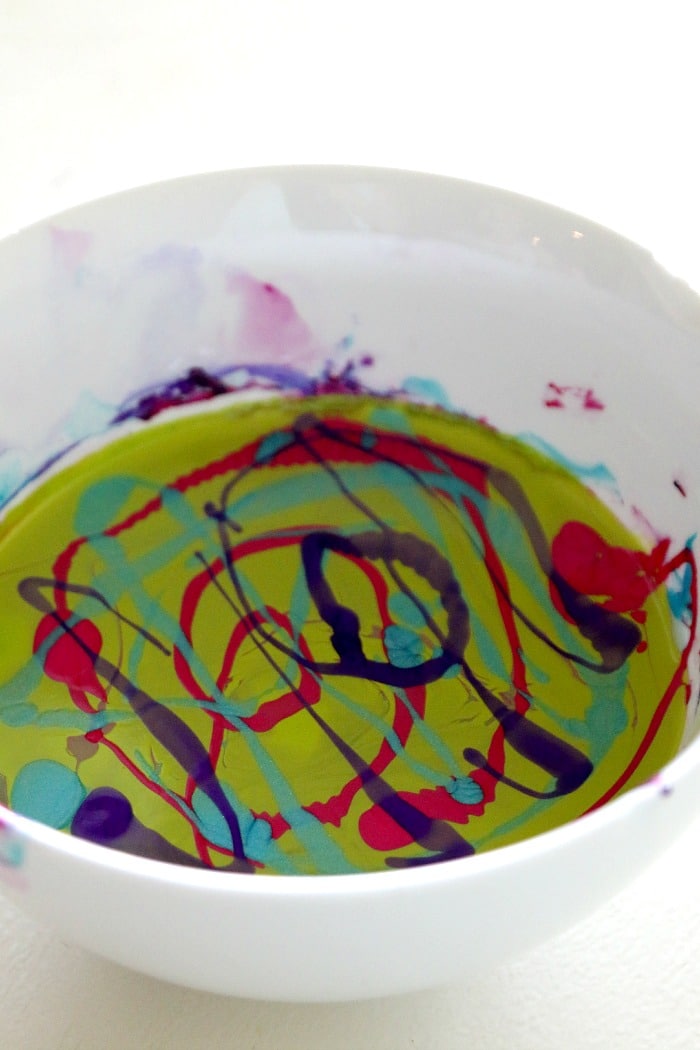
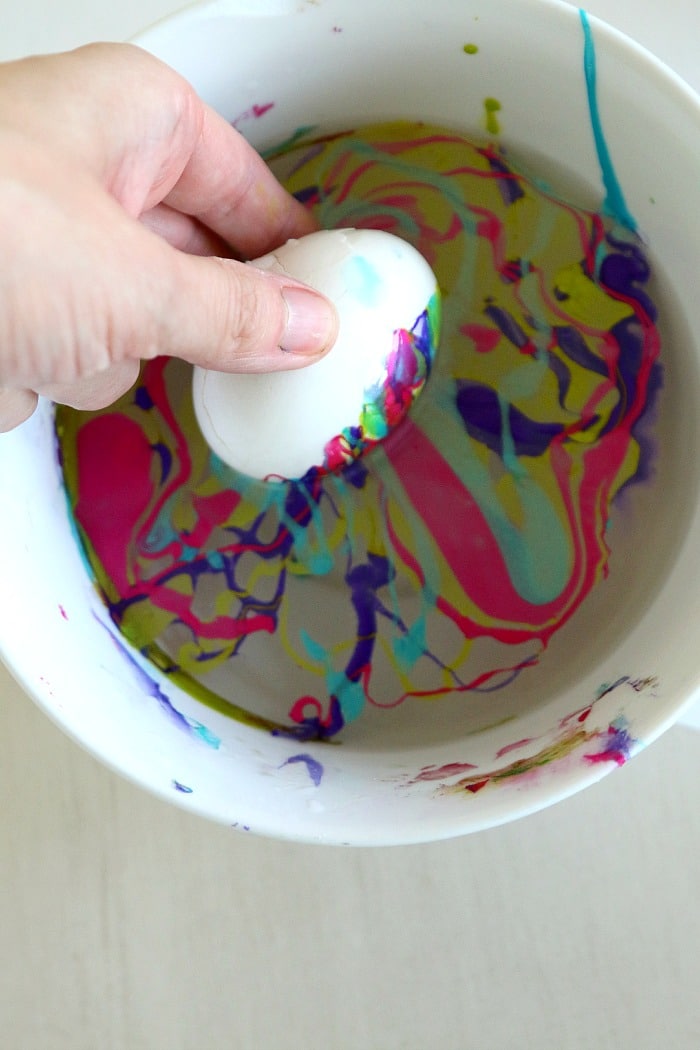
You can check out my other article for a step by step, but all you do is light pour nail polish into a bowl of water in a design. I generally take 3 colors and pour in a steady stream of circles and dots until I have the design I want. Because nail polish easily lifts OUT of water, it sticks to anything you put in. This can mean nails, pumpkins, or even Easter Egg designs as we did below.
BEFORE YOU GET STARTED, BE PREPARED!!
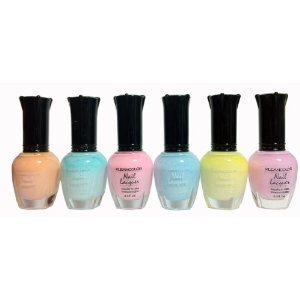
Before you get started on this craft you will need lots of nail polish! I like to buy cheap nail polish in lots of colors and these will work for your jar marbling as well. Here are a few sets that are inexpensive. If you order them, you will have tons of colors without paying like $7 a bottle at the store. Money savings!!!!!!!!!!!!
Kleancolor Nail Polish – Awesome Metallic Full Sinful Colors 10-piece Surprise Nail Polish SetKleancolor Nail Lacquers 6 Color – *NEW*


This is not only a fun way to use up some last bits of nail polish, but provide a really unique way to decorate your eggs WITHOUT a kit. Now remember, your fingers will get a little nail polish on them so trust me when I say to have remover on hand before trying this.

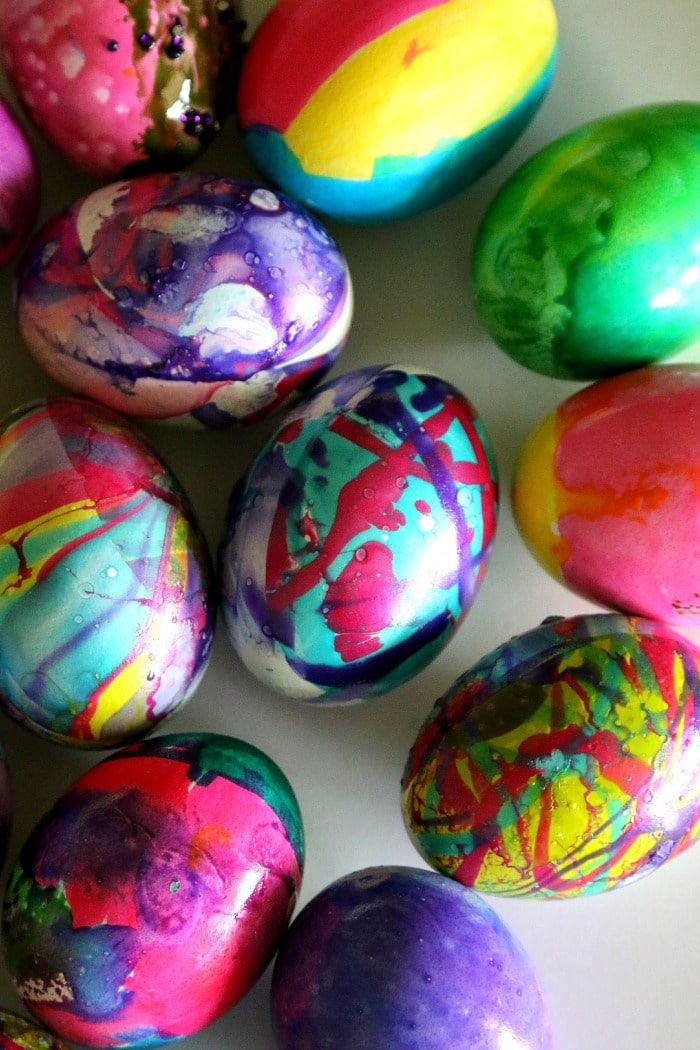
Okay those seriously way too pretty! Now I wish I hadn’t thrown out all of my girl’s nail polish, this would have been fun!