
How to make a Tutu Bow Holder
This is Step 2, starting with the skirt. If you need the bodice step, please go back to How To Make a Tutu Hairbow Holder, Step 1.
Hey everyone! I hope you have stuck with me through making the bodice, if so, congratulations for getting to step 2 in the bowholder making process. While this craft, when done right, can be tedious and long, the results are quite beautiful and make fantastic gifts for the princesses in your life, or even decor for your daughters room.
Just a reminder, we are working on creating this bowholder:

If you need a template, I finally have one for you! Go here get your FREE DOWNLOAD for the Tutu Bodice Pattern
Step#10 left us finishing up the bodice, so presuming you are there, we are going on with the skirt.
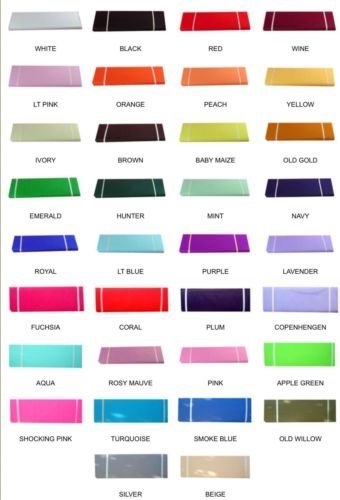
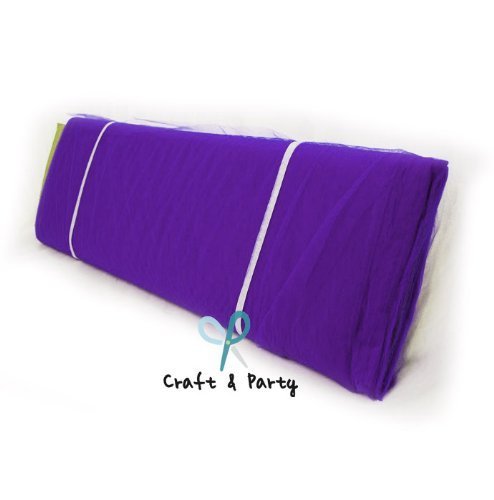
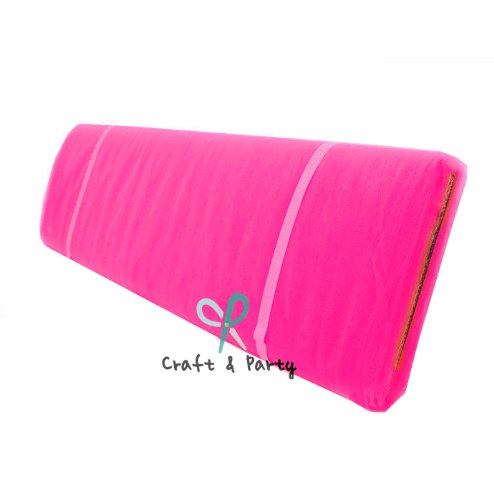
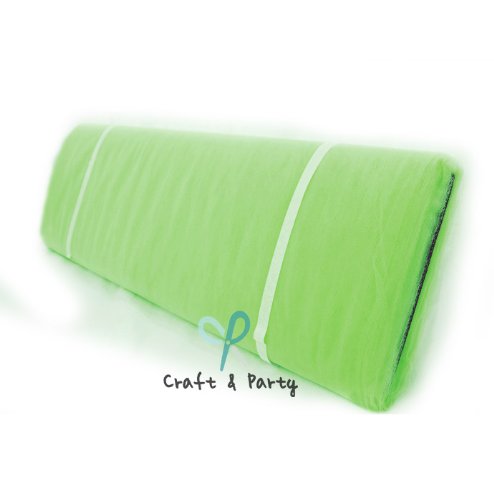
BUY YOUR TULLE
For your skirt, you will absolutely need a ton of tulle. These look best when the skirts are super full and you need to purchase tulle on a BOLT. Bolts can be expensive at the craft store, so I highly recommend you purchase a bolt (or two or three to mix colors) to make this craft.
Make sure you have your tulle ready for this craft because it takes a LOT. Buying it by the bolt is the smartest thing you can do. It’s pretty inexpensive on amazon and often with free shipping for less than half what you can get at the craft stores!
&
Ever Shine Tulle Bolt, 54 Craft and Party, 54Ever Shine Tulle Bolt, 54Tulle Bolt, Apple Green, 54

11) The next step in your process is adding the skirt. I like a big full skirt and use 6 yards of the tulle that you get from a bolt. Tulle from a bolt is folded in half. Leave it that way when you get it. You will need to measure the length of your skirt starting at about a half inch above the edge and down till you find your perfect length. If you make your skirt too long, it wont puff out, but really that choice is yours. When I make a small bowholder, I measure, tie off with the 1/8th tiny ribbon, and go to the next. I use my current piece to measure all other pieces against, but dont worry too much about trimming right now. We will get to that at the end. If you make a piece too short, you will have to trim all your pieces UP so always go a little longer than a little shorter. This is not really the place to try to conserve tulle.
Note: When I do a large bowholder, I actually DOUBLE my tulle by measuring, and then folding in half to create two sides. I use the ribbon to tie off the top. When you do a big holder, you need approx 12 yards.
Once all your pieces are done, go back and trim your ties and the ends. Leave enough room to glue onto the bodice and to keep the string tight.


12) If you are doing a pattern, I prefer to do each side and meet in the middle. I originally did a blue and white pattern but decided I didn’t like it and took the blue off and finished with full white. If you need to take your dried pieces of tulle off your bodice, its easiest to pull up and use a hot glue gun to melt the glue back off.
Slightly angle the two end pieces instead of making them up and down.

13) Once your skirt is one, you will note that your tulle is probably all uneven on the bottom. The way I even mine is to SIT on the bodice, gather the tulle gently and then use (REALLY GREAT) scissors to cut across. Once you let go, it should be nearly even. If you have a few straggly pieces, you can trim little by little at that time.


14) Now you will need to add your ribbon that the hairbows hang on. I use grosgrain and its very important you get the good kind. There are some really cheap grosgrain ribbons out there and they are slick. Don’t buy those or your bows will fall off. Measure your ribbon down till about 1 inch above the skirt line and cut. Use this piece to measure the others. You need 5 pieces. Anymore and it gets crowded on your skirt.
Once all five are done, line them up and trim both ends so they are perfectly even. Then fray check the ends that will be hanging down to prevent them fraying. STARTING WITH THE MIDDLE RIBBON, hot glue it on the middle tulle line. Then do the two outer pieces, then the two inner. That is the best way I have found to keep things even.

15) Now, no matter what you choose to do with your middle (I like three bows across the middle and also 3 flowers), you will need to “finish” the skirt. Take your 1.5 inch double sided satin ribbon and measure out three pieces that go a few inches off either side. Hot glue across the top of your tulle pieces and press the first ribbon down. You will only need to hook it to the tulle. For the second piece, hot glue the middle of the satin ribbon AND your bodice, and press down so it becomes the middle part (like a cummerbund) and also sticks to your bowholder. Your last piece should be your finishing piece.

This should complete your bodice and main skirt. Do you need another part of this tutorial? Try these links
- How to make a tutu hairbow holder (step #1, bodice)
- Free Tutu Hairbow holder Tutorial (step #2, this page)
- Tutu Hairbow Holder Instructions (step #3, back and detailed work)
Also please follow my tutorials on Pinterest! I want to stay connected with you!
Follow MomDot’s board MomDot Blog on Pinterest.
~Trisha

——————
I have been asked how I fold the tulle…here is a video for that.
Can you recommend a good brand of ribbon to use? I would love to make these for my nieces.
had fun ,turned out nice not perfect but for the first time nice. May try gathering the tolle next time. thks fir the good directions sry thy would not print. This is for my great grand daughter for her millions of bows lol. Have a wonderful Christmas would send s picture but dont know how . Merry Christmas and happy New Year. God bless
A question? When using rolls of tulle, how long do you cut the tulle? For your large bow holder what is the total length from top to bottom
I made one for my grand daughter and it is prwtty. Thanks for a beautiful idea.
I just love love this idea, so cute! I had tried it and ended up with blisters on my fingers(ouch), and my top had creases in the fabric. However I did enjoy making it! Your site has became my favorite yet! Thanks
Yeah it can take some practice on all that. I used to get burns on my fingers but learned tricks over time. 🙂
I do have another question, though. I can’t find the instructions for how the ribbon strip is constructed that holds headbands… Please advise.
How wide is each section of tulle that you tie the 1/8 ” ribbon around? You didn’t give this information in your instructions. Thanks so much! 🙂
Never mind — I see the explanation now in the video clip. Thanks much! 🙂
Thank you so much for all your help. I love your designs.
Can you give the size on the large and small hair bow holder.
Thanks
I bought some tulle from a whole seller and I believe it comes on a roll not on a bolt. How would I go about cutting, folding it for the skirt on the holder??
Thanks,
Jamie
Can you please tell the dimension of the bodice? And the length of the tulle for the skirt. Thank you so much
This is beautiful!
I was wondering the same thing about cutting the tulle!
It’s probably just me, but how exactly do you cut the tulle? I understand you leave it folded in half like it comes of the bolt, but do you then cut strips of the fabric? About how wide and long are each strips? 🙂
Thank you so much for posting this! So excited to start on mine this weekend!