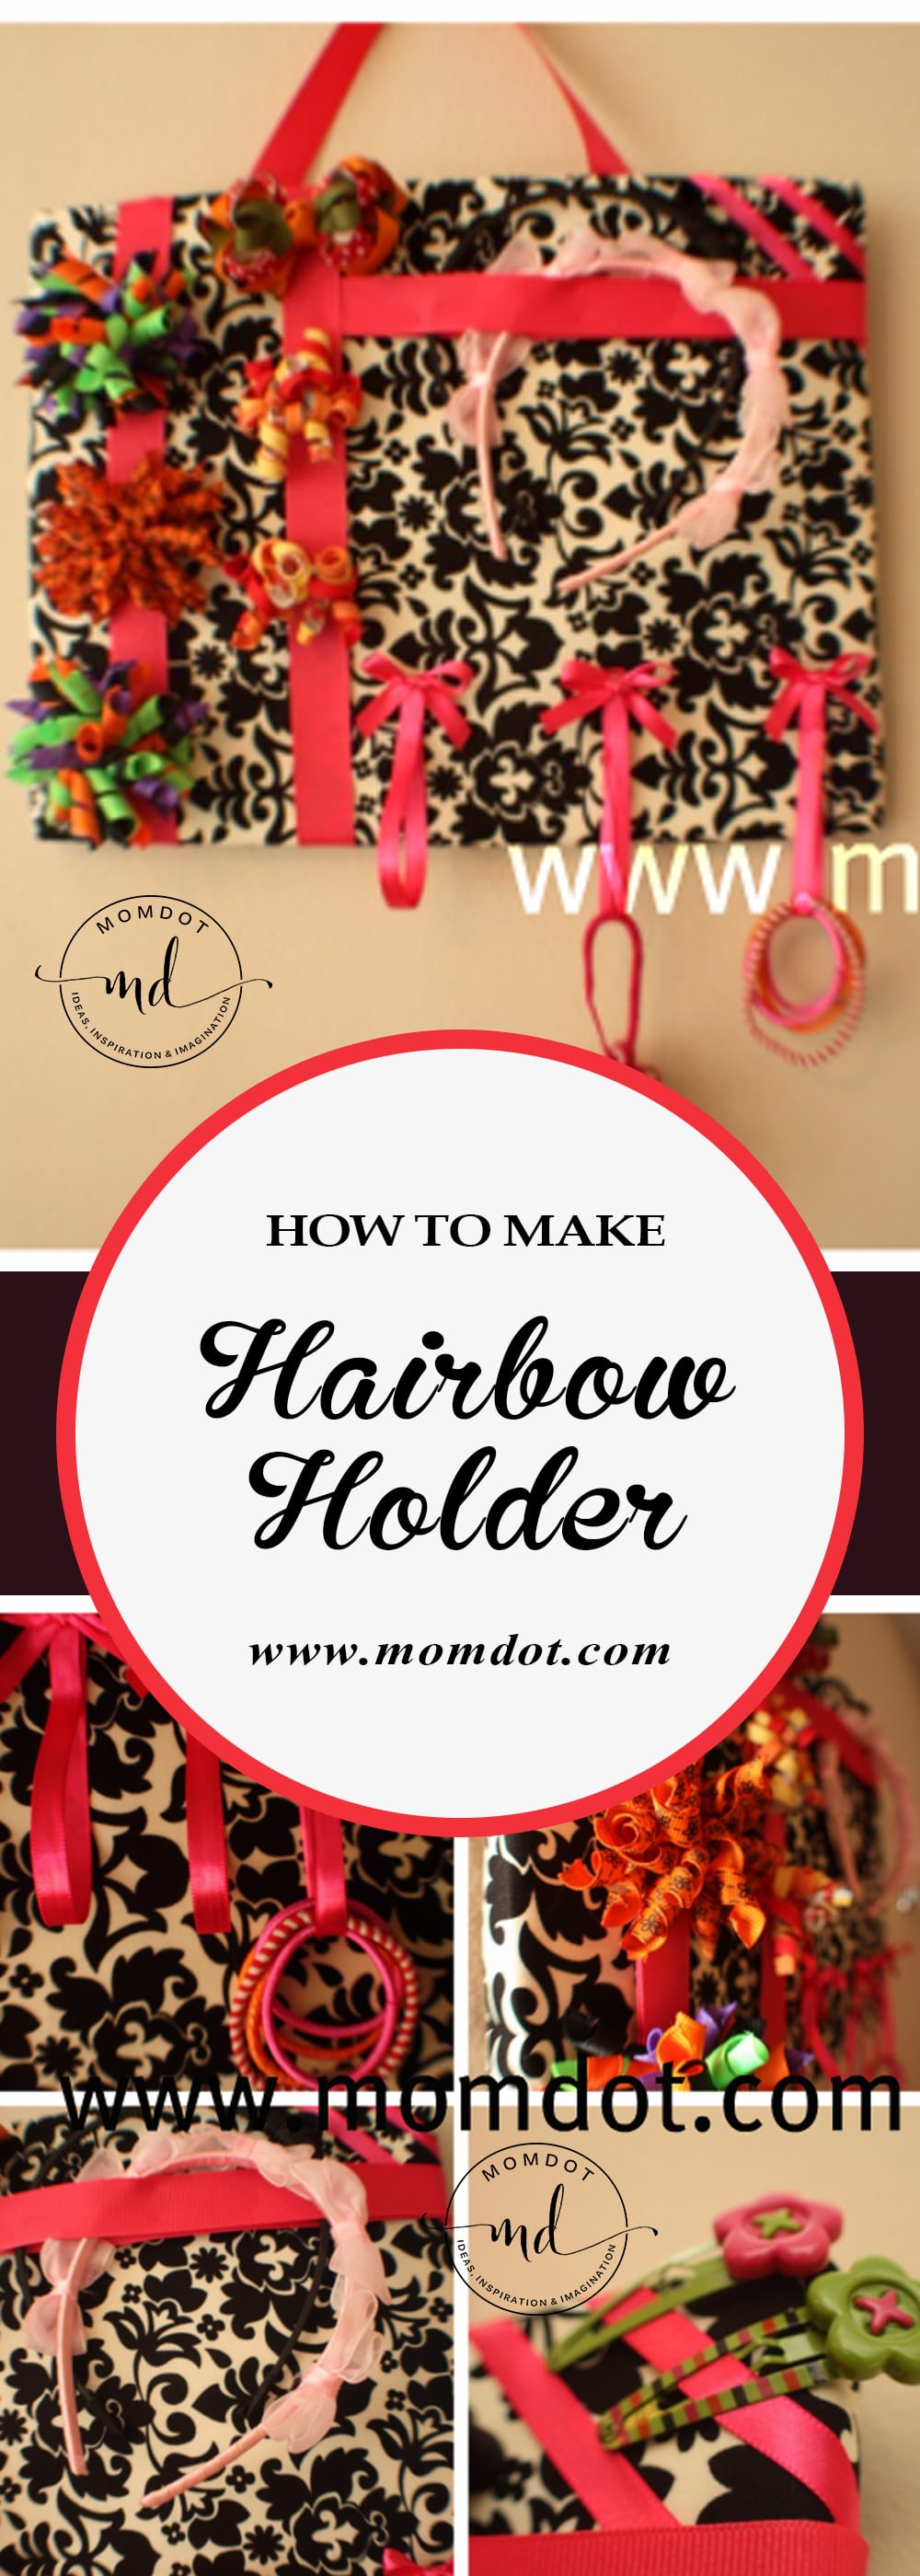
This super easy Hair Accessory Organizer DIY is a must have for any little girl. I use this often to keep ponytail holders (pony-O’s), hair-bows and headbands in one neat place. Scroll down to the bottom to get a Printable Version of this DIY !

Before you get started! If you need a great place to get a stretched canvas
 to make this, I found one.
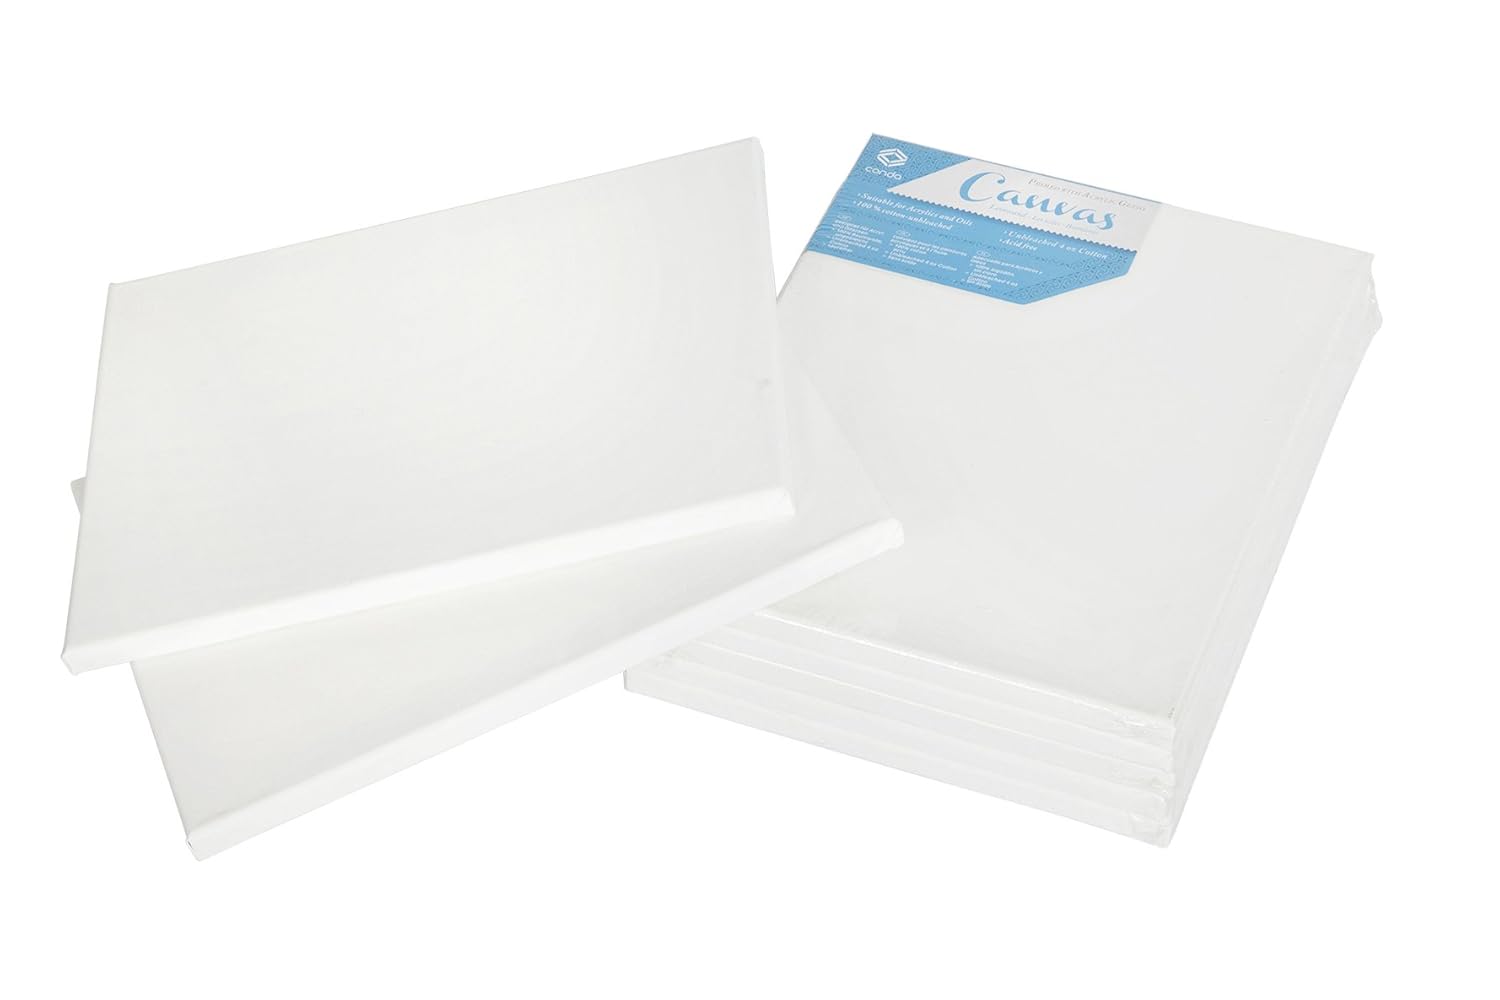 conda stretched
How to make a hairbow holder
How to make a hairbow holder (tutorial and do it yourself project):
What you will need:
- a Canvas the size of the holder you are making ( i used a 8.5/11.5)
- Hot glue
 or staple gun
 - 1 inch grosgrain ribbon
- enough material to cover canvas, a half a yard should be more than enough
- any decorative pieces you want to girly up the holder
- velcro
- 3/8ths satin ribbon
 or
or 

 you want to girly up the holder

Hair Accessory Organizer DIY Instructions
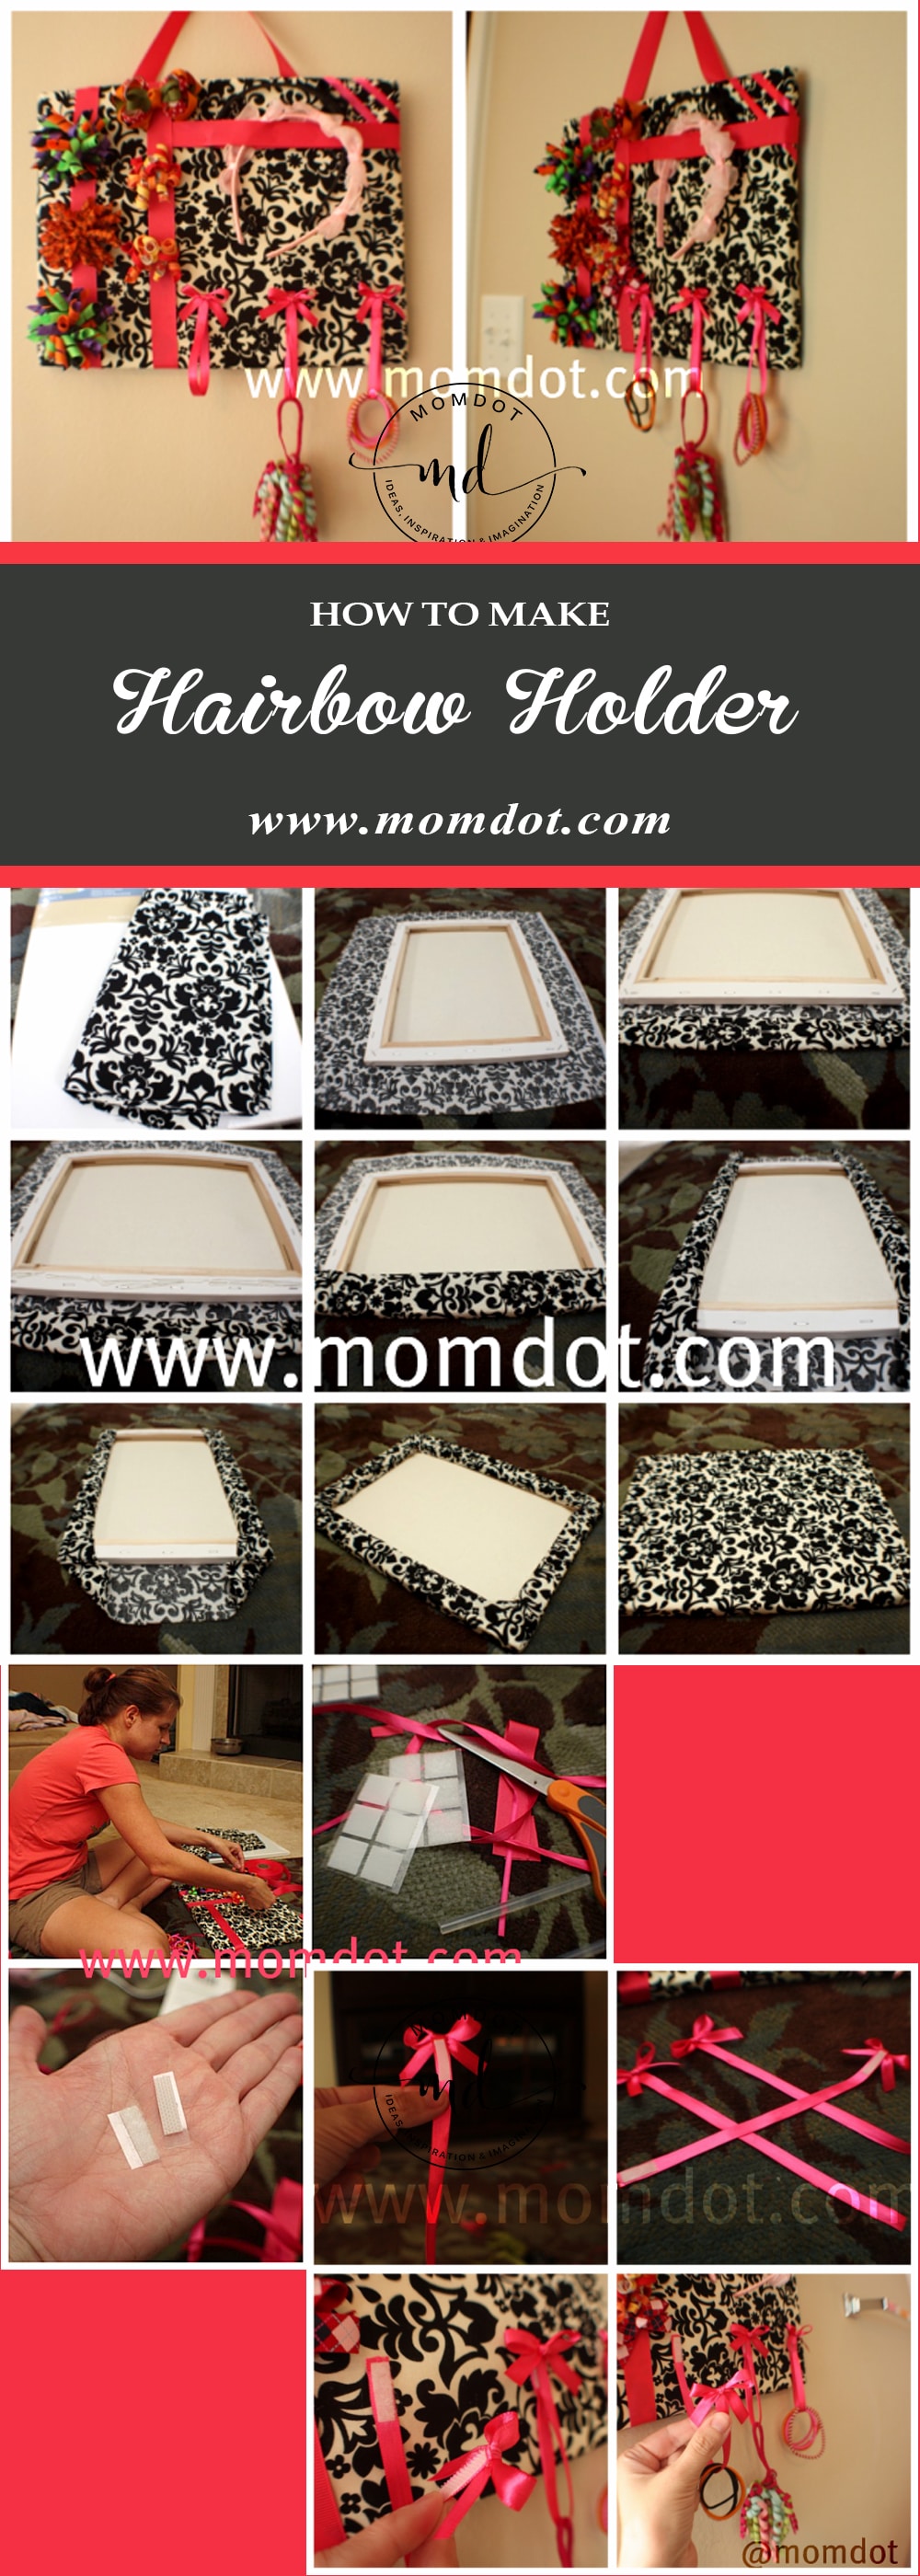
The first thing you do for your Hairbow Holder to make this DIY Hair Accessory Organizer is to cut your material and put your canvas on top of it. I chose to use hot glue gun because its what I had on hand, but you can secure with staples as well if you have a staple gun. I folded the edges so they were even and hot glued down.
Continuing all the way around, I did the top and the bottom and then secured the sides much like you would a Christmas package.

The next step is to prepare your ribbons (If you want only a hair bow holder, you can do a very easy design where you stripe all your ribbons down in a row and secure. Make sure they are long enough to go to the back side and hot glue or staple down.)

I first put on my hair bow holder ribbon and then centered the rest around that. I decided to make a headband ribbon, which is a design I use for my hair-bow holders. I took a long piece of grosgrain and putting a dab of hot glue every 1.5 inches and laying the other half down to secure it. This essentially leaves you with a ribbon with “holes” in it more or less that you can drop a headband into it.


Now to prep the pony-o holder, I took a satin ribbon and doubled the length I wanted it to be and cut. So if I wanted a 2 inch down, I cut a 4 inch ribbon. I sliced up 2 pieces of Velcro and glued onto the ribbon so when the ends connected, the Velcro stuck together.
I tied a bow and placed on the top to give it a finished look.


After that, its just about doing a layout on your canvas and putting together. I went through several design layouts before I found one that worked for me. Originally I put my headband holder on the bottom and the pony-o holder on the top, but decided I need more space to hang the pony’s, so I took off and redid.
Just get creative with the hairbow ribbons that you have and think about the space you need so you don’t crowd them. There really isn’t a point to taking them out of the drawer so they don’t get smashed if you just smash them up again.

TIP: While I didn’t finish the back (I left the canvas open), you can always cut felt the same size and hot glue or staple down so its a nice smooth back.
Crafting your own fashion doesn’t get any better! I find that it all relates because what I cant find to fit exactly, I just make. I hope they are helping someone fru-fru up the little girl in their life!
Don’t forget to check out these other crafting posts on momdot:
 As always, leave your pictures or links if you create something or the tutorial helps you out!
~Trisha

I <3 your tutu's wanting to make a few of these for Christmas items
wow this is cute! going to try this one soon!
Beautiful! It also look like a shoulder bag when hanged on the wall 🙂 My daughter will surely appreciate this ..
This bow holder is Beautiful but can you do a Tutorial on how you do the TUTU bow holders. I would love to make this for my niece who is a dancer.
I got an email from a reader asking how to make a hair ribbon holder. I LOVE this. I’m going to send my readers over here to check it out. 🙂 That’s for a great tut!
Hey! Love the bow holders! I was wondering if you could direct me to where I could find instructions for the tutu bow holder!
I love this. It turned out really cute. I was wondering however would you post instructions on how you make your tutu hair bow holder? I LOVE them, but I can’t figure out how the tops are made.
Thanks
Hi, I love this tutorial for a hairbow holder. I have looked and looked for an idea on how to make one. Thanks for sharing it.
These are so cute. You are very crafty!
Totally tried this today and it turned out great! Thanks so much!!!
I love this tutorial! I can’t wait to make it! Thank you very much!
this is such a fantastic idea! i will try it some day! 🙂 thanks a ton
Thank you so much for this blog. I’ve been wanting some sort of hair clip holder for my little girl, but haven’t had the time to put the brain work into it. Now I can follow your lead!
Very cute and great inspiration! Posts like these make me wish I had a girl. SIGH….
I need you to come to my house and help me decorate for this girl we have on the way.
What a great tutorial on how to make these. They are sooo cute! I wish i were that talented, but I’m afraid they wouldn’t turn out quite like yours 🙂
That looks fantastic!!!! Love the colour scheme you used..
Wow, another great project for you ! I love this idea, I have so many containers laying around that had clips and hand bands and pony holders it is crazy. I might have to give this one a try
You are so creative Trisha, and very talented 🙂
OMG – I want one of these. For myself. My kids won’t appreciate it as much as I would.
Didn’t think I could love you more, but you did it! I’d stay and right a lengthy post but I’m off to buy supplies.
Great idea! I think I need to make one of those. The hair bows are taking over and Carlie doesn’t even have much hair yet!
Those are absolutely amazing. If I had a little girl I would be all over making them. You are one talented lady!
I really love this…I am constantly looking for something to hold all of my girls hair accessories and this looks perfect!
Wish I’d had this when I made my daughter’s hair bow holder. Hmmmm… She may be getting a second one.
Sigh, this is so pretty, wish I had a girl!
That looks easy once you break it down step-by-step!
I love this (and that hairstyle)! You are very creative.
Very cute! I need to make something like this for all the girls hair pretties!
Trisha, that material you used – I love it! You are really talented with crafts – me? Not so much! Since I have two sons though – they don’t mind. I’d be screwed if I had a daughter.
Oh this is easy enough, I really need a holder for all of Zoe’s hair stuff. I’m so picking up supplies to make this….bookmarked!
I wish I had a girl and was as creative as you are! Your my hero.
OH THIS IS ADORABLE! We have a million hair bows laying around here and I need something like this! Thanks so much for the detailed instructions – I bet I can do this!
Believe it or not, even though I raised two boys, I have a ton of pony-os and ribbons and barrettes for my puppies, and some headbands for myself. This would be so perfect for my house and I am not at all crafty, but I could probably make this with animal prints.
Thanks for the tutorial – YOU ROCK!!
Y’all are so amazing! Do you still have a shop online?
Very cool.
Cute!
Love it. I made a plain one for cadence out of a picture frame, but I really like the way you did yours and may do one of those, too!
love this! i think I actually have a canvas
This is SO cute. I make one for all MY pony-o’s. I need a fru fru in a house of all boys! ;D
AMAZING! I have one of yours, but love this one too. I need a place for all Isabella’s pony tail holders!
Kas