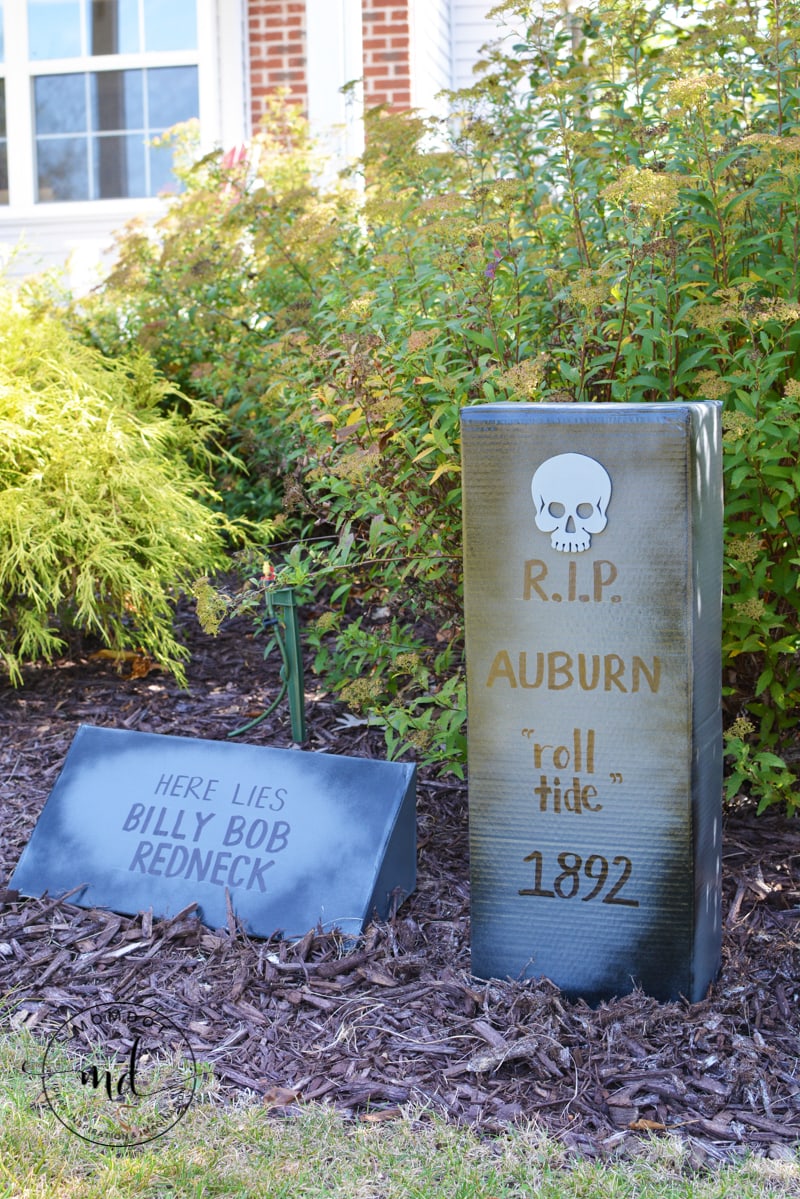
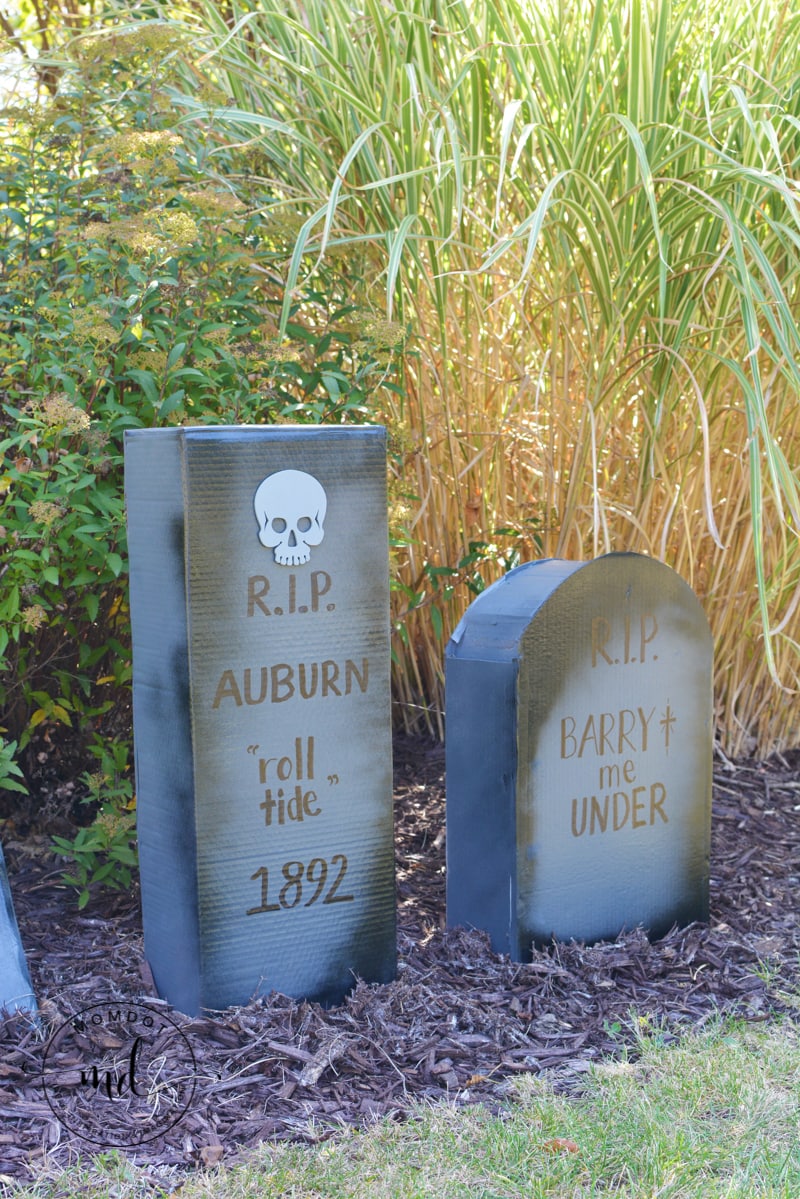
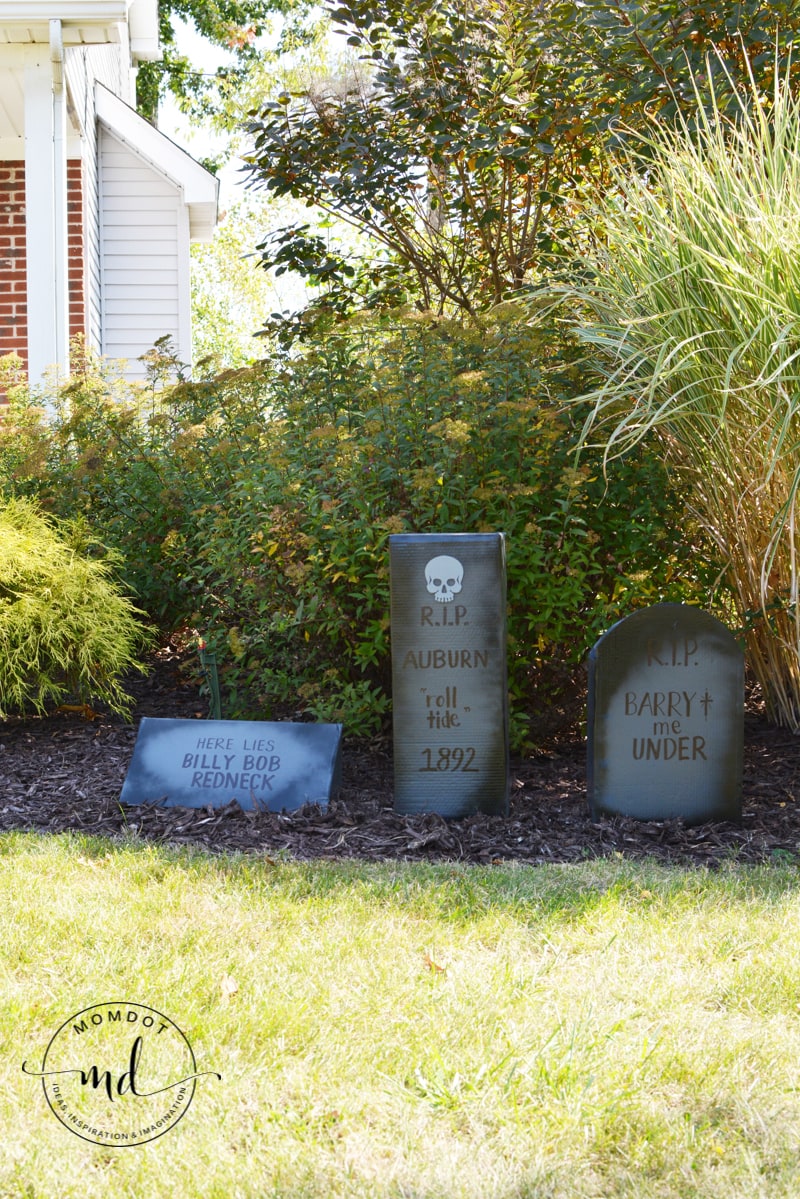
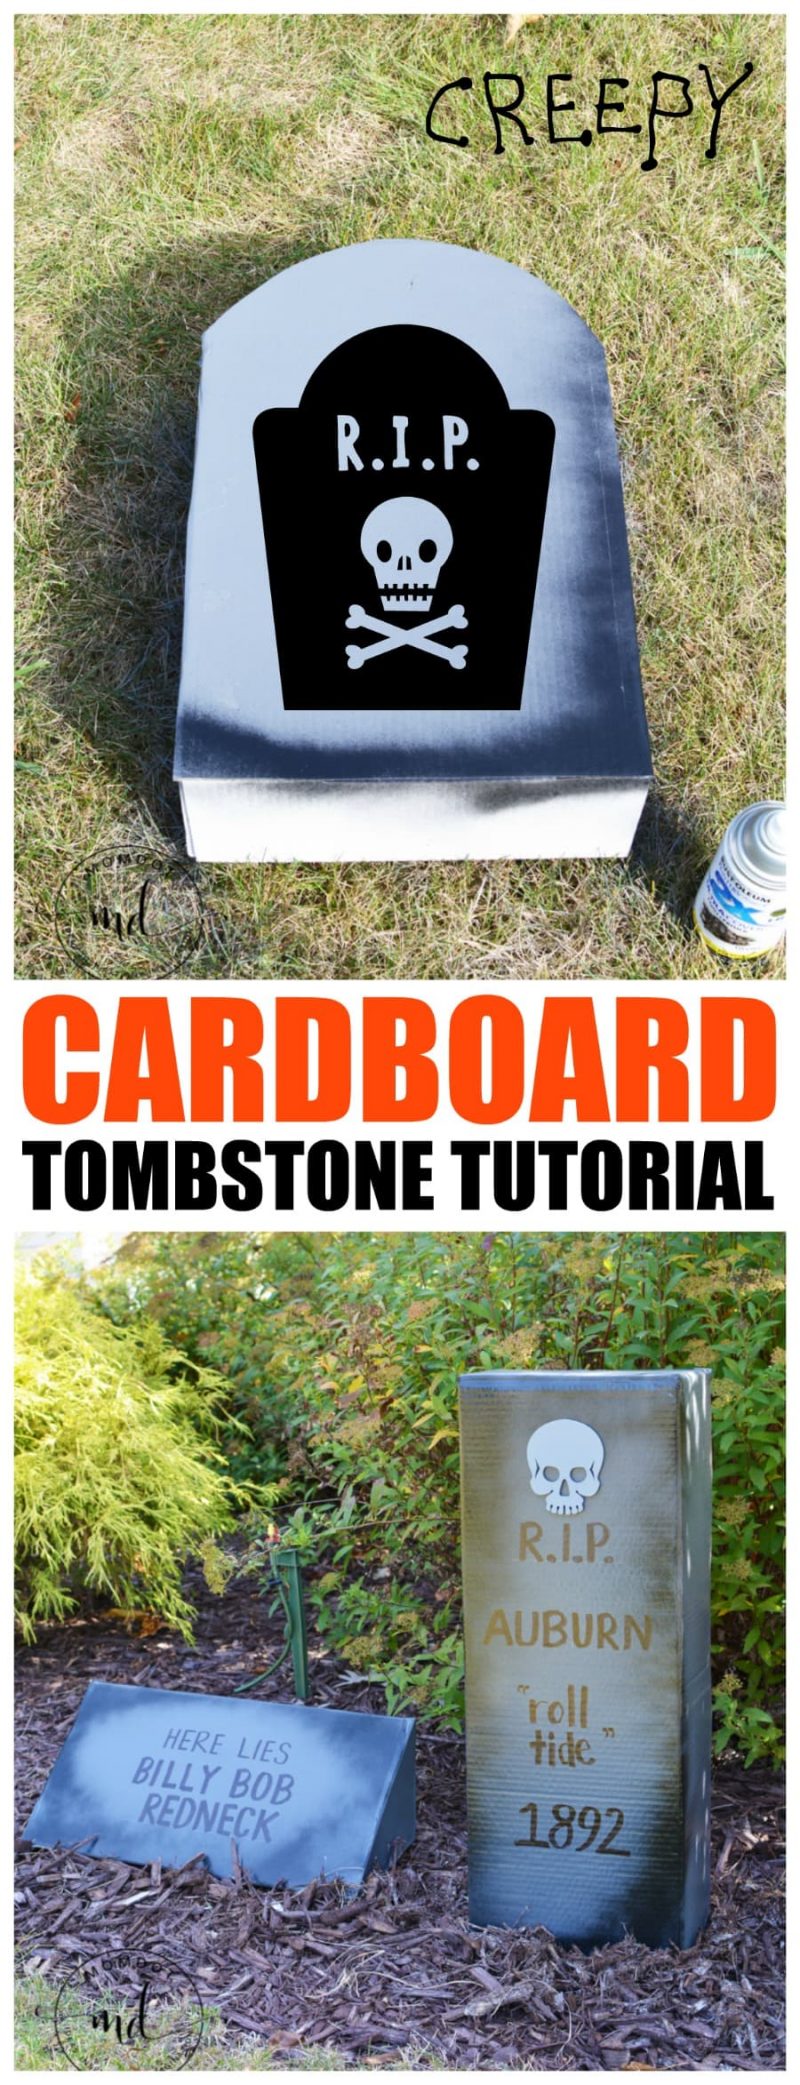
Check out these fantastic DIY Halloween tombstones that are sure to have your spooky visitors giggling! Once you know how to make a tombstone from cardboard, you can add your own silly phrases and create a graveyard just in time for trick-or-treating.
Learn how to make cardboard tombstones to spook up your yard today!
RELATED HALLOWEEN POSTS (That you will LOVE!!)——–> Just click below to head to the tutorial!
How to make Cardboard Headstones
How to make Yarn Pumpkins
Mad Scientist Slime
Cat Ears DIY
How to make a Halloween Wreath with Cupcake Liners
- Cardboard Boxes in Various Sizes
- Utility Knife

- Permanent Marker
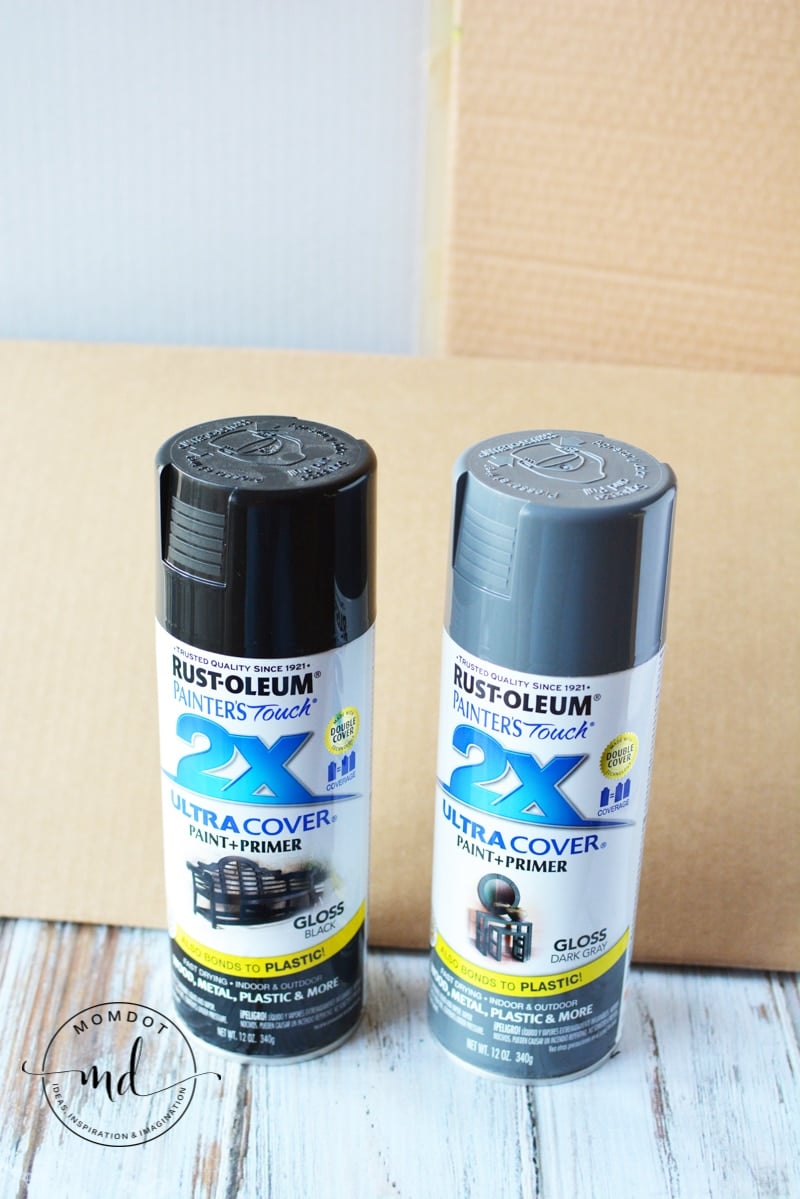
- Black Spray Paint
- Dark Gray Spray Paint
- Masking Tape
- Ruler
- Pencil
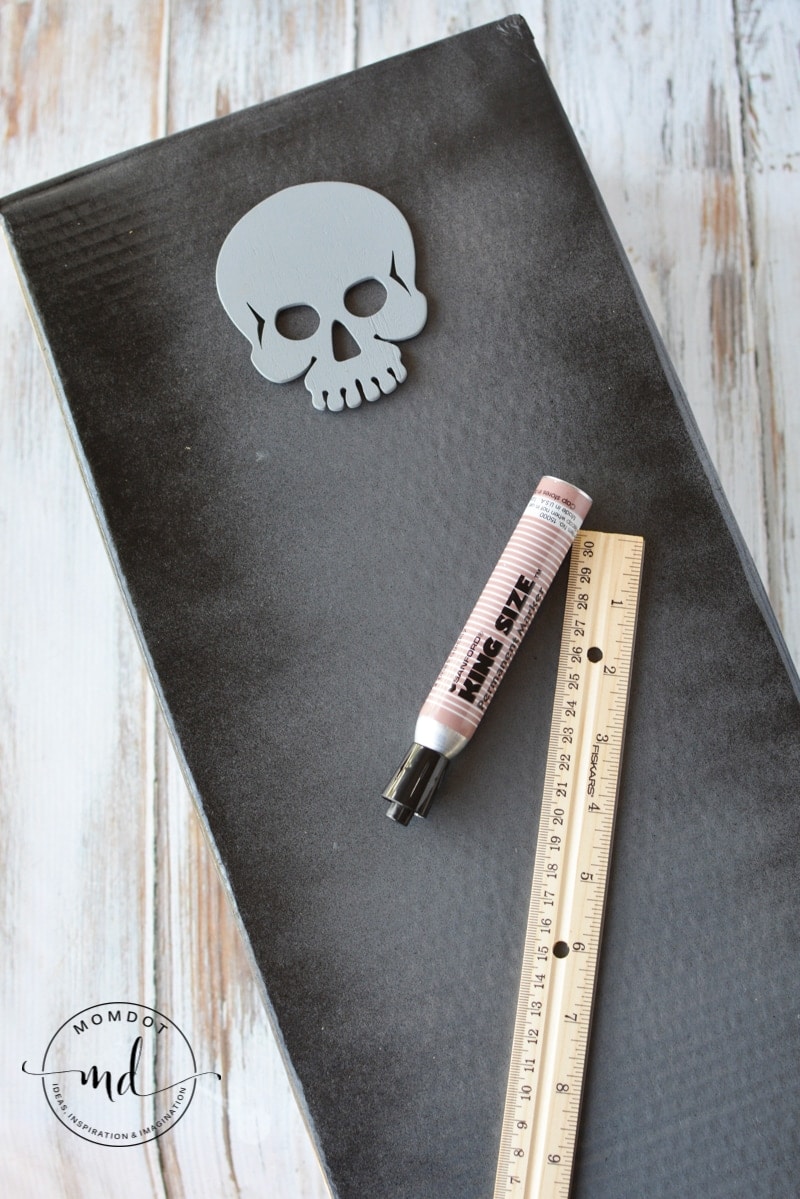
- Pre-painted wood cutout skull
- Hot Glue


How to Make Cardboard Tombstones
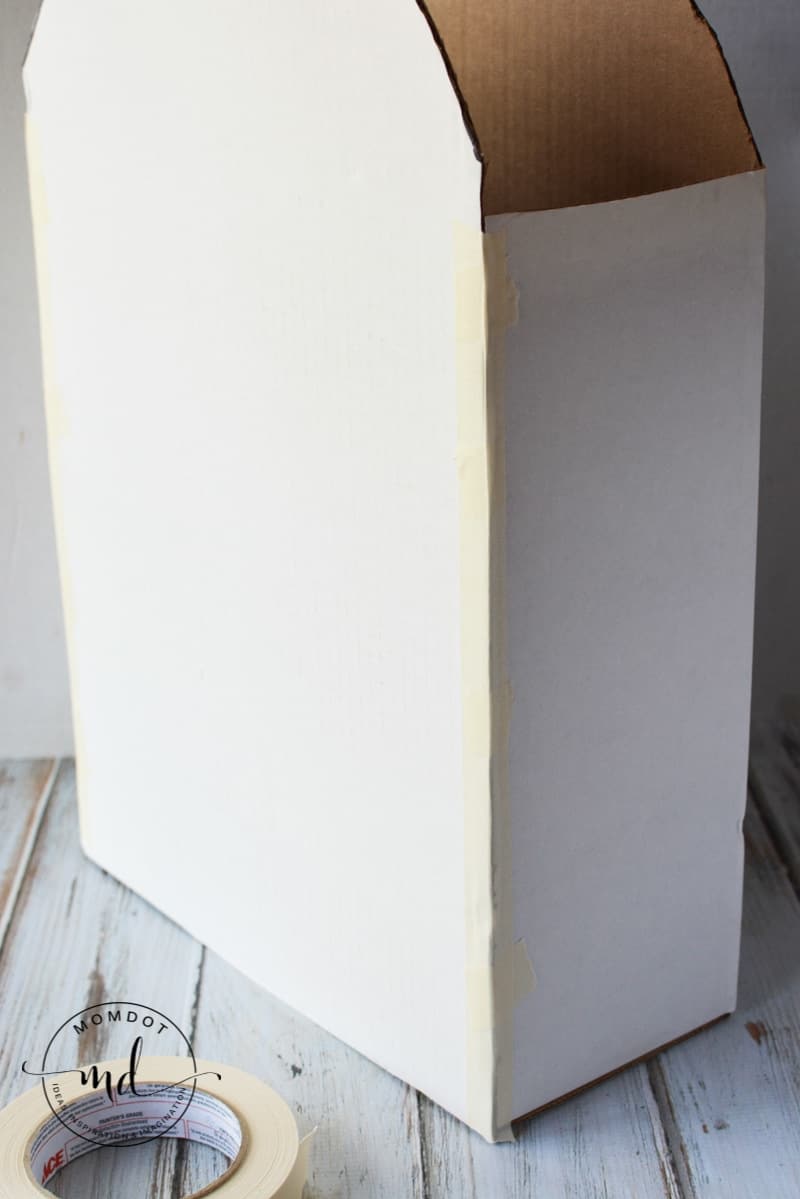
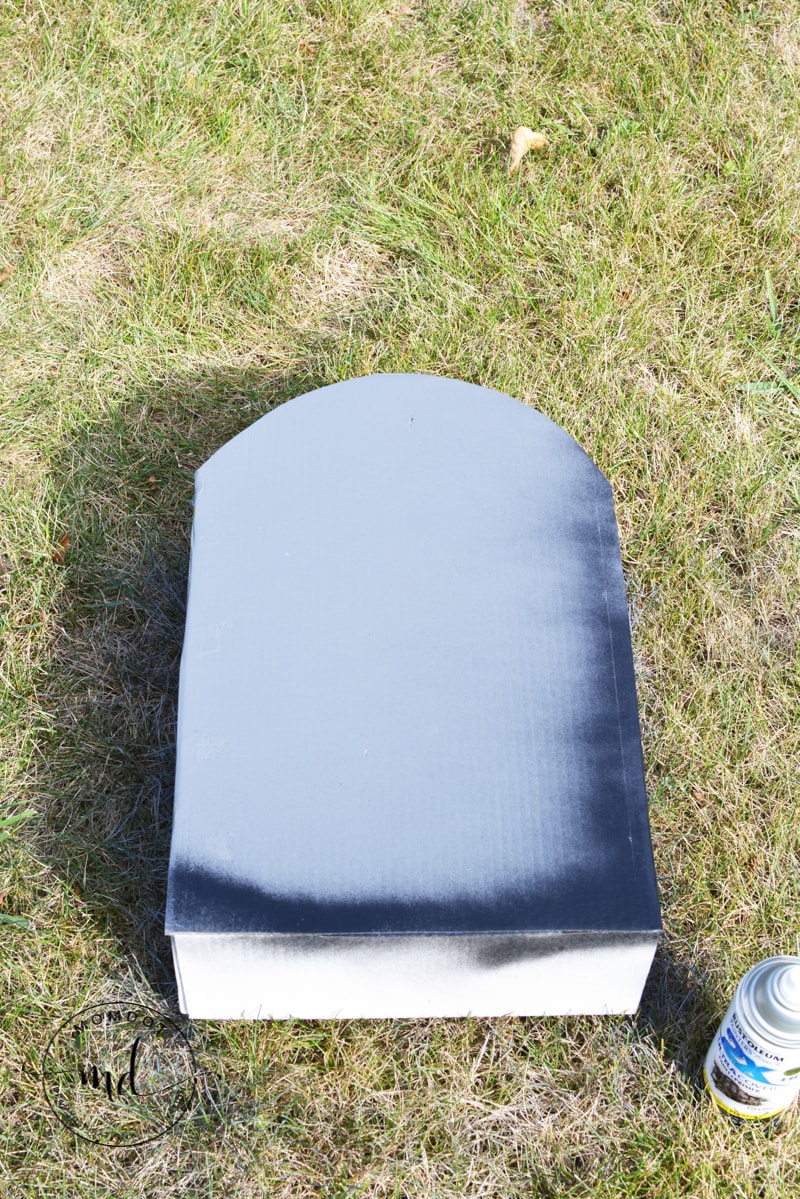
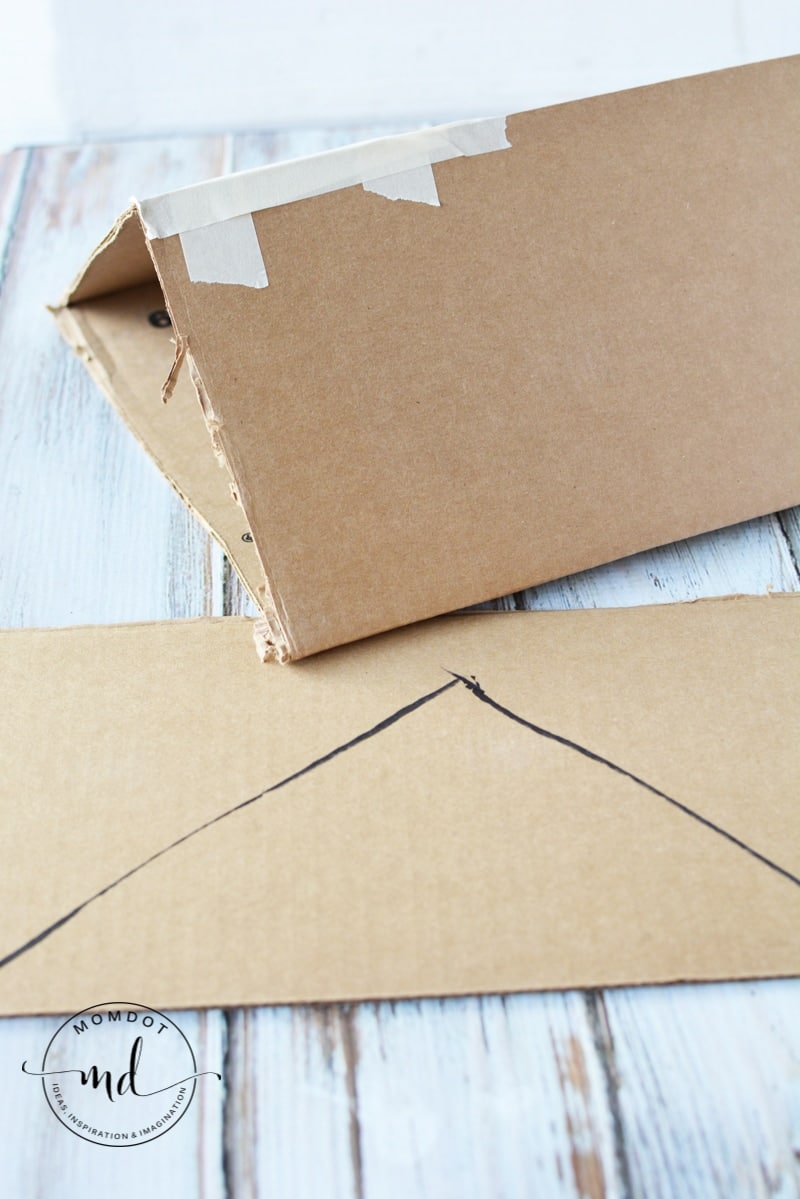
To make a curved tombstone, draw a curve on a top of a rectangle box with a permanent marker.
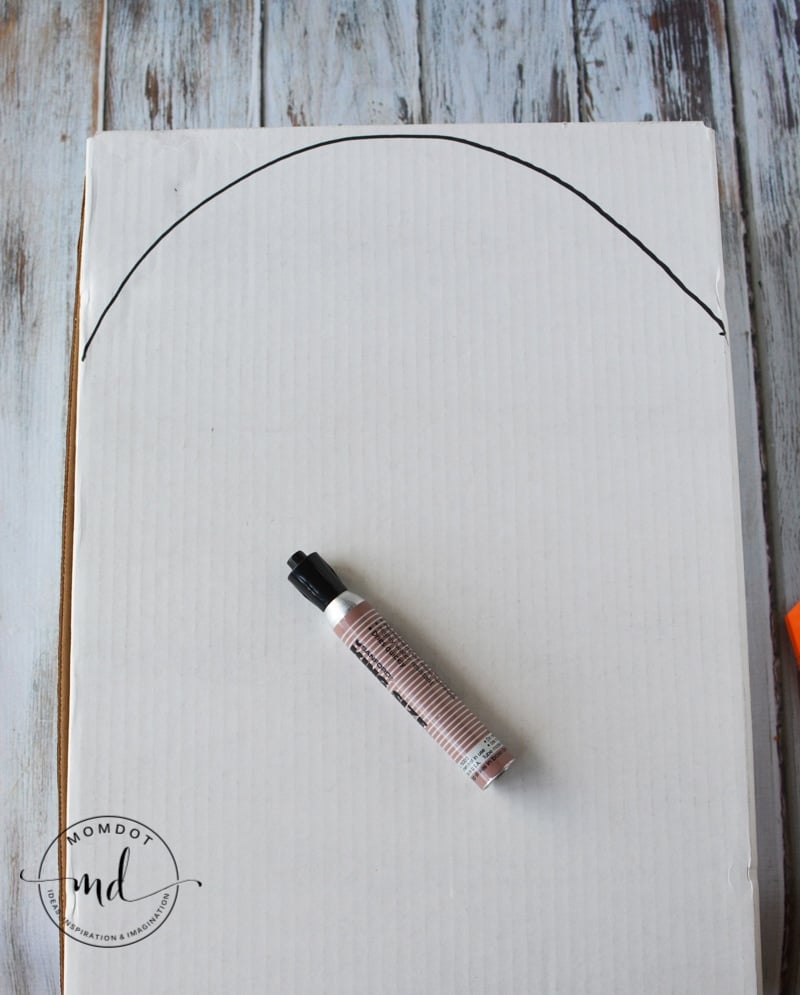
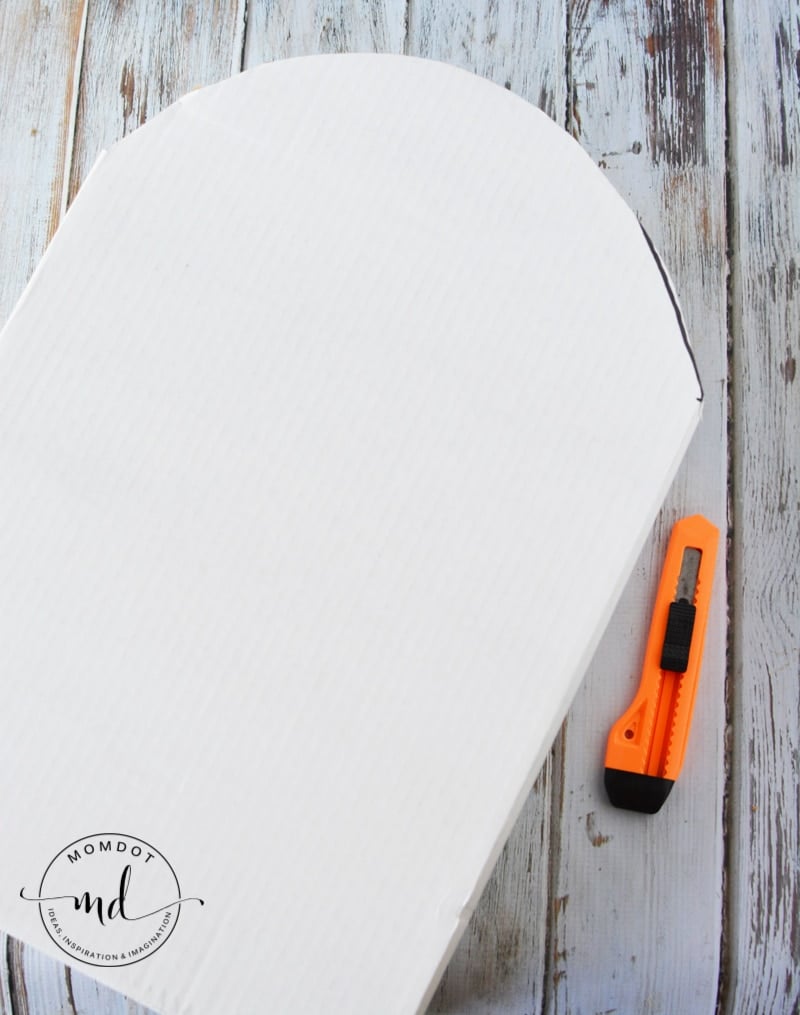
Cut out with a utility knife .
.
Use the bottom of the box to trace the same shape and cut with a knife.
Place the two pieces together and seal the seams with masking tape.
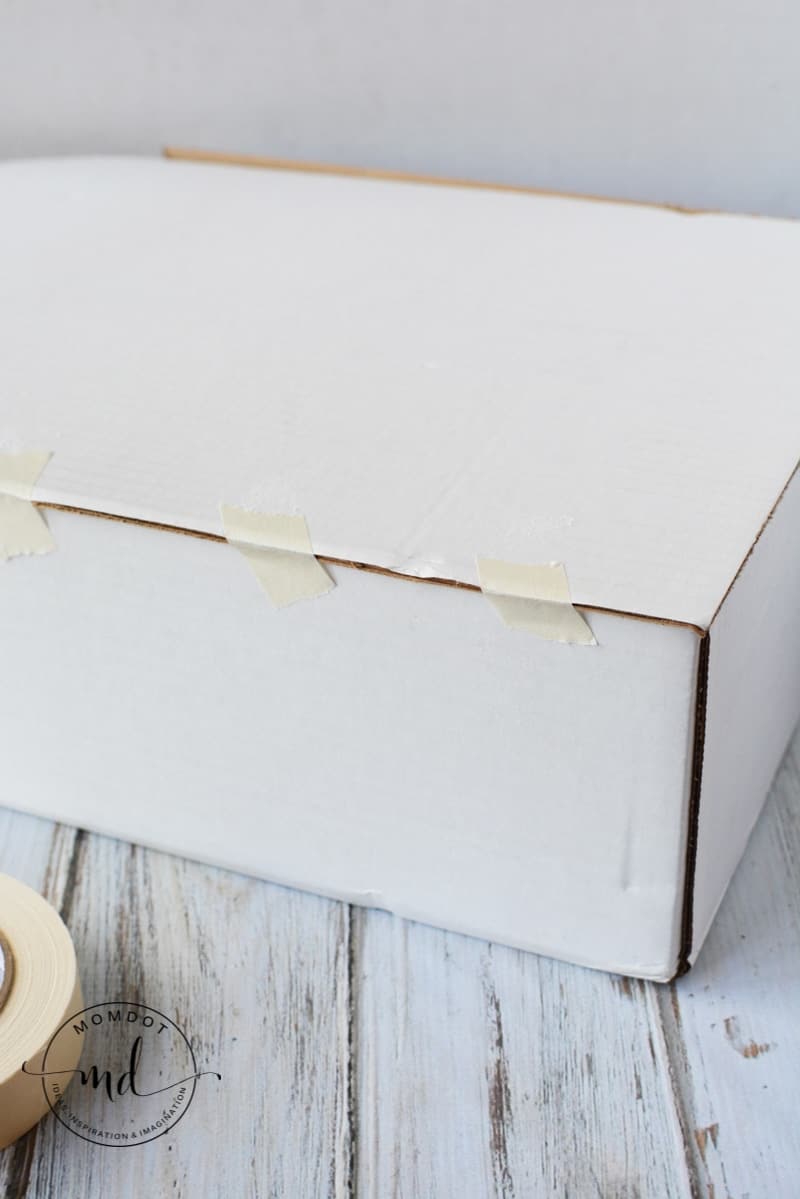
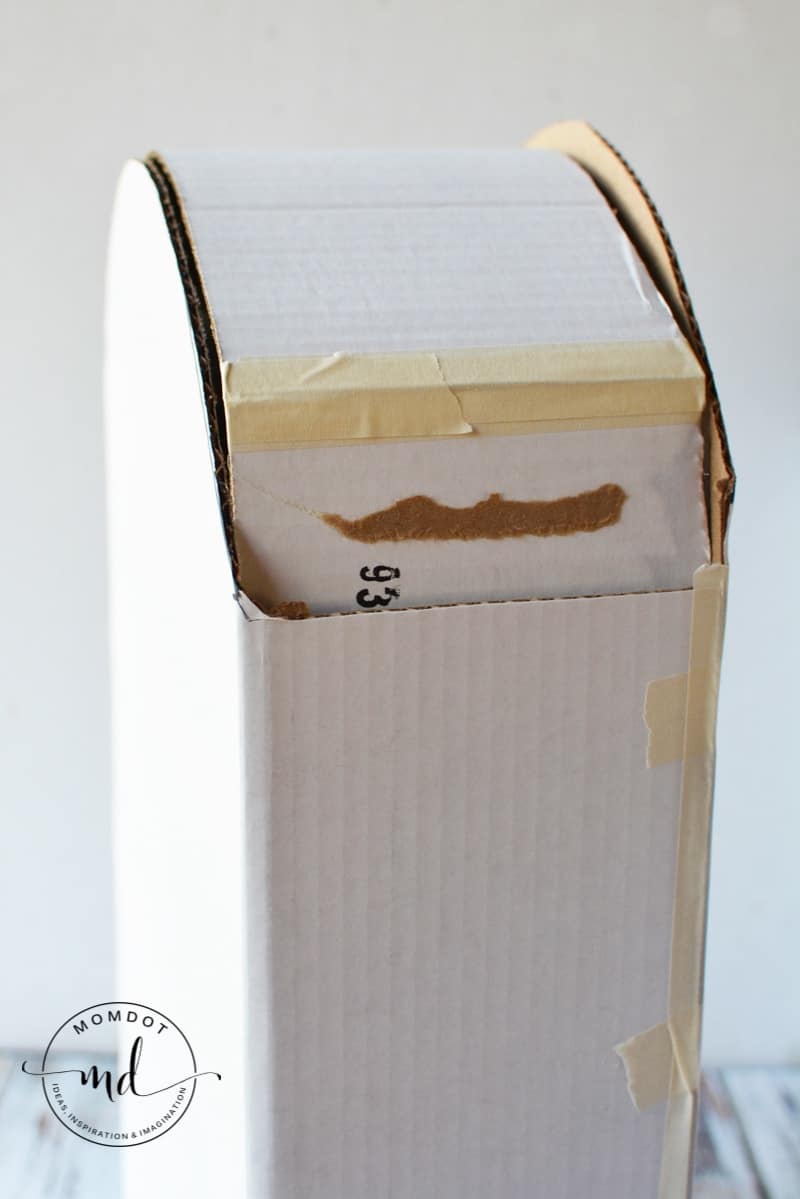
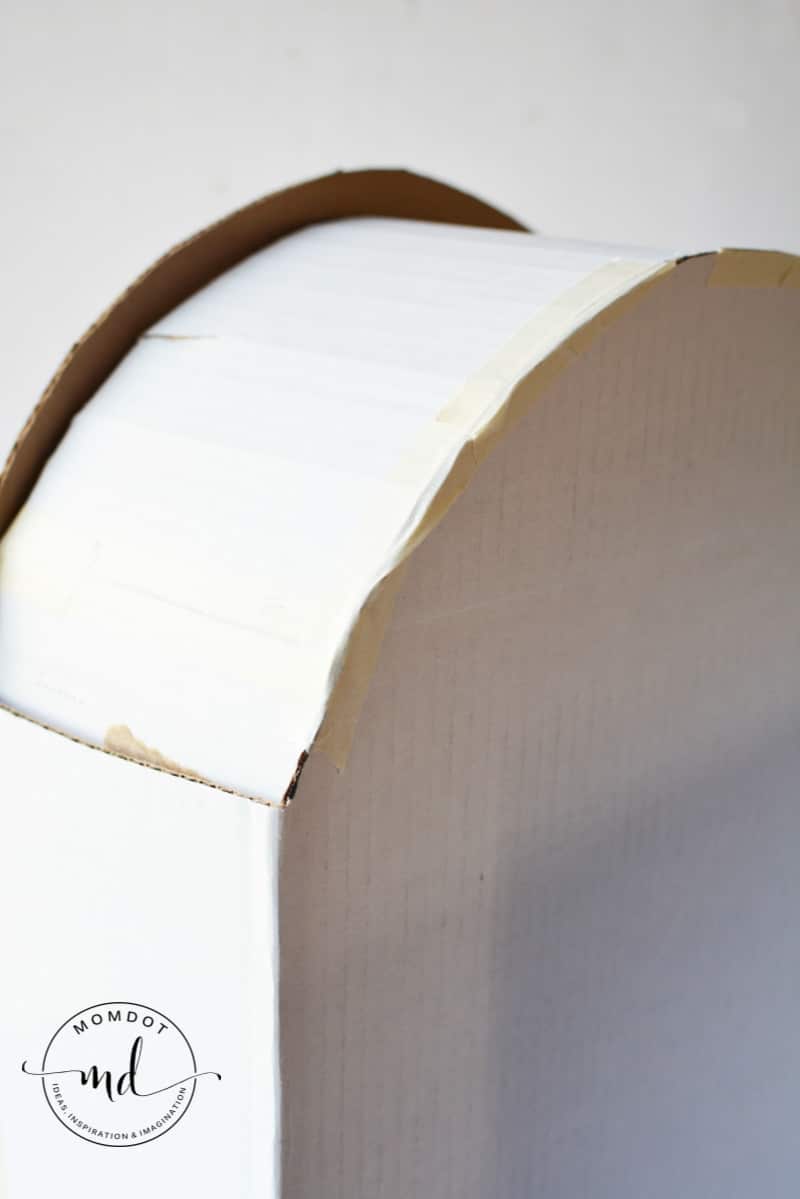
Use the scrap pieces of the box and trim to size to fill in the curve gap/opening. I got lucky in that my corrugated cardboard was on the same parallel as the curve I needed.
Curve the scrap piece and slide it into place. Affix with masking tape.

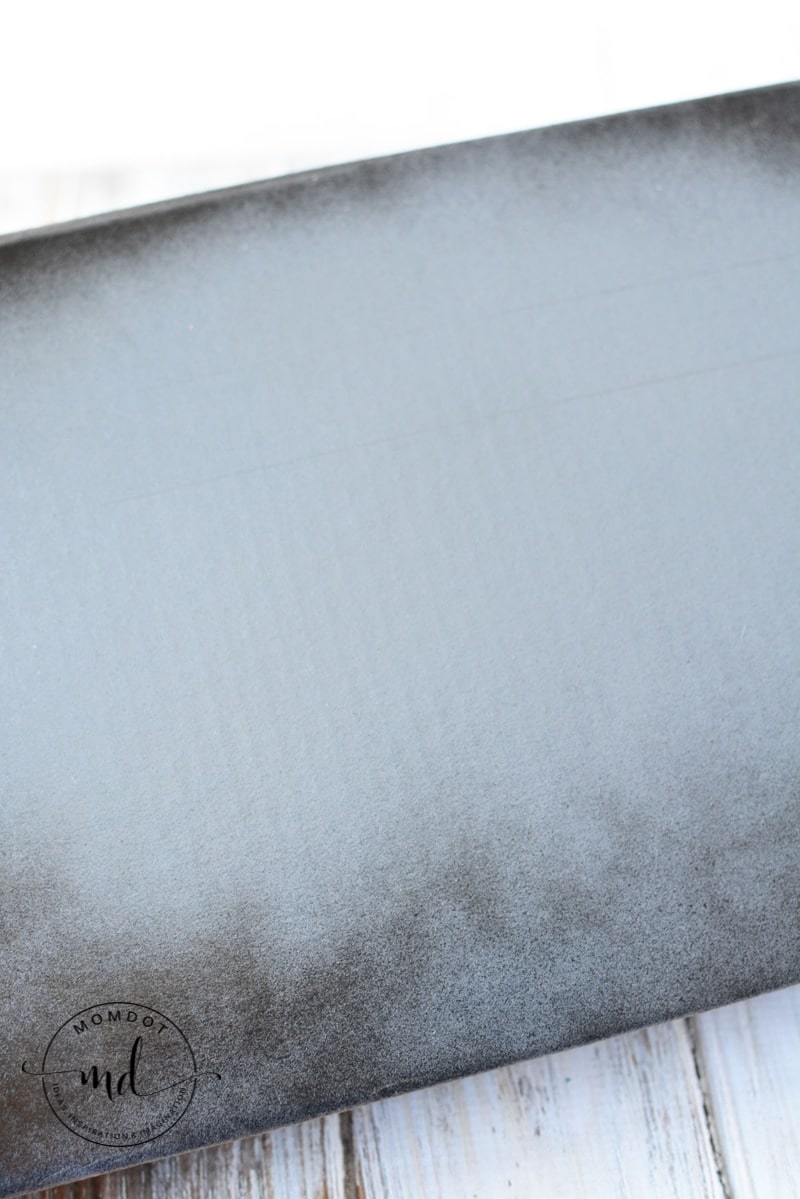
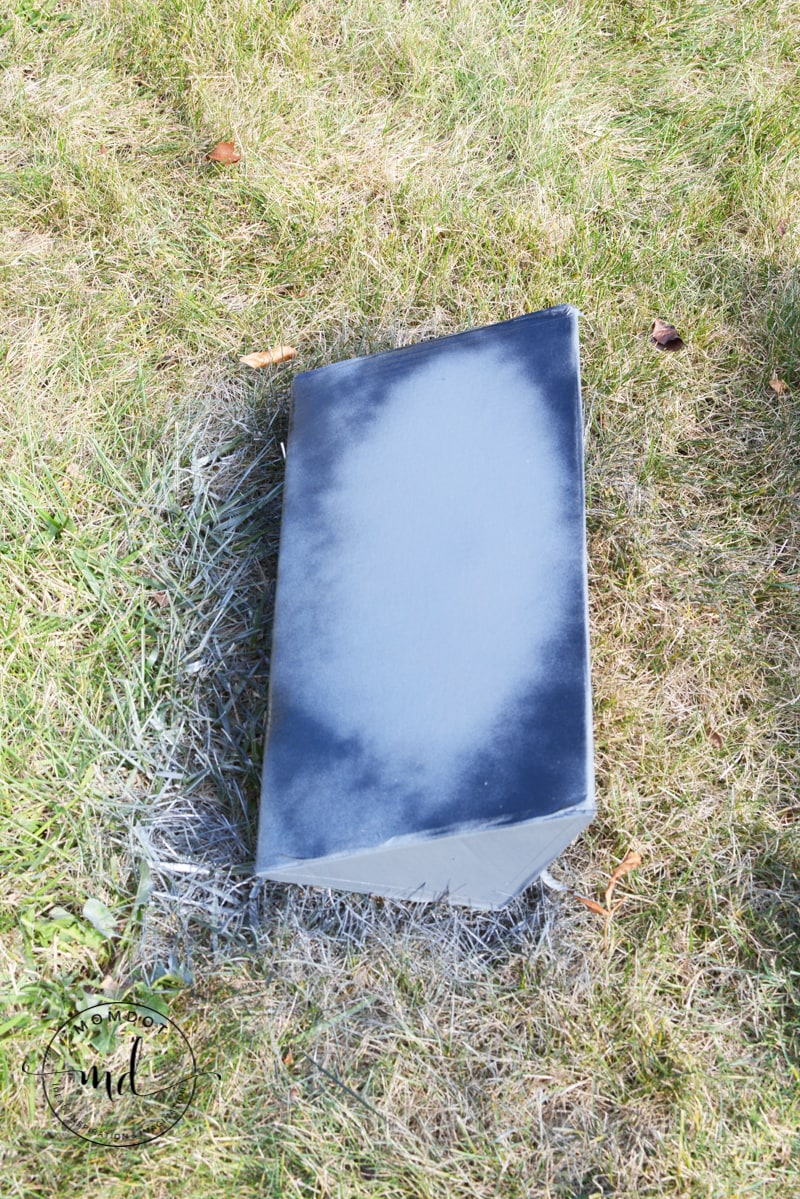
Spray the box with dark grey spray paint and let dry.
Two coats may be required.
Spray with black around the edges to create shadows and darkness. Let dry completely.

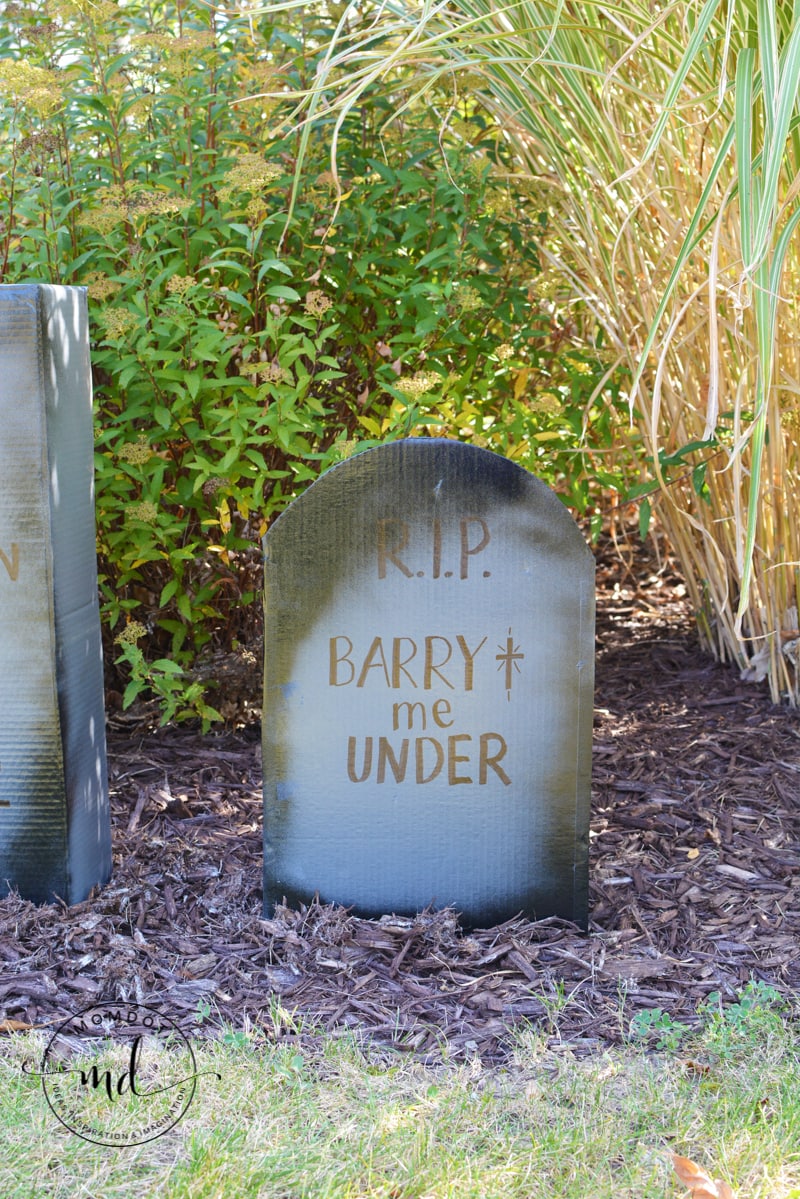
Use a permanent marker to write on the tombstones.
You may find using a ruler to draw some straight lines with a pencil will help keep the letters even and uniform.

To make a triangle tombstone, cut a large piece of a cardboard box and fold into a triangle shape.
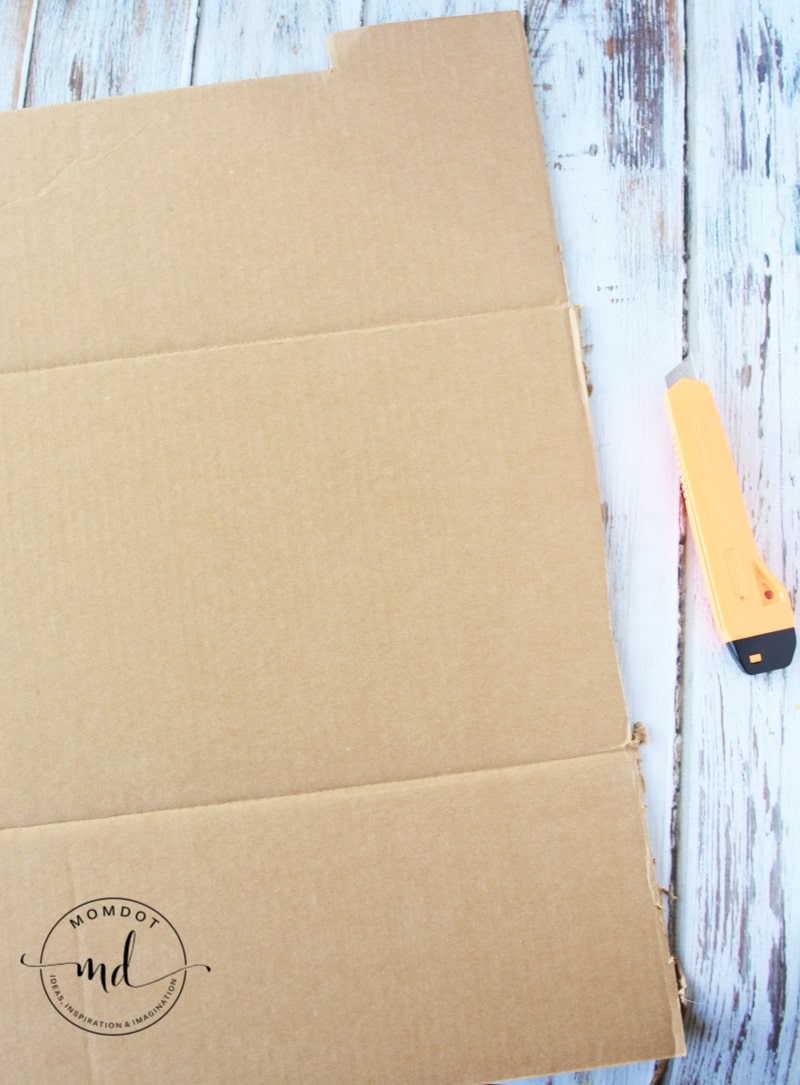

Tape the edges.
Use additional scrap cardboard to trace the triangle ends.
Cut out the triangles and tape to the ends with masking tape.

Spray the box and write on it according to the directions above.

Complete your Halloween Decorating by heading below for additional Halloween Tutorials!