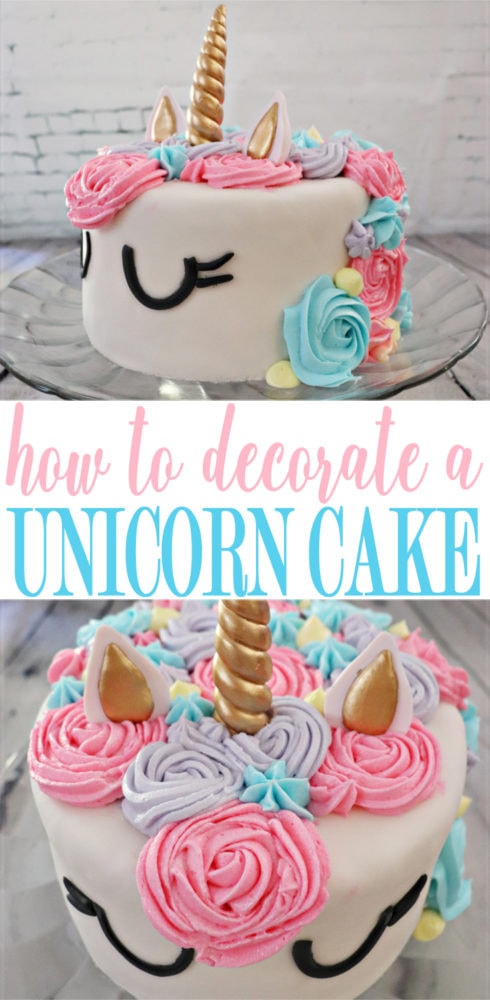
In case you haven’t looked around lately, unicorns are just a bit popular right now. And by “just a bit” I mean they are everywhere! My daughter, Taybree, is in love with them. So there was no question about what we were going to do for her birthday cake when that special day rolled around a few months ago.
Make a unicorn cake!
At first, I was a bit tempted to go a different way with it, something that I thought would be easier. I admit decorating a unicorn cake in the way everyone is doing them lately seemed more than a little intimidating. But when I looked a little closer I thought to myself that it couldn’t be all that hard.
Turns out I was right. And I really believe that with just a few tips you’ll try it out for yourself and agree with me. It’s not that hard to decorate a unicorn cake. In fact, it ended up working so well that I made another for another one of my daughters just a few weeks later!
So let’s get going!
Baking the cake
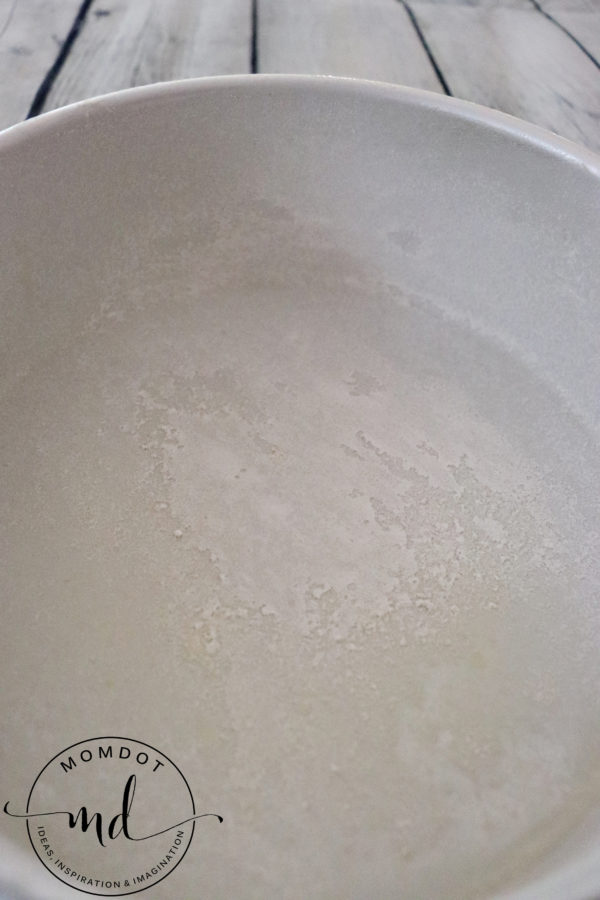
First, prep your pans. I have two circle ones from Wilton. Not only do I spray them with a non-stick spray, but after I also add a little flour, tap the pan to make the flour cover the entire thing, and then dump out the excess flour. This just helps the cake come out even easier after it’s baked.
Second, start baking a cake! My daughter chose Fun-fetti, but obviously, you can use any kind. Follow the directions on the box for preparing the batter.
Third, pour the batter into the two pans evenly.
Fourth, bake according to the directions. Make sure a toothpick inserted into the middle comes out clean!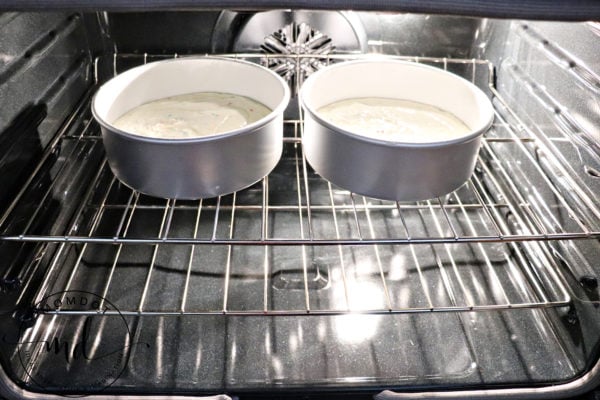

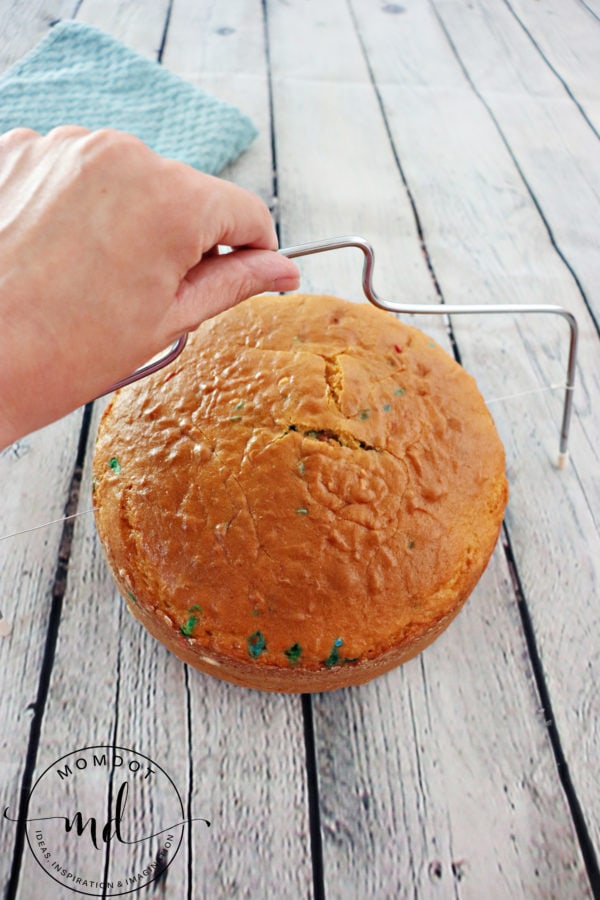
Fifth, cut the top off of your cake to make it level in order to be able to stack both pieces. I have a handy-dandy leveler, again from Wilton, that I like to use for this. I’m not good with just using a knife like some people. You can adjust the wire to whatever height you need, then just start sawing back and forth until you’re all the way through.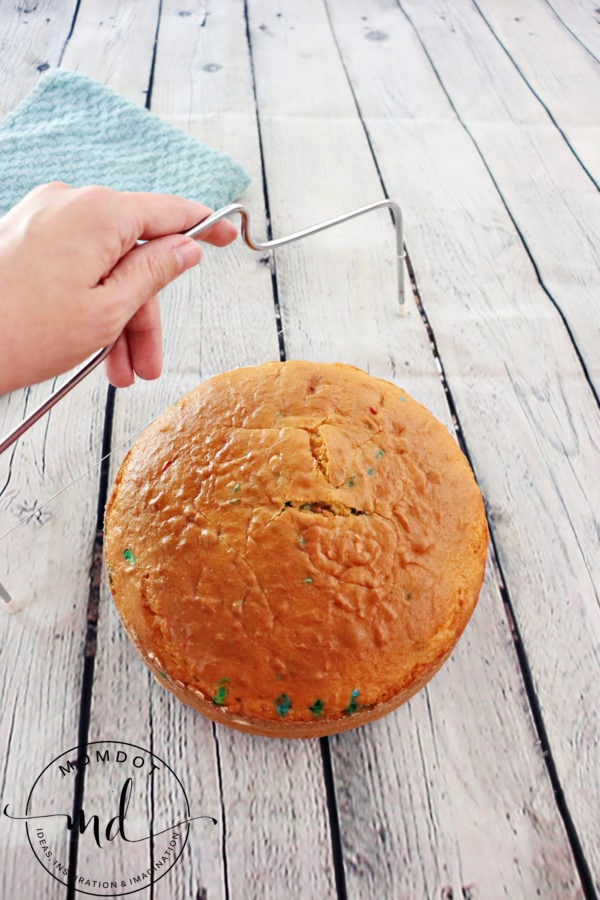

Prepping the cake
Now, put a small dab of frosting on the cake stand you’ll be using.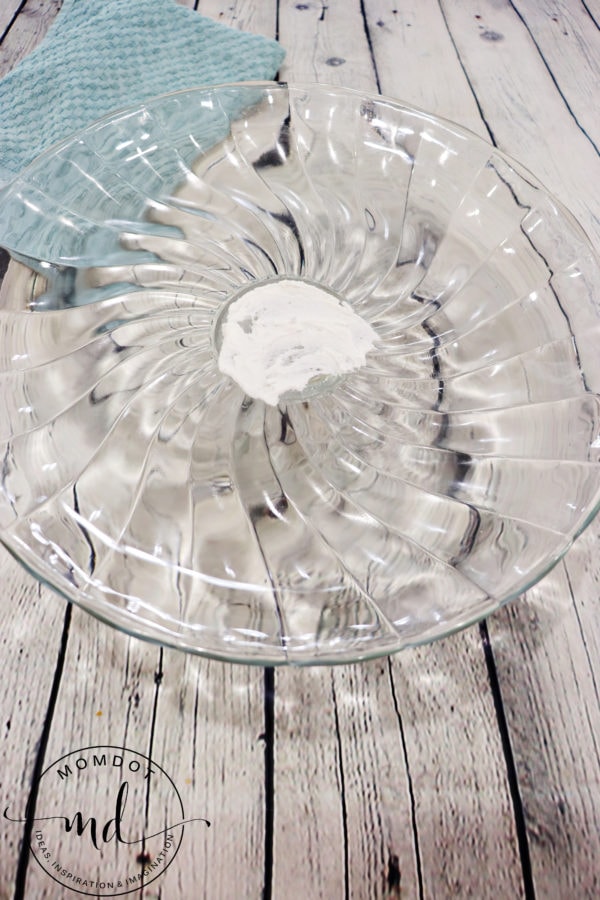
Then, place your first cake on the cake stand. Frost the top of that cake and then place the other cake on top.
Helpful hint: I like to put it upside down. If I leave it face up then the crumb top can make it slightly more difficult to frost. The crumbs can easily get mixed up in the frosting when I’m trying to frost the entire cake. This isn’t quite as important if you’ll be doing fondant as your finish, but could still affect it as there could be bumps under the fondant.
Next, frost your cake with buttercream frosting. You can just make that your outside layer, but I found it difficult to get as smooth as I wanted for the unicorn so I chose to add fondant on top of the buttercream.
Sprinkle a small amount of powdered sugar on your work surface, then roll out your fondant. You can make your own fondant, but for this, I used Wilton’s once again.
This part is a bit tricky. Carefully lift the fondant and place it on your cake. It will not be perfectly smooth right away!
Slowly, and gently, pull and stretch while pressing the fondant down towards the bottom of the cake to smooth out all the ruffles.
Then cut the excess off with a knife.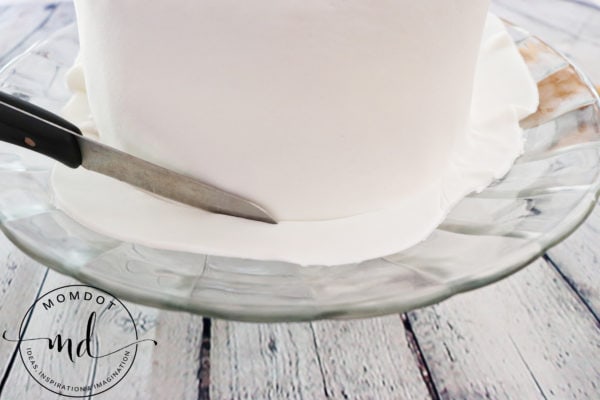

Decorating the cake
Next, get your frosting ready. My daughter chose her three favorite colors: purple, blue, and pink. (A little later we both agreed it needed a bit of yellow as well.) 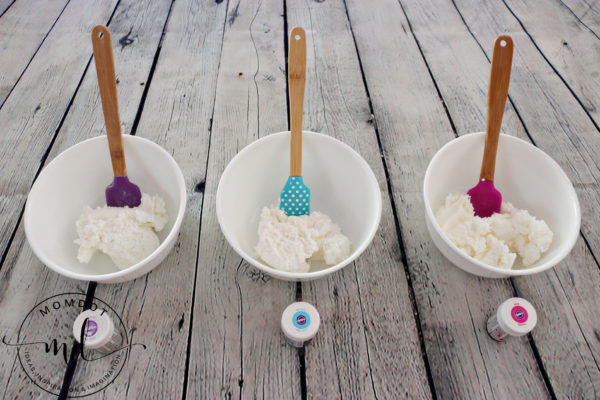
Mix your food coloring into your buttercream.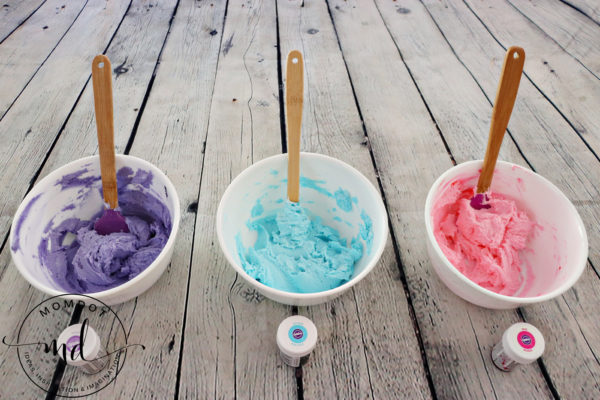
Have your unicorn horn and ears ready. While you are able to make these out of fondant, I chose to go the easy route and purchase reusable ones from Amazon. These also came with matching cupcake holders, balloons, and banner!
Then I inserted the ears and horn into the unicorn cake. You could wait to do it until after you make the mane with frosting, but I didn’t want to squish any flowers.
Fill your frosting bags with the different colored frosting.
Now, use an open star tip (a larger size, like the 824 works well) to pipe rosettes in a circular motion. Start on the inside and work your way out. Continue doing that over the top and side of the cake with the different colors. Go back and fill in the small empty areas with stars and dots.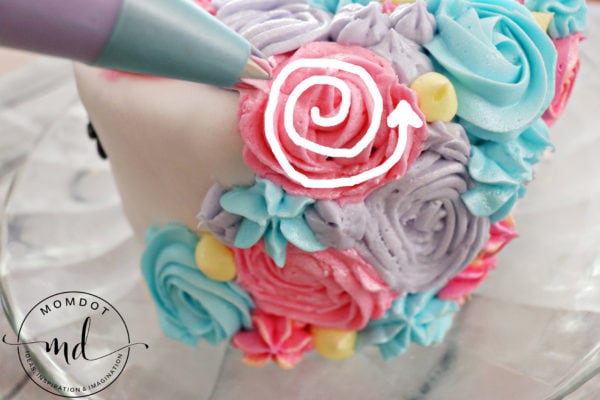
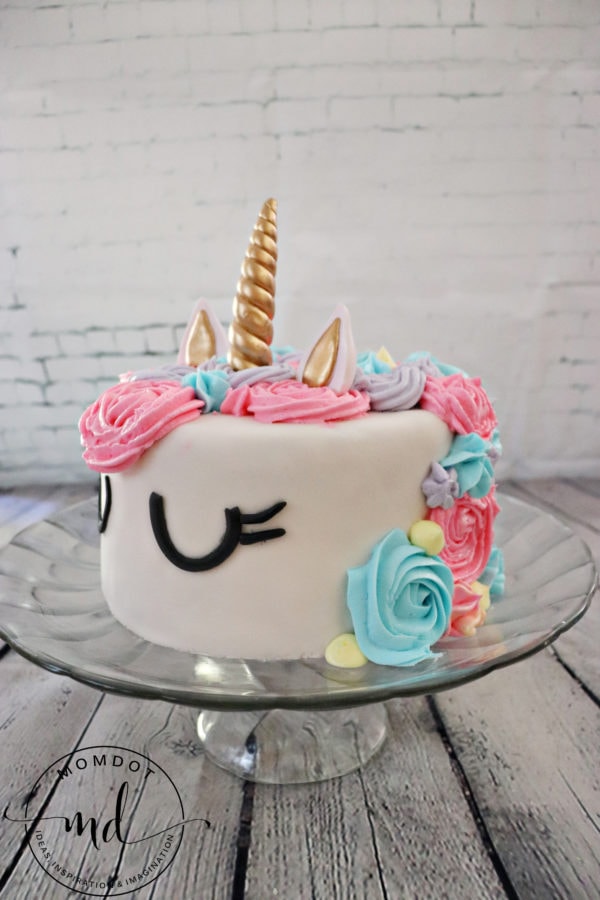
Next, use a small amount of black fondant to create the eyes for the unicorn. A “u” shape works well. You can decide whether to place them to look like the letter u or to flip them upside down. Either way looks great! My daughter helped make a few eyelashes to add on.
Helpful hint: You can get the fondant to stick by using a dab of water or a dab of buttercream but be careful! because the black can very easily spread all over your white unicorn face.
For a final finishing touch you can use edible glitter to add just a touch of sparkle to your unicorn cake. Dip a clean paintbrush into the bottle to collect the sparkle.
Hold it over your frosting and tap it again your finger so the glitter sprinkles all over the unicorn’s mane.
And that’s it! That’s how you decorate a unicorn cake. I know it may seem a little overwhelming, but it’s actually a simple cake to make. The decorating goes quickly and is also really fun.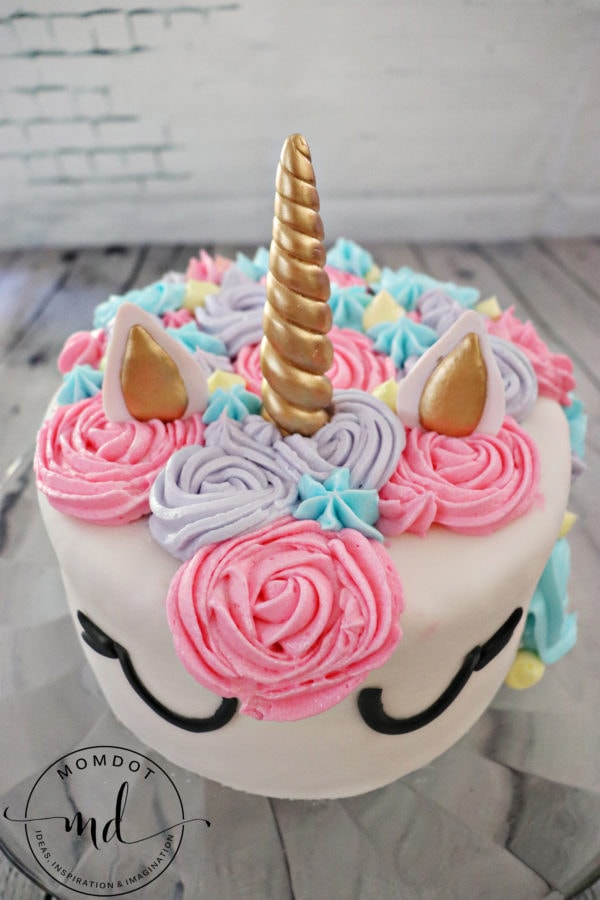
Let me know in the comments below whether you decided to try out the fondant and what colors you chose for your unicorn cake. Have fun!
~Kimberly
How cute! Many of my friends’ little girls love unicorns. I’ll have to share this idea with them. My son has absolutely 0 interest in unicorns…lol.
Thanks for sharing with your friends! And I understand, I’ve got two little boys who have 0 interest in unicorns as well. 🙂