 Earlier today as I was surfing Facebook I noticed my cousin share some cool crafting pictures of a “Fairy Jar” she did with her daughter. I asked her to write it up to share with yall, so here you go! I cannot wait to do this with Charlotte.
~Trisha
Fairy Jar Supplies
25 Lumistick 6
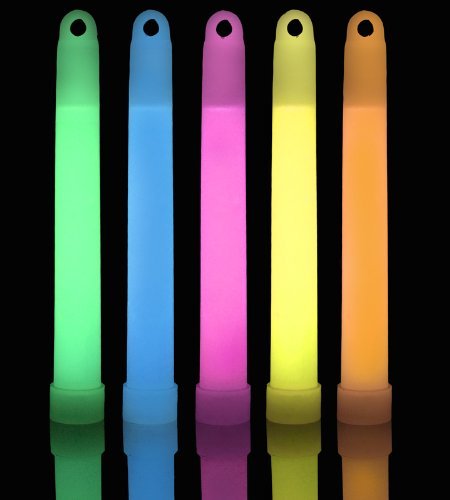
Before you get started, making sure you have everything on hand. Making fairy jars is so much fun when you have a variety of glow sticks in tons of colors. Here are some packs I found that come with so many amazing colors, your fairy possibilities are endless! You can get these in a variety of colors like this set or even find primary colors! I can think of a million ways to make a tooth fairy jar, a winter fairy jar, even a butterfly jar!
TOP RATED for a project like this
Set of 25 Premium Glow Sticks in Display Box
Extra Bright! Glows for 8+ Hours
Brand New & Fresh from the Factory
Non-toxic and CPSIA Compliant
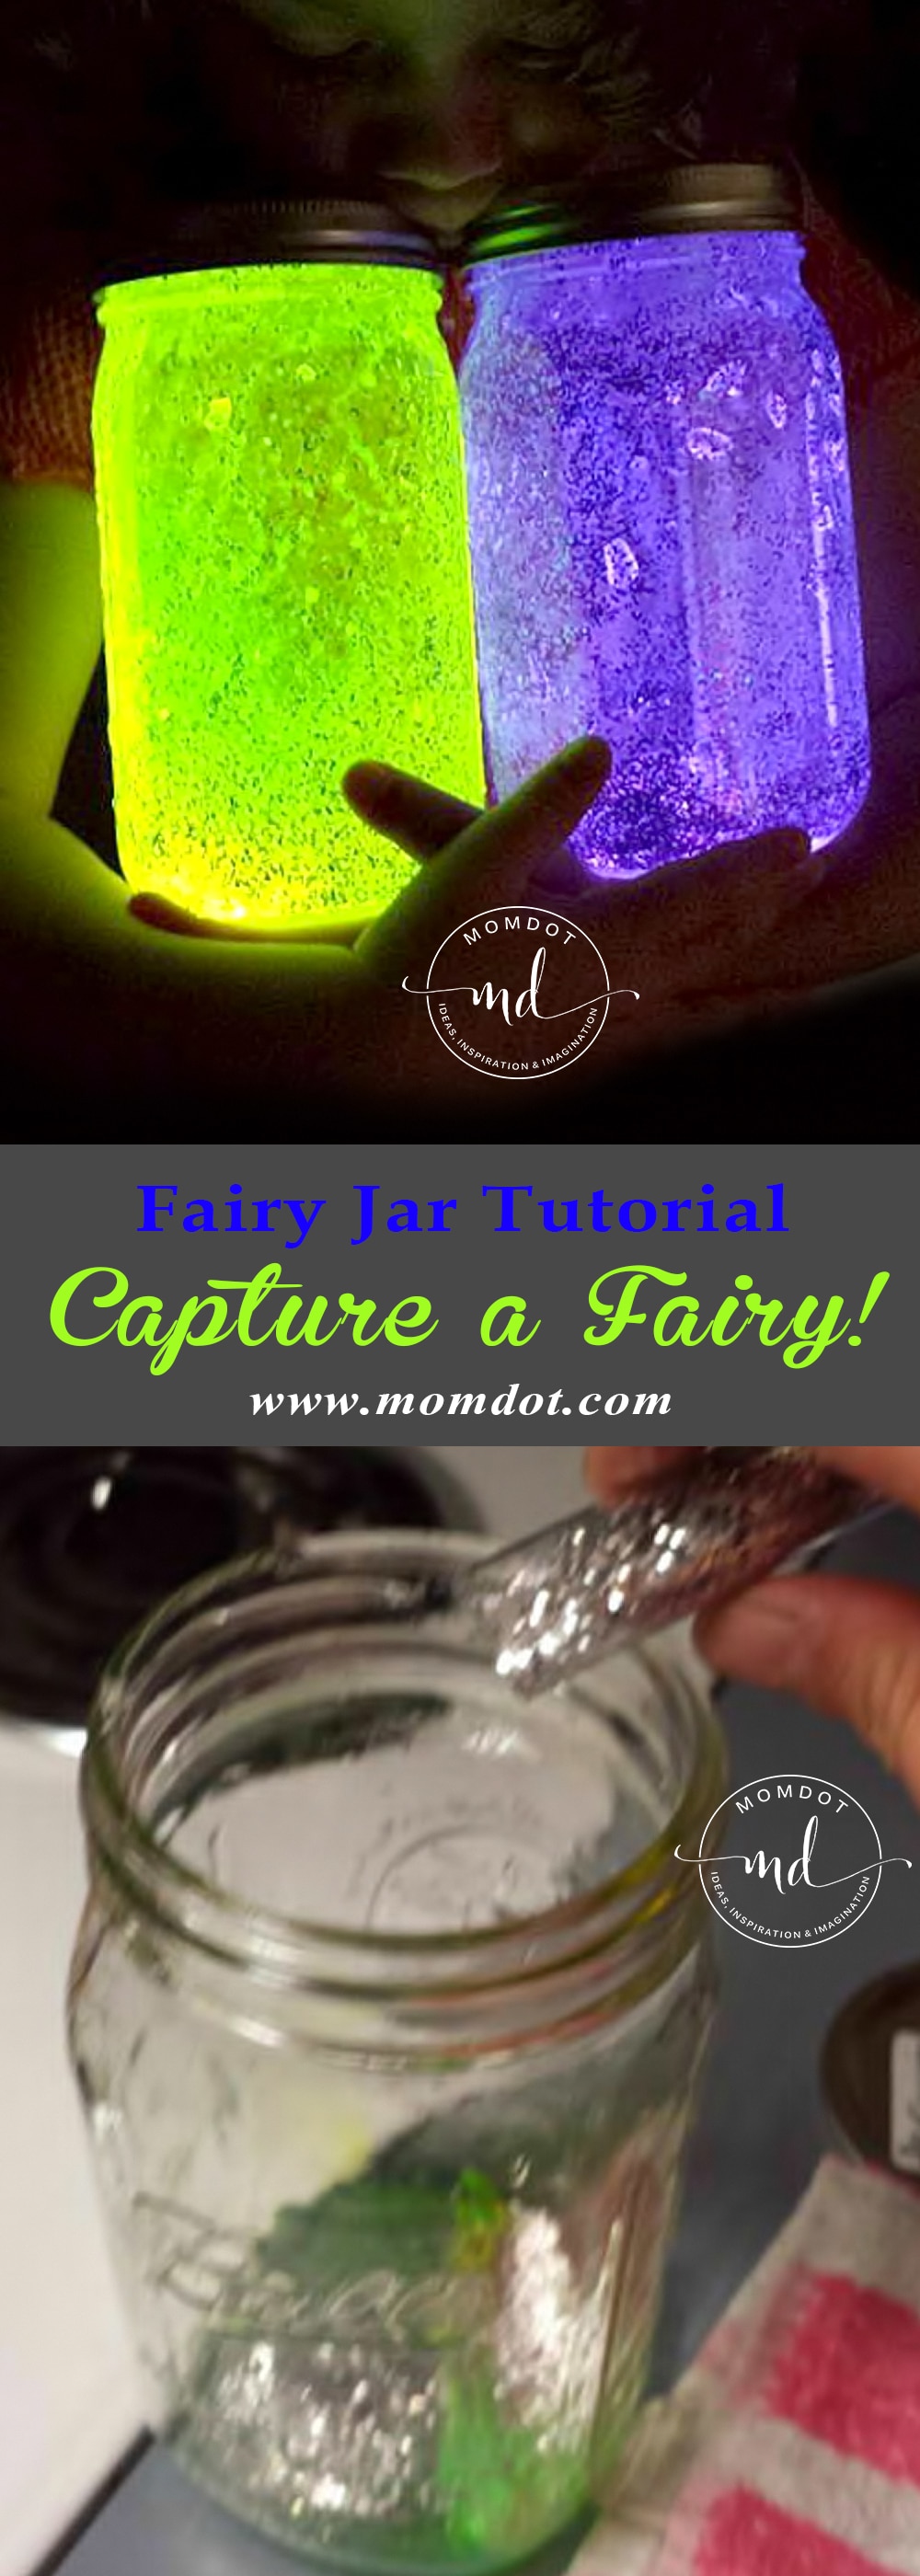
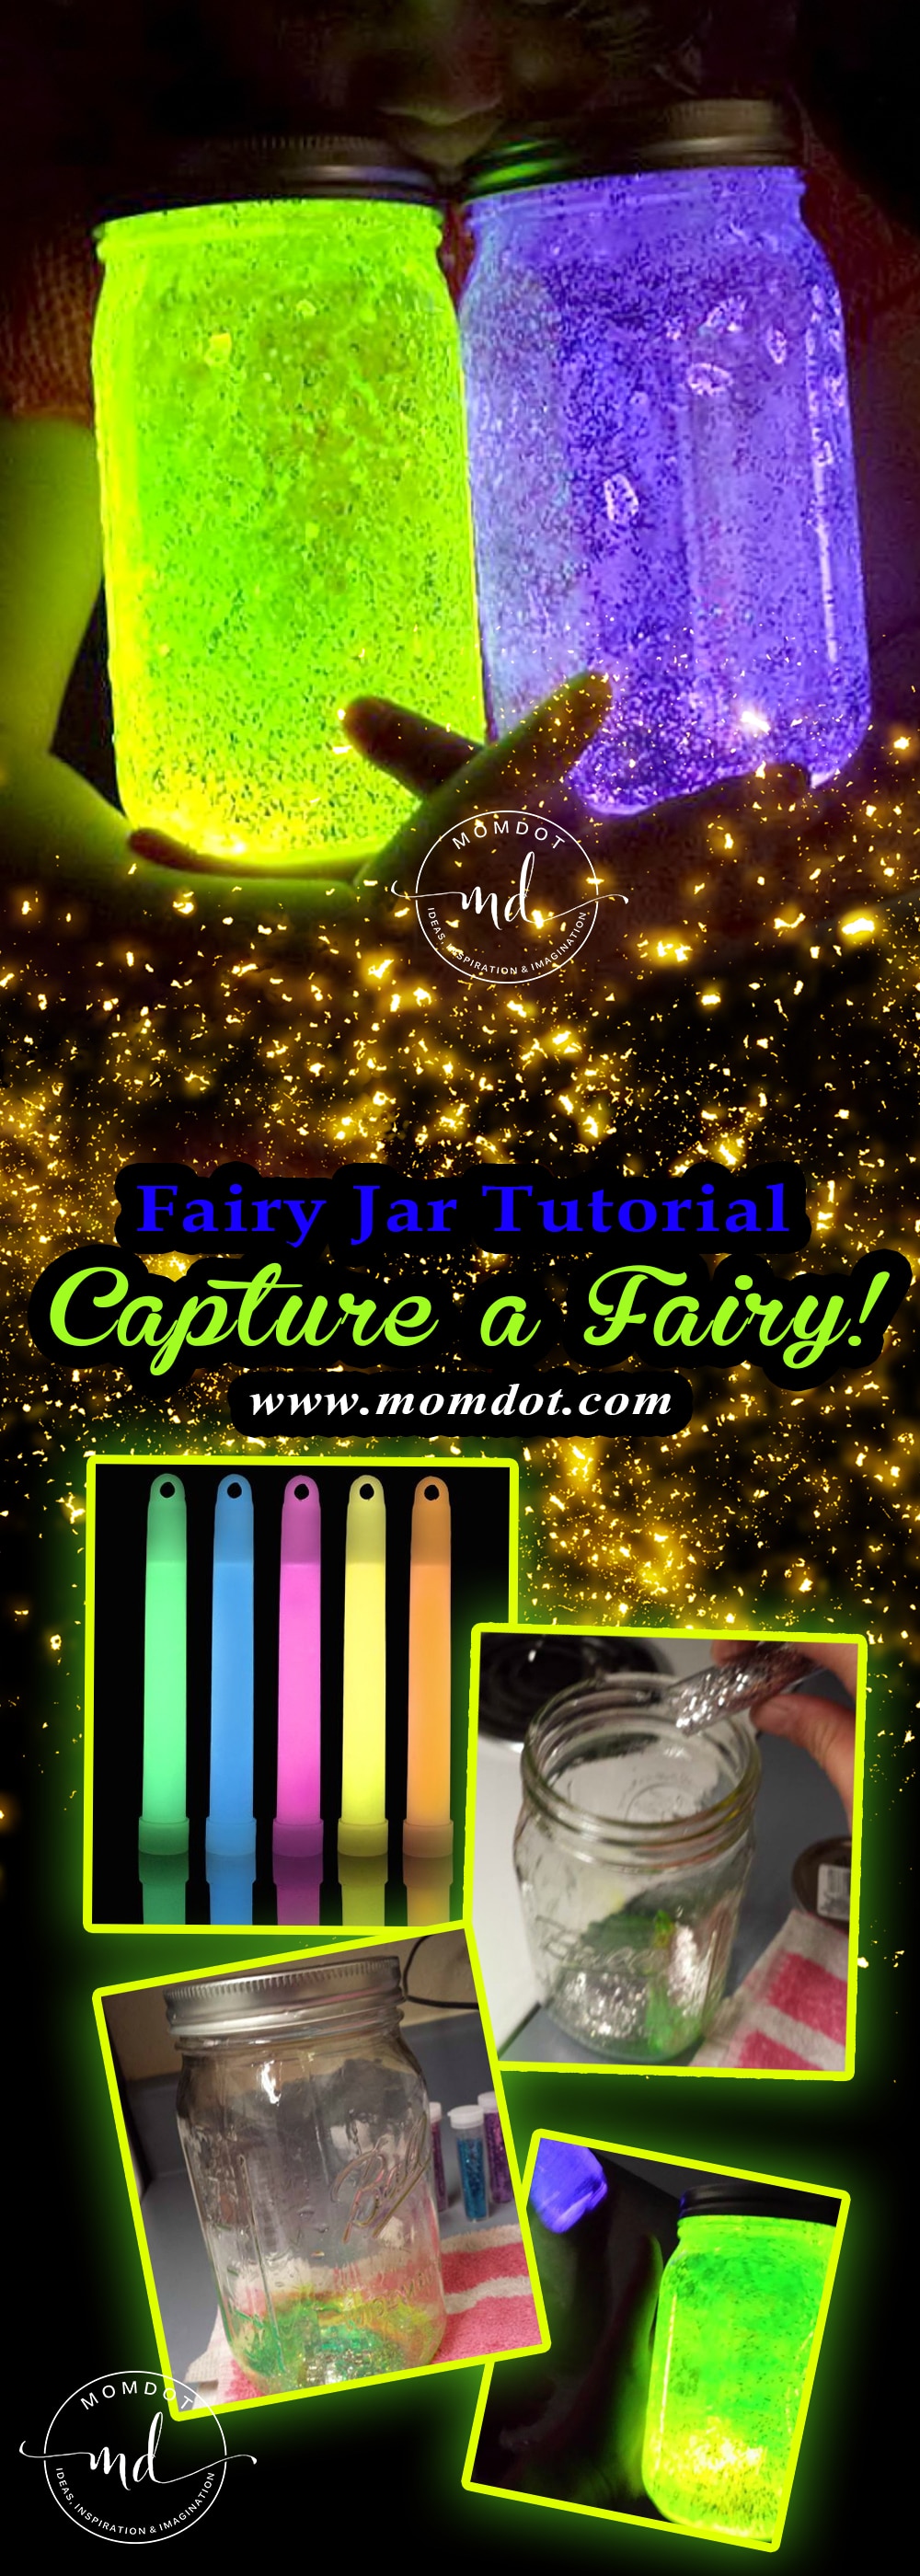
DIY Fairy Jar “HOW TO” Tutorial
Items:
- Mason jar
 (s)
(s) - Glitter (diamond glitter works best)
- Glow stick(s)
- Serrated knife
 (s)
(s) (s)
(s)
Fairies in a Jar
Step 1: Decide which color glitter you want in your Fairy Jar and which color glow stick you are going to want in the jar.
Step 2: Cut open the bottom of the glow stick on a towel (as not to get the fluid all over everything; you could also elevate the glow stick on the lid of the jar).
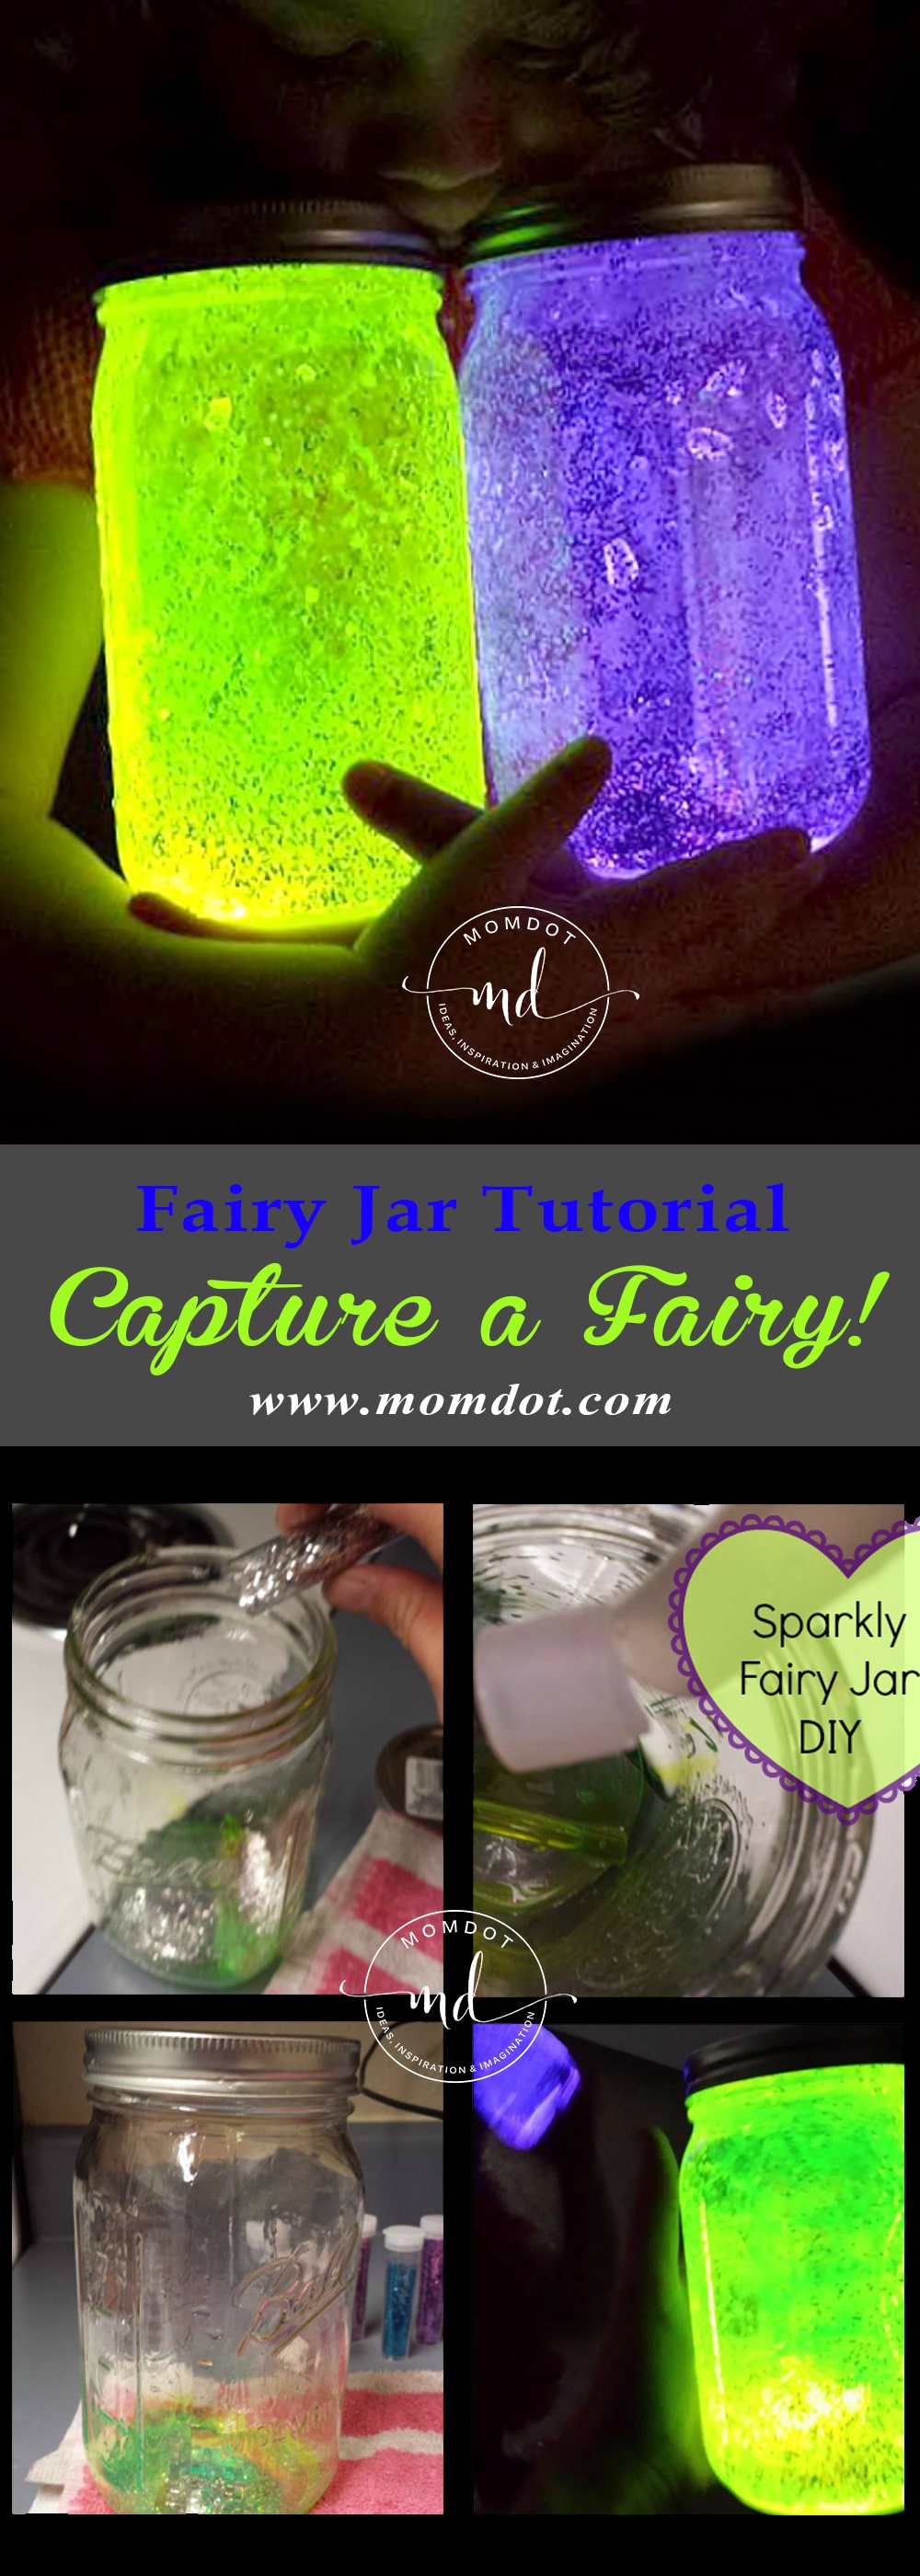
Step3: Dump the contents of the glow stick into the jar. BE CAREFUL! To my surprise, I found that the inside of the glow stick is in fact, glass.
Step 4: Once you’ve done that, grab the glitter and dump it into the jar on top of the glow stick contents. The amount of glitter is going to depend on the size of your jar, how sparkly you want it, and what glitter you decide on. I used about half of one glitter container I bought. If the glass from the glow stick did not break upon dumping it into the jar, you can break it now by hitting it with the end of the knife.
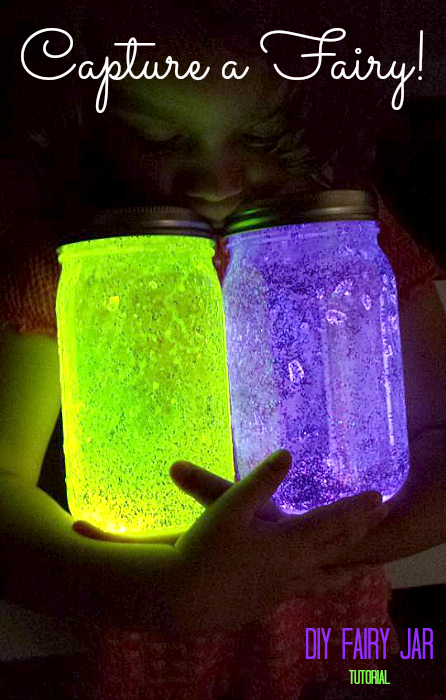
Step 5: You can now put the lid on!! Make sure it is on very tight, and shake it up like crazy.
Now that you now know how to make a “fairy in a jar”, you can use them to decorate your childs room at night, a deck outside, the yard, your bathroom when you’re taking that candle lit bath, or whatever else you may think up!
P.S. They only last about 8 hours.
Enjoy your “Fairies”!
~Trinity
(Trisha’s cousin)
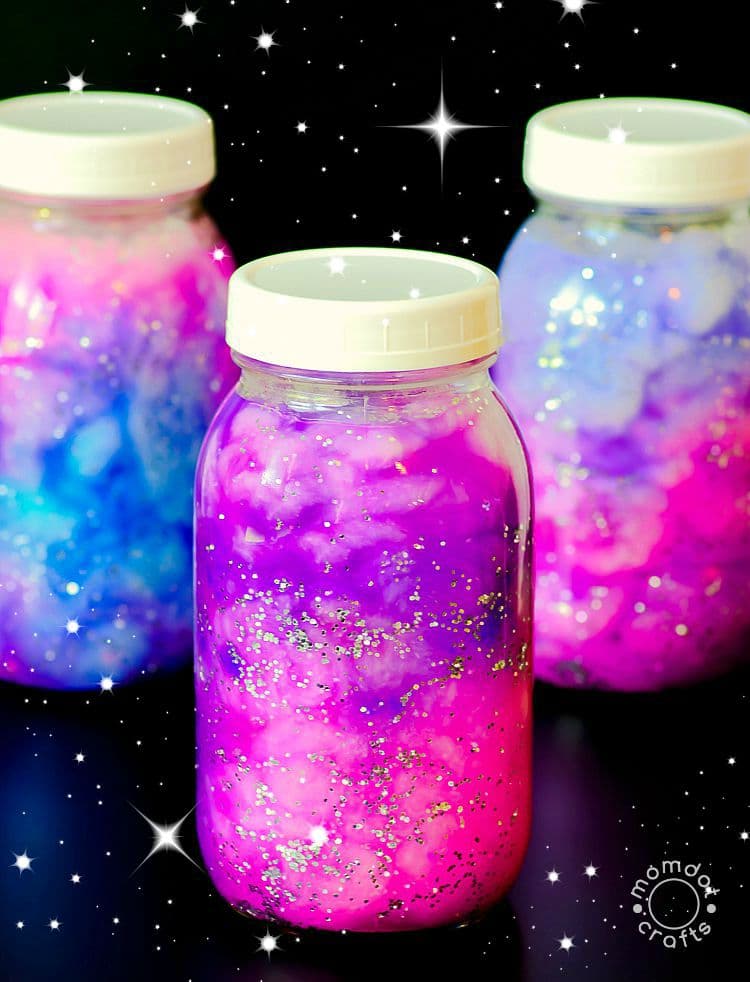
Now check out our
Galaxy in a Jar Tutorial

My daughter is going to LOVE this!!! I think we’ll both have a blast creative this and playing fairies afterwards. 😉
Thanks for sharing!
Hi there, do you fill the jar with water after the glitter and glow stick goes in?
Do u snap the glow sticks to make them glow before cutting and tipping into jar?
How many glow sticks per jar your child is holding?
I just tried this and it did not work. Can’t figure out what I did wrong but I did follow the instructions.
For kids I would use plastic peanut butter jars. You can probably just keep adding fresh glow stick contents to the existing glitter to give it new glow.
How many glow sticks per jar did you use? I also thought you added water! Thanks for clearing that up.
glowsticks in general will give you a second night if you throw it in the freezer although it is dimmer the second night it still glows
haha my name is trinity aswell! i had found another page on how to do these,so i tried both,yours and a diff. your one was surely much brighter…BUT the other one lasted longer..hmm id suppose it was because they used TULIP GLOW paint and painted the jar. Thanks for the idea 😀
I wonder if adding a couple of drops of food coloring to the contents of the glow stick would change the color of the glow stick.
From where I can find glow stick. Is it the same we found in dollar store?. I think they are for few hour. Thank you
How many glow sticks would you use per standard jar and what size are your glow sticks? Great idea by the way
Is the jar supposed to be filled with water as well? The description sounds like glowing glitter at the bottom of a jar – I don’t see how this would make the entire jar light up.
Kevin, the liquid from the inside of the glow stick coats the inside of the jar. You do not fill it with water. I hope that helps.
I want to make these and attach handles for Halloween so the kids can carry them. How fun!
This is so cool I love the colors. I’m going to see if Ericka would like to do this one night.
LOL she just walked out and with big eyes said “Can we do that?”
I can’t wait to try this! I’ll have to have hubby find some glow sticks 🙂
Courtney, at walmart in their party section, or even at the dollar store! They are usually $.50-$1.00 for 1-2 sticks :]