Whether someone special is graduating Preschool, High school, or College, this Candy Lei will have them receiving their diploma in glorious style. With the sea of caps and gowns of the same cut and color, this simple graduation gift will make your graduate stand out against the canvas in which they can bloom. With only five supplies and these simple step-by-step instructions, you could present your grad with a personalized gift that others will envy. 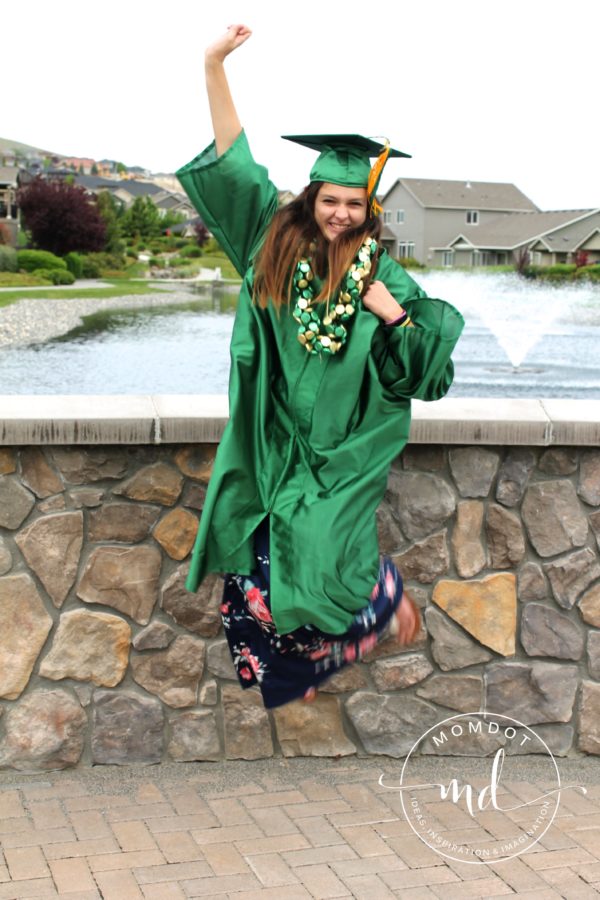 Here’s what you’ll need:
SUPPLIES
- 2 rolls of colored cellophane gift wrap (Two rolls makes two leis)
- 1 large roll Curling Ribbon
- 1 Family Size bag Hershey’s Kisses, any flavor (1 Family Size bag makes one lei)
- Ruler
- Scissors


INSTRUCTIONS
This first step is what takes the longest amount of time. My table has a groove which allowed a perfect guide for my scissors, and it still took me about 45-minutes to cut the cellophane. I would measure once and then just run my scissors up the groove. However, I understand that not all tables have this groove, so if you happen to have a cutting mat or long yard stick, you’ll want to grab that as well. It should also be noted that if you are only wanting to make one, only cut half of each roll, which will save you time as well. Alternatively, if you only wanted one color, you could also just buy one roll and use the entire thing for one lei. I wanted to maximize my time, so I cut both rolls to easily make two leis.
Notice how I have one color laying on top of the other. This made it really easy to cut them both at the same time, which really cut down on time. Measuring 3 inches along the length of the cellophane, cut the entire roll of cellophane into strips. You can see how I measured the three inches from that left edge, and how the groove in my table was an easy guide. You could do the same with a yard stick or something long like that. Just use the left edge of whatever tool you have at your disposal to allow your scissors to run next to that tools’ edge after you have measured the length of the cellophane at 3″.
Once you have the 2 rolls cut into 3″ strips, take a few strips at a time and cut them into 3″ squares, making perfect 3″ x 3″ squares.
With your cellophane cut into 3″ x 3″ squares, and your ribbon and Kisses gathered, you’re ready to begin.
Measure out 10 1/2 feet of curling ribbon. The ribbon that I have here is a flat, thin, groove-less ribbon found in the wrapping paper aisle. This works just fine, but I do find that the grooved curling ribbon like the ribbon I used {here} for my Christmas Wreath works best. The grooves allow a little more give and pull as you tie it around your Kiss. Again, you do not have to use the grooved; the flat ribbon still works, but the ribbed curling ribbon just works a bit better.
At the center of the 10 1/2′ begin a knot, but do not pull it tight. Leave it at this point, with a loop approximately this circumference. Set aside.
Place a Kiss in the center of your cellophane 3′ x 3′ square. Begin by grabbing opposite corners and bringing them together at the point of your Kiss.
 Grab the other opposite corners, bringing them to the point of the Kiss, and twist.
 Place your covered Kiss on the table, adjusting the knot like so.
 With your index fingers holding the twist of the cellophane, use your middle fingers and thumbs to pull the curling ribbon knot tight.
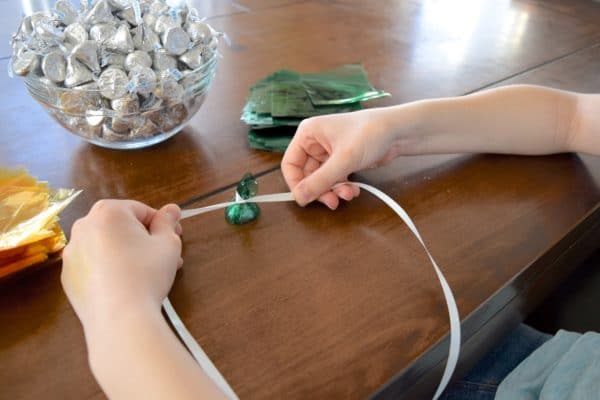 Once your Kiss is secure, pull the ribbon as tight as you can without snapping it. This is where I like the ribbed/grooved ribbon a bit better. The flat ribbon works well, but the ribbed gives it a bit more give on the pulling portion. It just feels more secure.
 With your first Kiss secure, begin another knot. Right over left… without the left over right…
 Once again you have a knot where the circumference will accommodate a Kiss.
With the alternating cellophane square, you’ll continue the steps again and again.


On and on you’ll go, alternating the two colors of your graduate’s school!


Your lei is taking shape!
Because we have graduates of all ages and sizes, this is a craft that you can customize. Grabbing the first Kiss while holding the curling ribbon ties, you can hold it up to your own neck, or the neck of your graduate if they are nearby, and see if the length you have is long enough and will fit around their head when tied. If you are making it for a teenager and larger, a Family Size bag of Kisses is about perfect for that size. However, if you are making it for a young child (I actually had five kids graduate from Preschool at 4-years old) you will obviously not need an entire Family Size bag. These can be as long or as short as you’d, figuring that most leis hang with the bottom reaching approximately to the top of your ribs.
FINISHING YOUR LEI
Once your lei is as long as you’d like…

Find the first Kiss on the line, pulling it slightly so that you can easily access the point of the Kiss.
Taking the curling ribbon ties, wrap them around the Kiss and secure.
Tie a knot, wrap the ribbon around again and tie another knot.
Secure it around the Kiss like four to five times. Wrap, knot, wrap, knot.
If you’ve used a ribbon color that works well with the colors of the school, you can choose to curl the ribbon and leave it long. This is also a preference that you may choose to use for a girls’ lei, since we love curls and glamour, but may choose not to have if it’s for a male.
The curling ribbon can add a little more fun, but does not need to stay long. If you choose to cut off the ribbon, please, please, please make sure you do this step carefully. Snip close to your four or five knots, making sure that you do not cut the knot itself. Even a small little knick of the ribbon on the wrong end of the knot will compromise the integrity of the lei. The snips can be close to the knot, enough to hide the snipped ends from poking past the lei itself, but not close enough to cut the actual knot.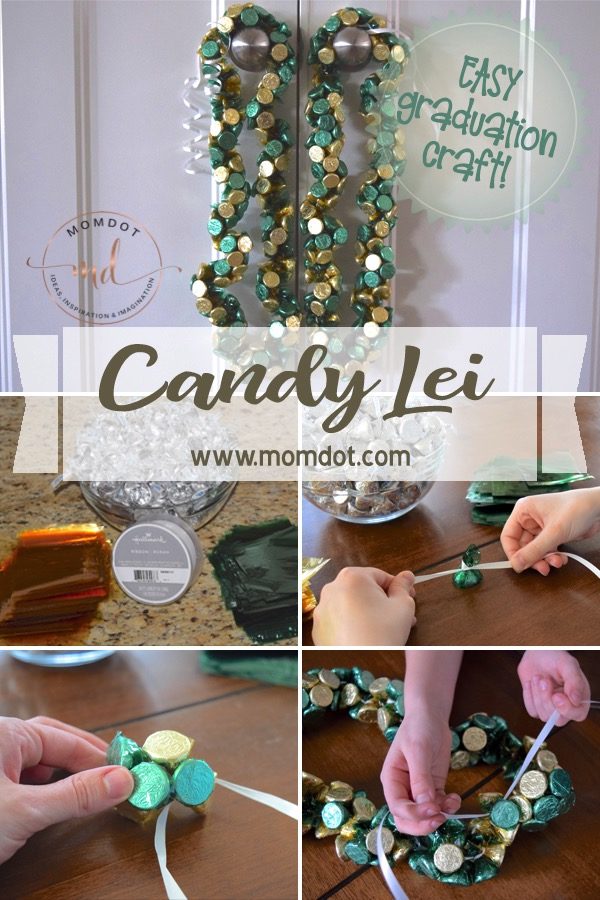
TOTAL CRAFT TIME
Cutting the two cellophane rolls into strips and then squares took me about an hour (time includes organizing color piles and gathering all supplies into an easily accessible reach). I wanted to have enough to make two adult leis. You could cut that time in half if you were only making one lei, thus cutting only half of the cellophane. The Kiss portion took about 30 minutes for the first lei, and about 25 minutes for the second. I got faster because my fingers just knew what to do, it became almost a second nature. I’m fairly certain I could do a third in like 5 minutes, with my eyes closed, with one hand tied behind my back.
1 HOUR PER LEI
FUN FACT
My daughter, age 11, made her own.
These are her sweet, beautiful hands. This craft can be made by a child for MOTHER’S DAY!!!!! Not only do they look beautiful, they’re full of a woman’s go-to, happy-making stress relief: Chocolate!
I hope this craft is something that is both fun to make, and fun to give. It has that Wow Factor that others will immediately envy and ogle. I love Graduations. They are so full of promise, so full of hope, so full of joy. Send them to the podium with a kiss on the cheek, a Kiss around their neck, and the resounding pride that bursts from your heart as you clap and cheer and cry for your graduate!
OTHER GRADUATION IDEAS
- Front Door Wreath– I made this curling ribbon wreath for Christmas, but you could easily customize it with the graduate’s school colors.
- Popable Desserts– Not only can these sport colored chocolate of your choice, they also can be grabbed for an easy popable dessert! And {Here} And {Here} And {Here}
- Cupcakes– I show you how to mix and match different color batter to make beautiful marbled cupcakes. Use the colors of the school for a great graduation party dessert!
- Paperless Cupcakes– If you want to minimize the garbage at your graduation party, you could make your cupcakes in an ice cream cone. Genius!!
- Coordinating Frosting– Even if you make vanilla cupcakes, you can still make them into a graduation masterpiece by using this technique to frost your cupcakes. And {Here}
- Portable Tacos– This technique reduces the need for plates, yet allows for a party taco bar. Kids will LOVE it!
- Mason Jar Table Decor– Whether holding a tea candle, flowers, or your forks and knives, these Mason Jars can sport the colors you need! Simple and Adorable!
~Steph