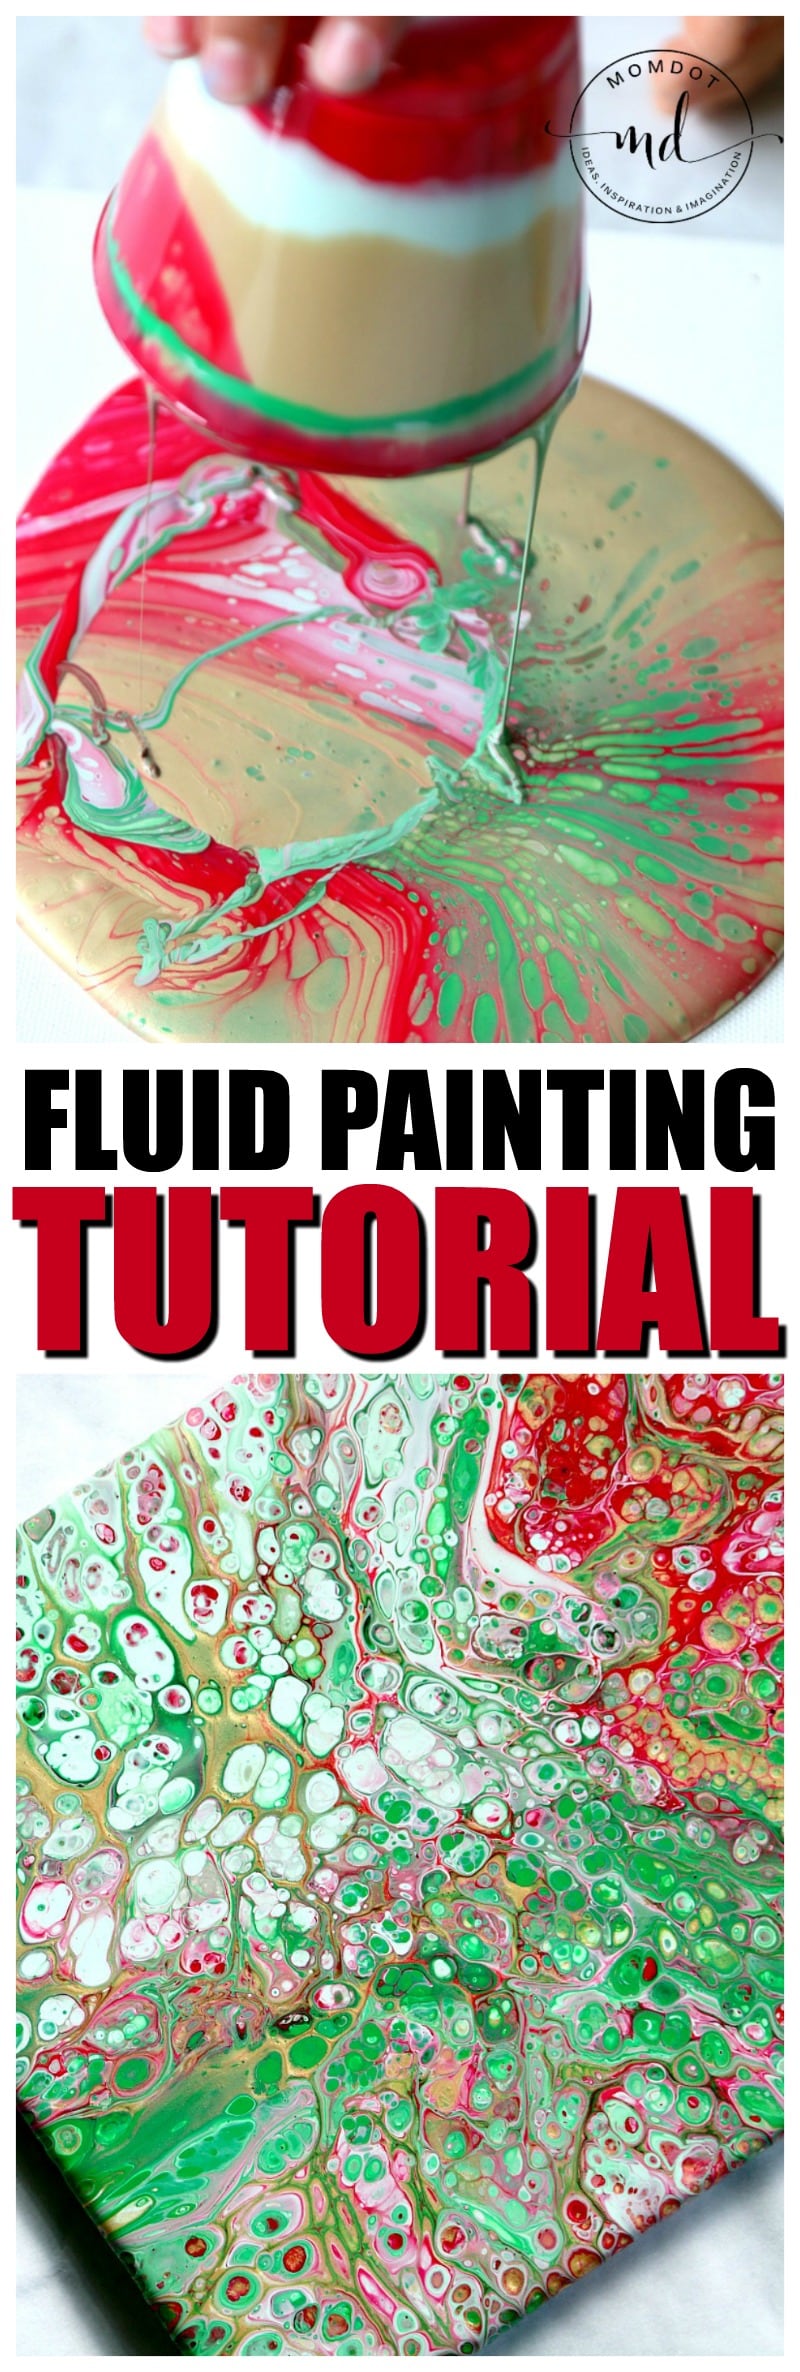
Fluid Painting Tutorial step by step DIY that you can do yourself at home by following below!
A few months back I was surfing my Facebook feed and saw something called “fluid painting.” It was simply a way to paint canvases while letting the paint sorta of flow in a direction, creating beautiful valleys and rivers. In a way, it reminded me a lot of my drip painting jars and drip painting pumpkin, both projects which I love.
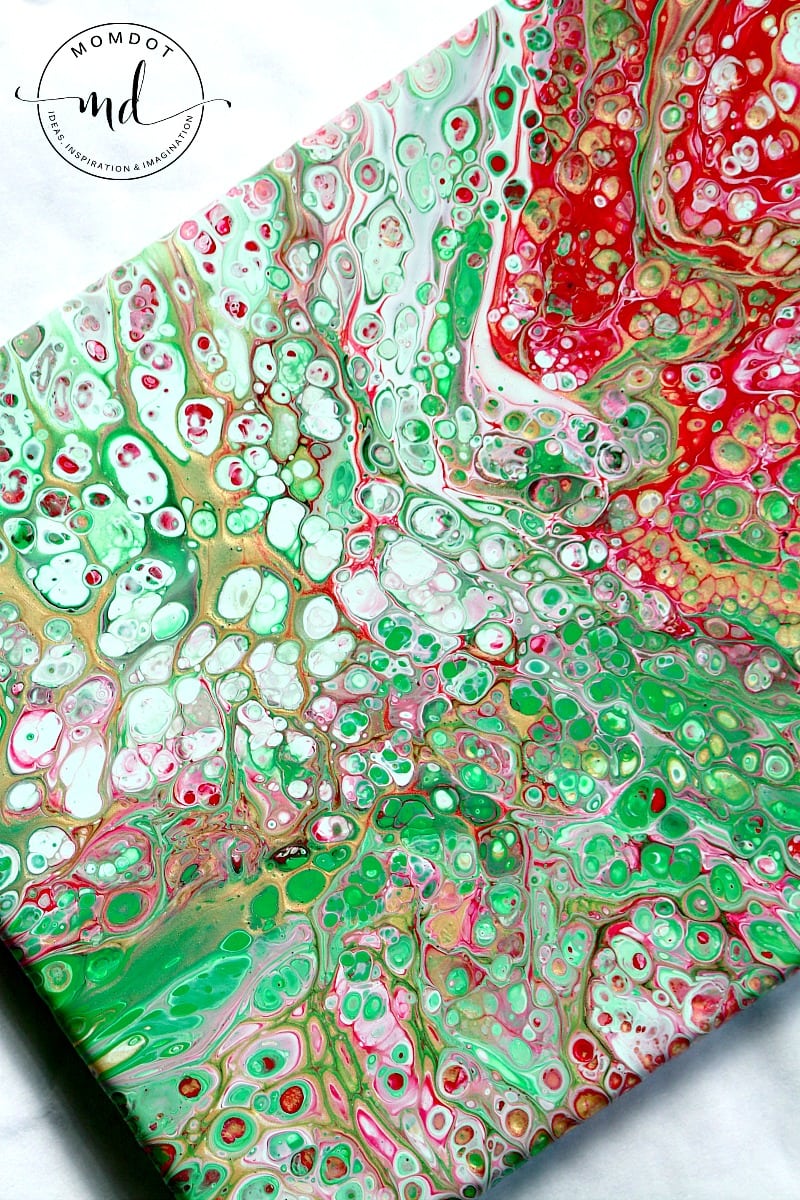
The difference is that the way the canvases were made created “cells” or rather pockets of paint that seemingly burst out of one another, leaving each color independently its own. OMYGOSH. I want to learn! But as much as information as I could find online about fluid painting, it was all about the final project or the dumping of the paint and less about the actual products I needed to fluid paint. More importantly, the few tutorials I did find resulted in some seriously crappy paintings, so much so that I had to rinse off my paint and start over about 10 times in a row.
Then I figured it out.
My 6 year old son and I spent today testing a variety or products and believe we have found a tried and true way to fluid paint. This project is very messy and requires a lot more material than you realize, so make sure you are completely prepped before starting. The actual concept of acrylic fluid painting and application, that part is easy, so do NOT be afraid. We created this fluid painting DIY tutorial so hopefully you can learn a lot easier than we did! You can also check out how to fluid paint with kids, which is an additional tutorial I made that explains how we did the steps together.
Fluid Painting Tutorial
Before you get started, you will need the following to make your Fluid Painting:
- Paints
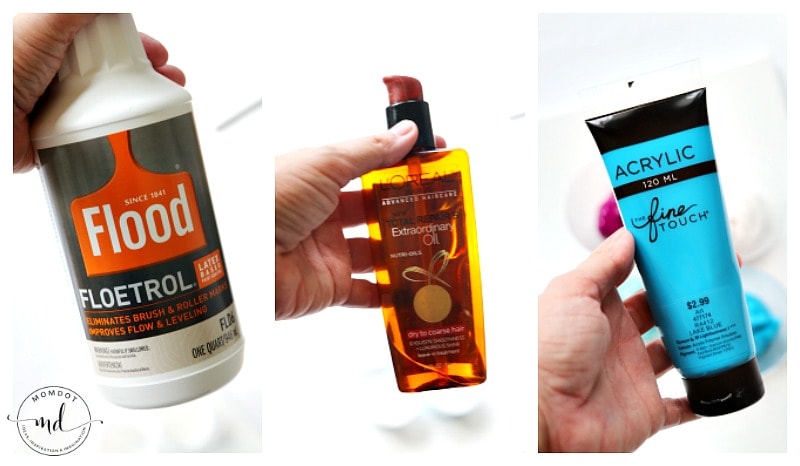
 ! We found the most lucky with Acrylic paints. Get the squeeze tubes or large jars over the tiny bottles, as the little bottles do not have enough paint for this project.
 - Canvas in varying sizes (this choice is up to you, I would practice on smaller canvases)
- Floetrol – this is an additive that helps smooth out your paint and its important. I got mine at Lowes in the paint department for $7. You could also use a paint medium. We did test a paint medium (was $30 at Hobby Lobby) but found that the results were not as good and it cost quite a bit of money.
- Hair Oil – Yep, hair oil! The kind you put in your hair to smooth it down.
- Disposable cups, spoons
- wax paper (or news paper)
 !
! in varying sizes (this choice is up to you, I would practice on smaller canvases)
 – this is an additive that helps smooth out your paint and its important. I got mine at Lowes in the paint department for $7. You could also use a paint medium. We did test a paint medium (was $30 at Hobby Lobby) but found that the results were not as good and it cost quite a bit of money.
 – Yep, hair oil! The kind you put in your hair to smooth it down.
Picking Colors for your Paint: I prefer to use 2 light and 2 dark paints overall, but the choice is yours! You won’t know what you like until you do a few rounds.
How to Fluid Paint
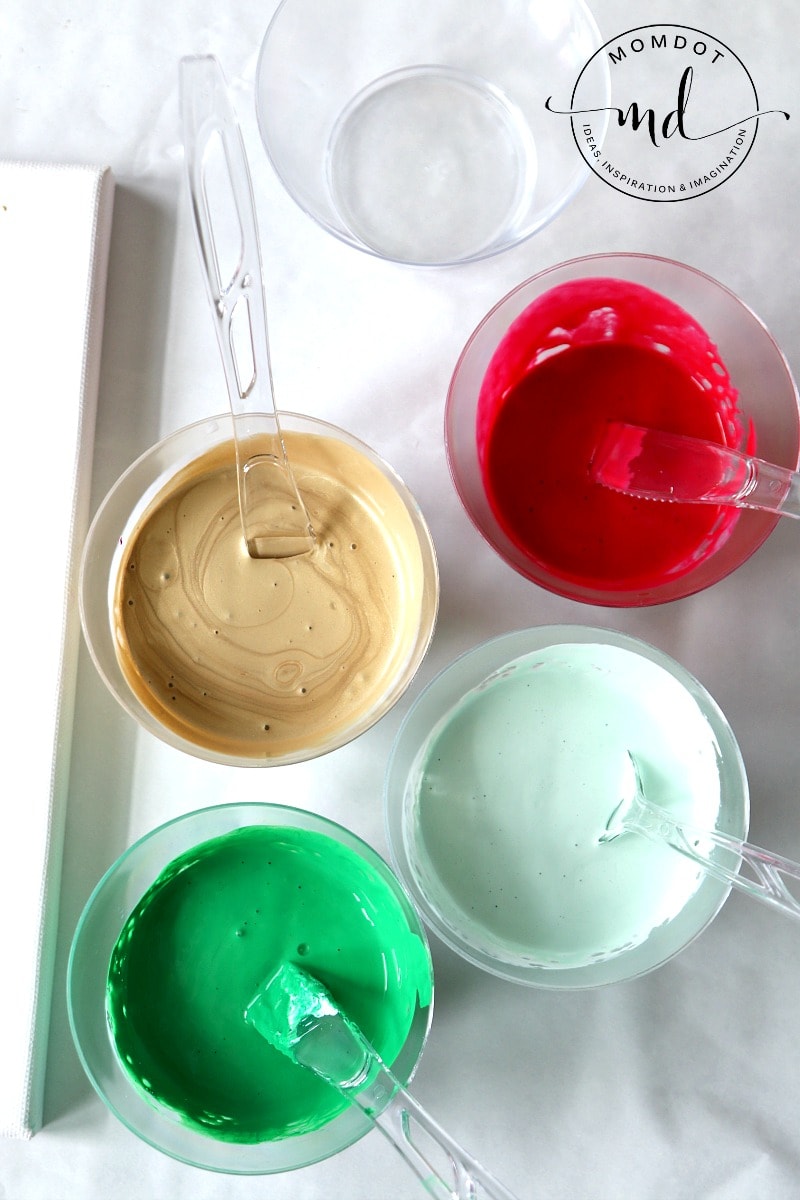
The first thing you need to do is prep your paint.
We used about a half a bottle of the acrylic tubes into a disposable clear punch cup.
Now you need to add Floetrol.
We poured in about 25-30% of what we had in paint in the glass.
UPDATE: I have found that a 2:1 ratio works better. Less paint per Floetrol will help with the cracking/crazing of your finished product, as will a warmer temperature while drying. My current recommendation would be 30 grams Floetrol plus 15 grams paint, equalling 45 grams per color. I also recommend three colors, plus a white, all mixed at that 2:1 ratio, for best results.
Now add about 4-5 drops of oil. Mix well and set aside.
Do all your colors.
Your paint should be a creamy consistency and easily able to pour.
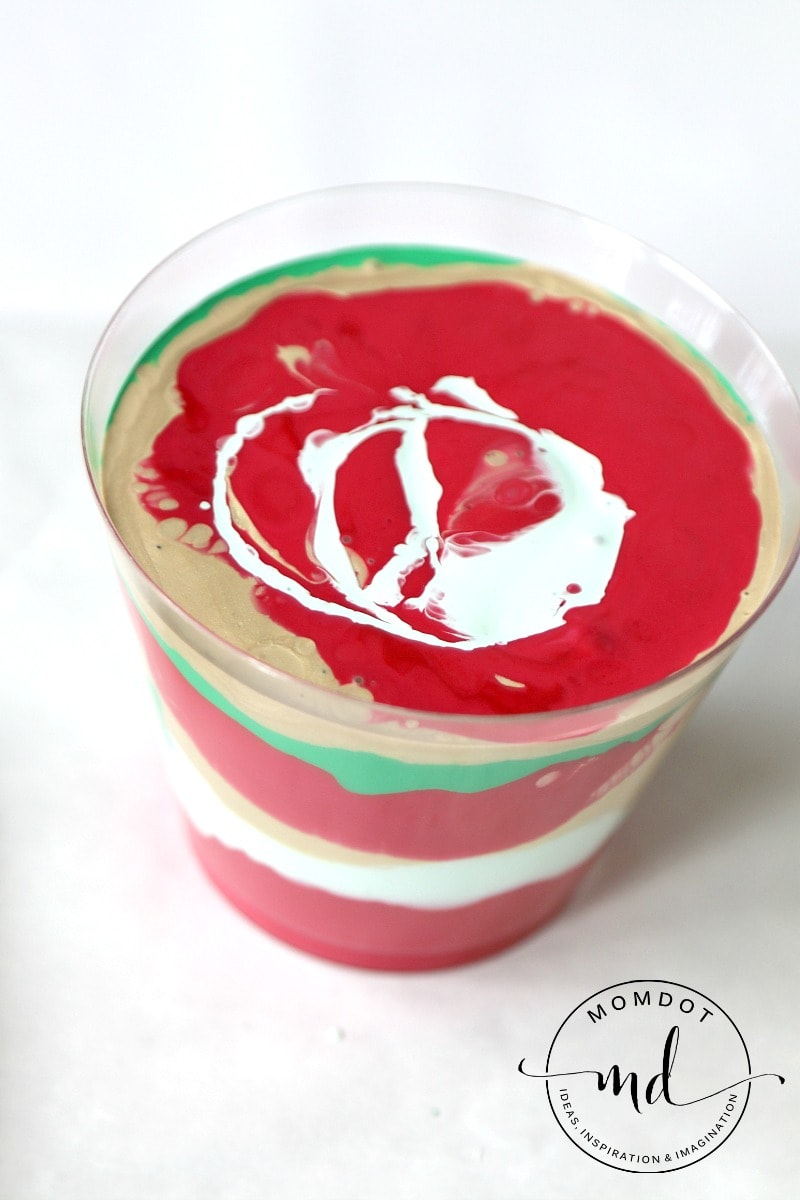
Step 2: Layering your paints for Fluid Painting
Due to your floetrol and your oil, your paint should flow very easily– like warm honey from the bottle. Start by pouring a small layer of paint into a clean cup.
Then slowly add each paint color, layer by layer, till it looks like a jello cup!
Pour slowly and into the center of each color.
Your paint should not mix in the cup.
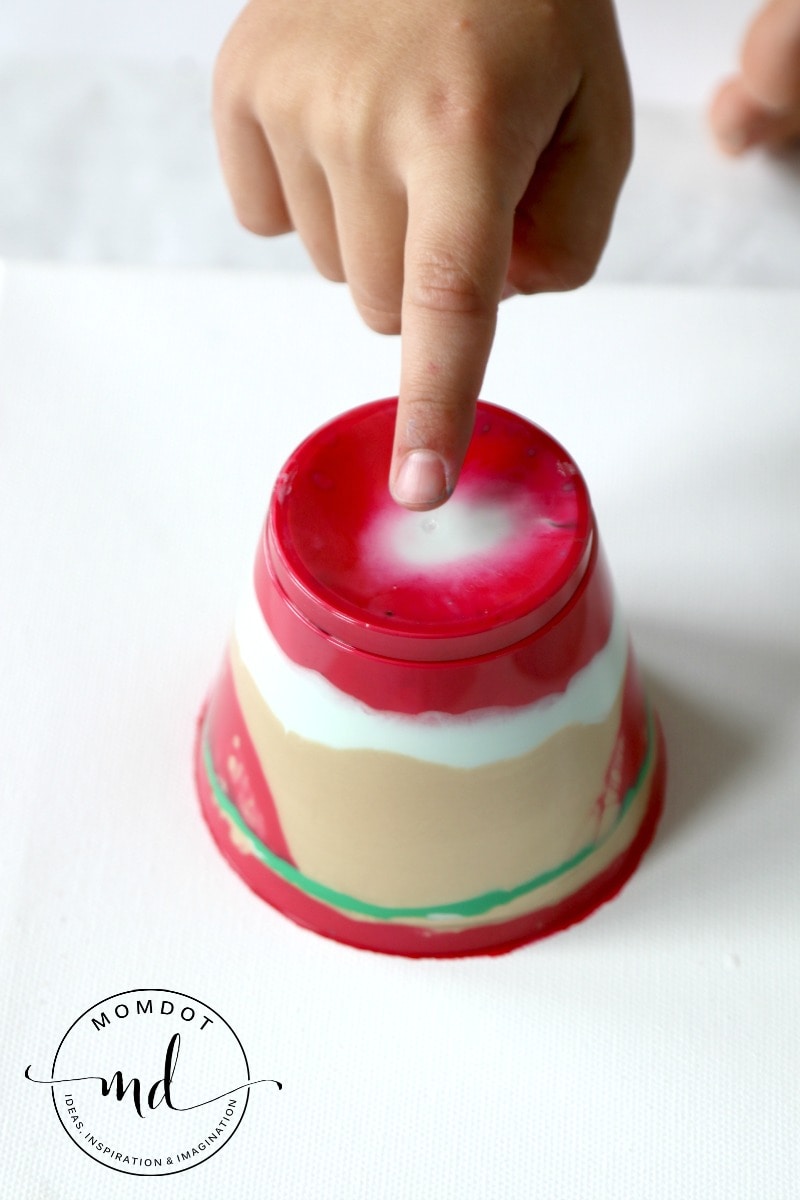
Step 3: Now you need to get the paint onto the canvas.
The easiest way I have found to do this is to leave the paint right side up, lay canvas on top, and then turn both over, keeping the cup flush and level so no paint comes out the sides.
You COULD turn your cup upside down quickly onto the canvas if you want, but the risk of paint leaking out is pretty high.
Feel free to let your paint sit there a few minutes and even tap the top to move the colors down.
Step 4: Now lift your cup straight up, turn up right and set aside.
Your cells should form immediately and without a heat gun!
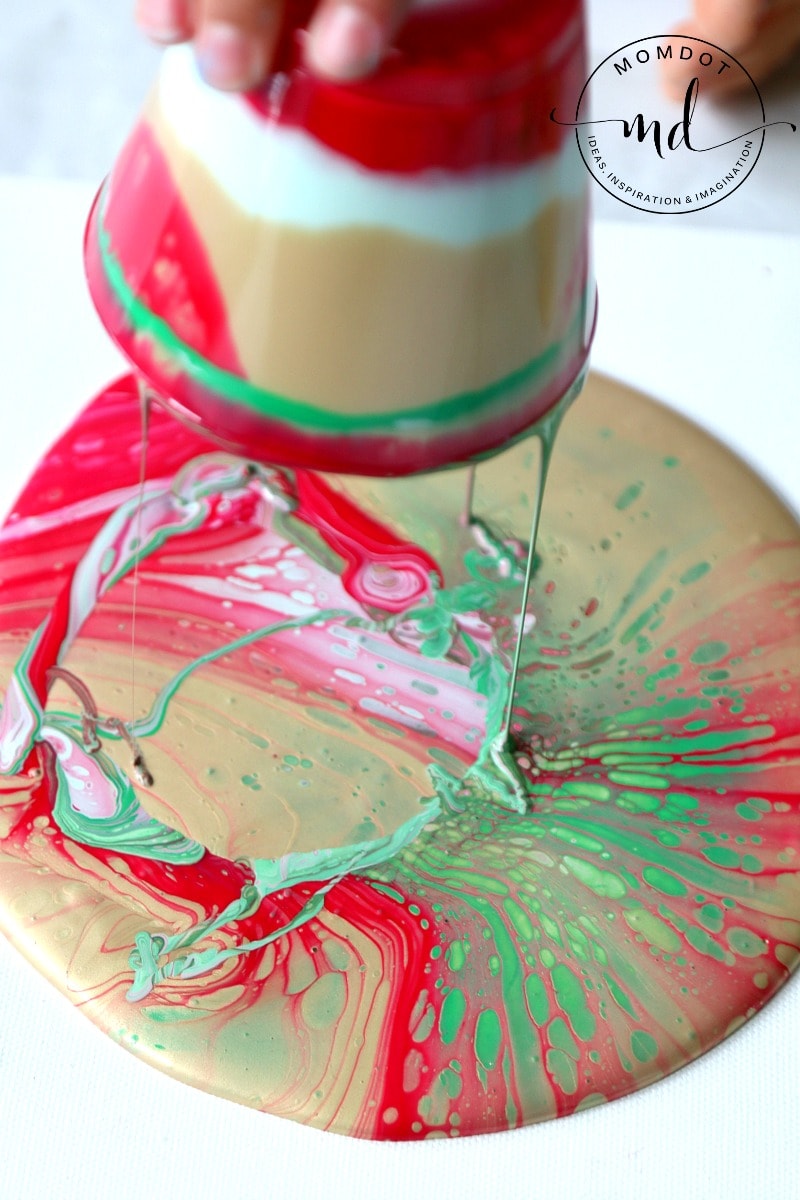
Step 5: Rotate your canvas to each side to let the paint flow to the canvas edges.
You will see the paint flows pretty slowly and you should be able to control the direction of your lines relatively easily.
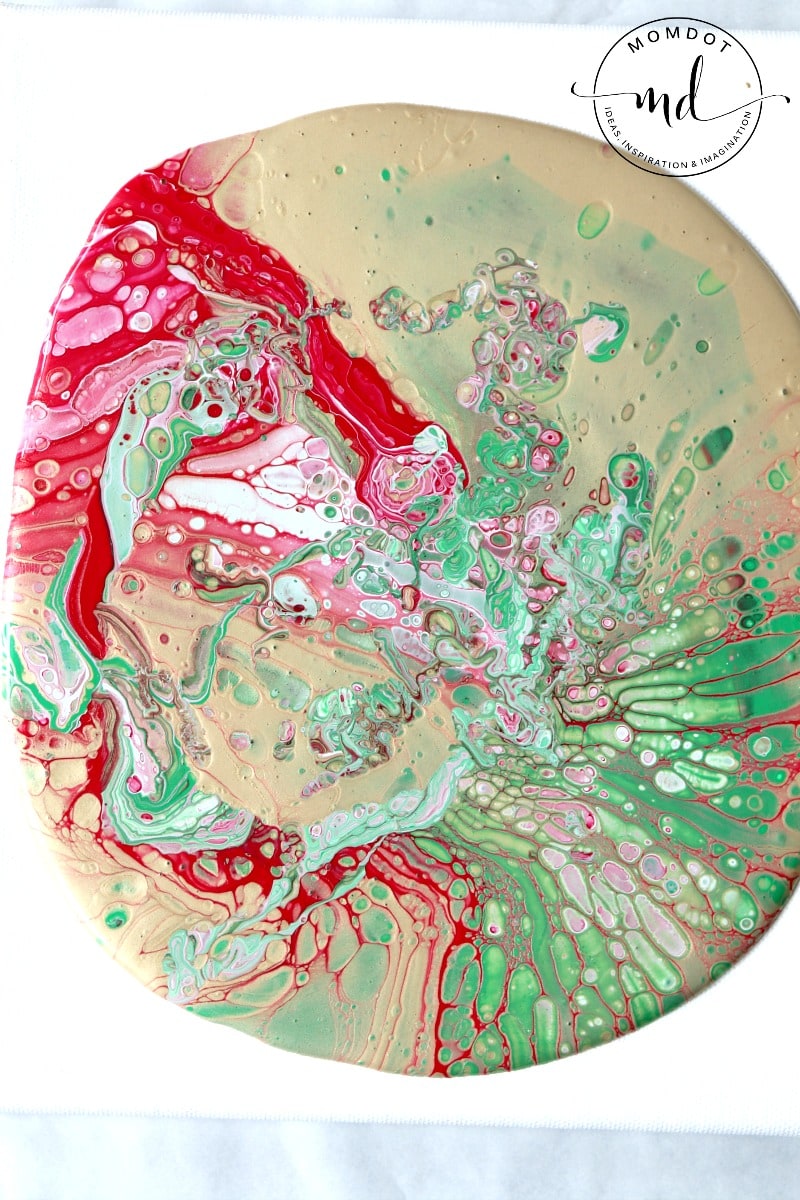
Now let dry!
I hope this step by step fluid painting tutorial is helpful!
We have another fluid painting with kids post here if you want to see another way to make this canvas.
Did you make this project? Tag me on Social media with #MomDot so I can see it.