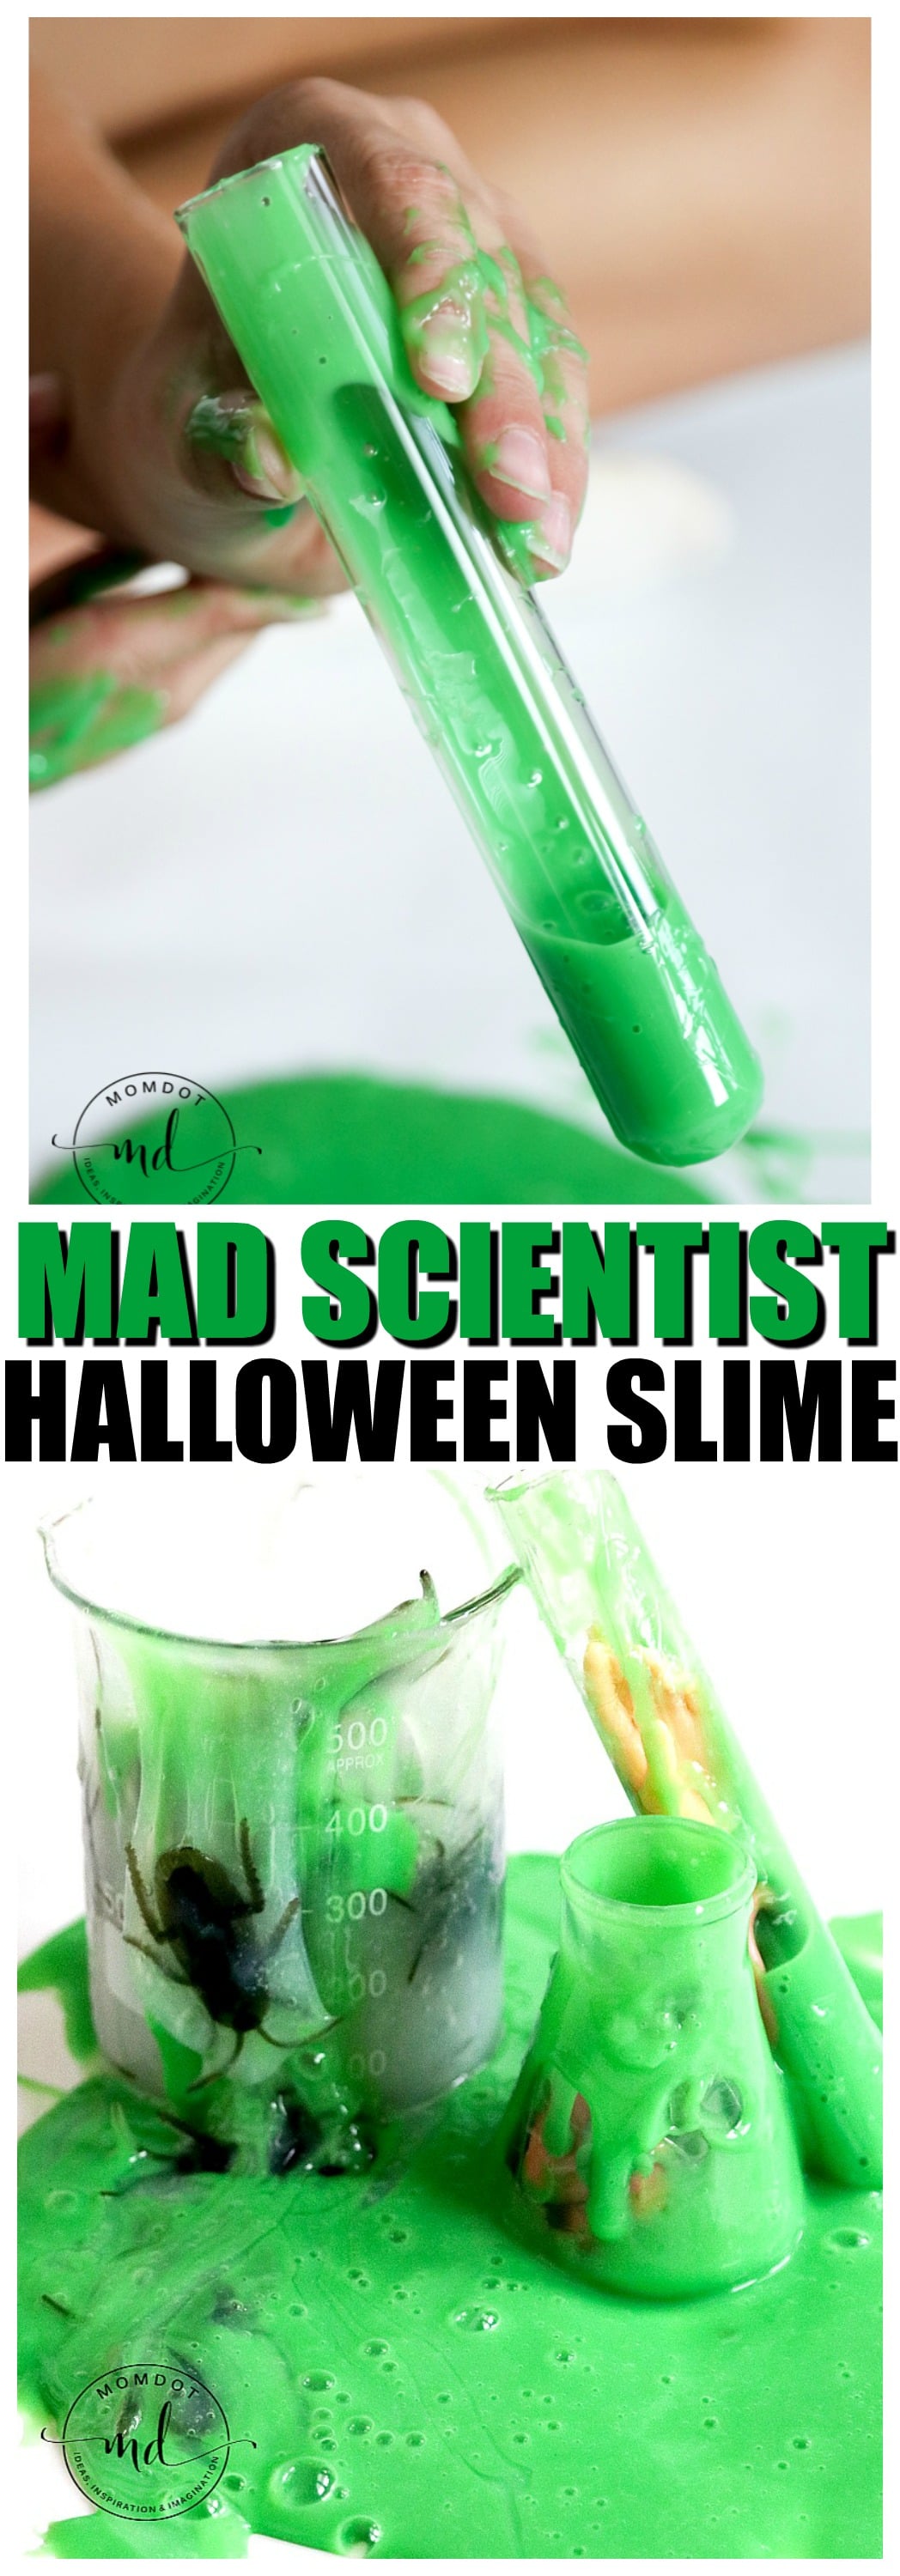
Mad Scientist Halloween Slime Tutorial is a fun way to still enjoy slime into the fall months! Learn below how to make Halloween slime that will inspire you to play, learn, and enjoy!
Summer may be over but slime should not be! Halloween time is the PERFECT time to learn how to make slime and get your gooey perfection on. Easily made into snot slime, zombie slime, pink sludge, brain slime or even icky roach slime, you cannot go wrong when you break out the slime for spooky fall fun. Of course I love all things gross and if you need another WOAH EWWW idea, you must must check out this Kitty Litter Cake. It tops even this slime!
Mad Scientist Halloween Slime Tutorial
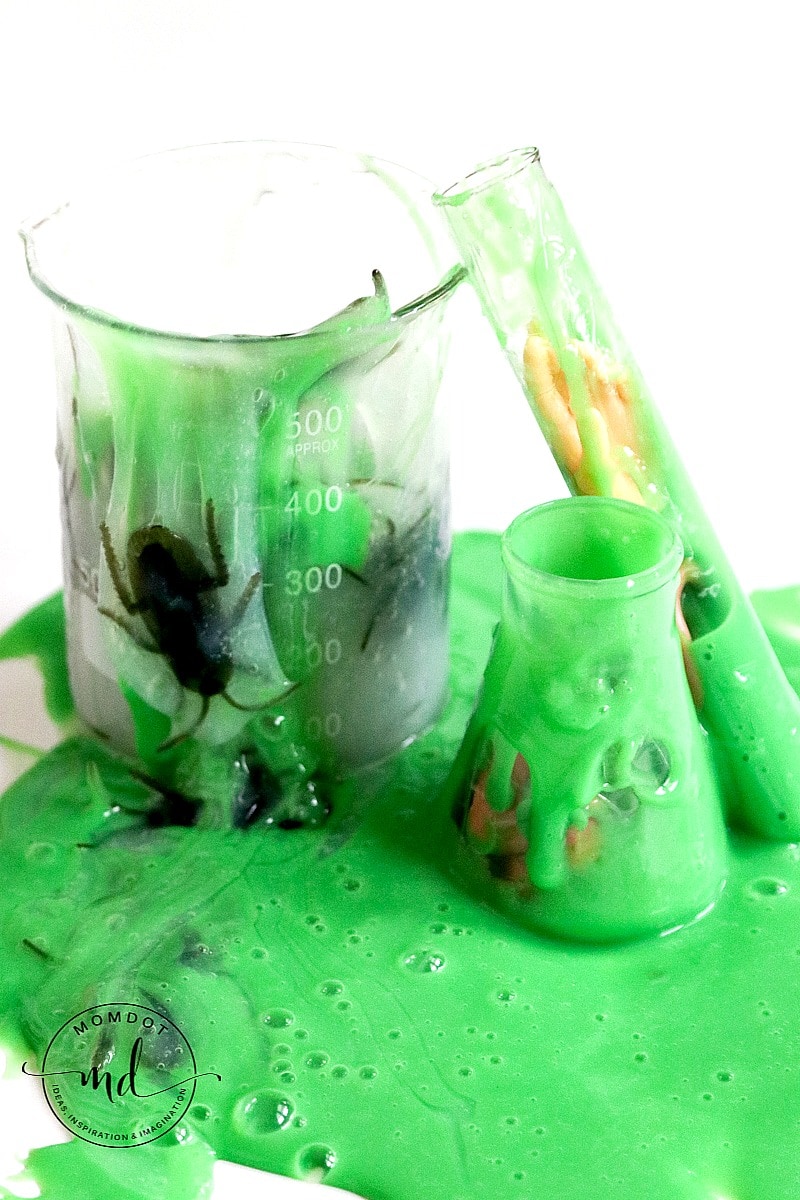
To inspire you to get creative, we have taken some of our favorite green goop for a Mad Scientist play!
No matter whether you leave your slime extra ectoplasm sticky to really up the fun, learning how to make saline solution slime, or going for a more traditional fluffy slime recipe, add mini body parts like a nose and ears and beakers!


You can use this idea for sensory projects or a Mad Scientist theme.


Here are two kinds of slimes below to enjoy your your Mad Scientist Play area!
Ectoplasm Green
– This slime is super sticky!!
-
- Clear Glue (finding this in a gallon is HARD so you can see if they have it here…if you find it, GET IT! Otherwise you can get smaller bottles)
- Saline solution

- Food Dye– I only use Wiltons Color right because it has produced a consistently beautiful slime for us- to get colors like this I recommend it.
- There are other optional items to adjust your consistency of your slime listed below in the TIP area

 – I only use
  because it has produced a consistently beautiful slime for us- to get colors like this I recommend it.
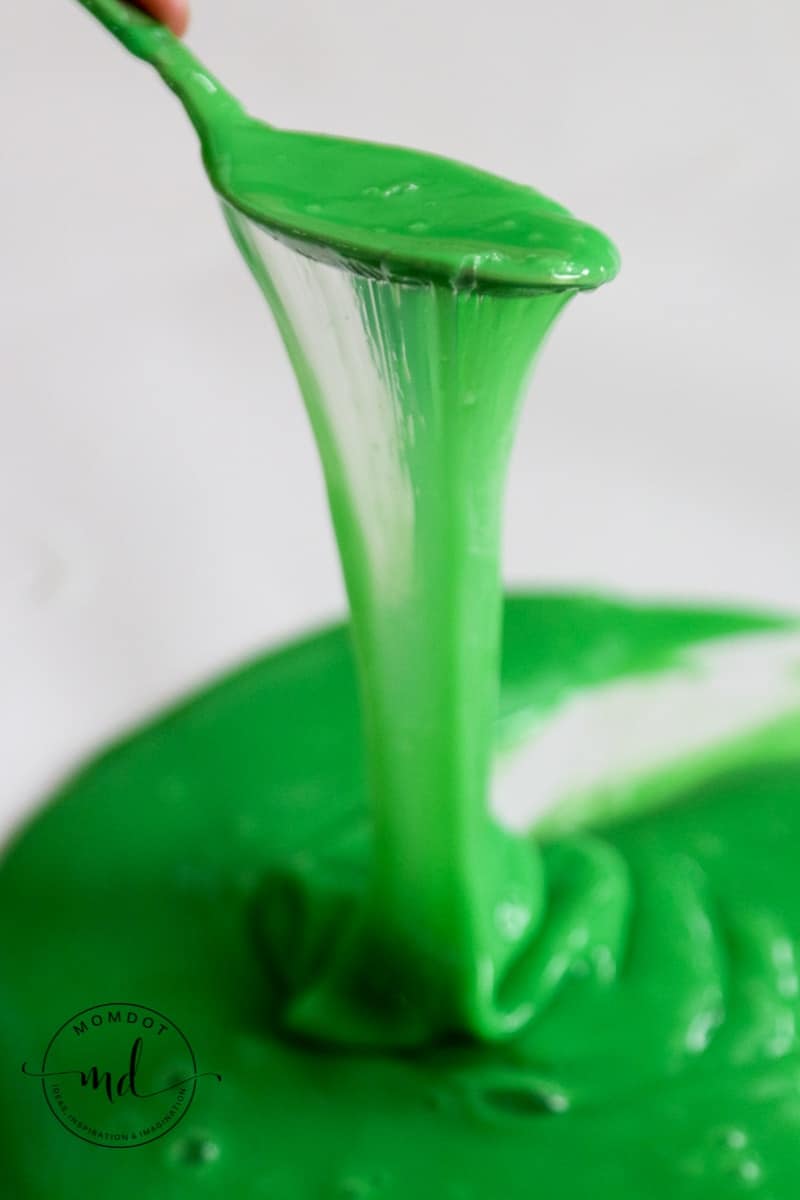
Start with your clear glue . Pour approximately 1 cup in a bowl. We wing this and do not measure, its not important to be perfect.
Now add your food dye. If you do not have food dye, you can typically use a bit of green paint. Stir until dye is combined.
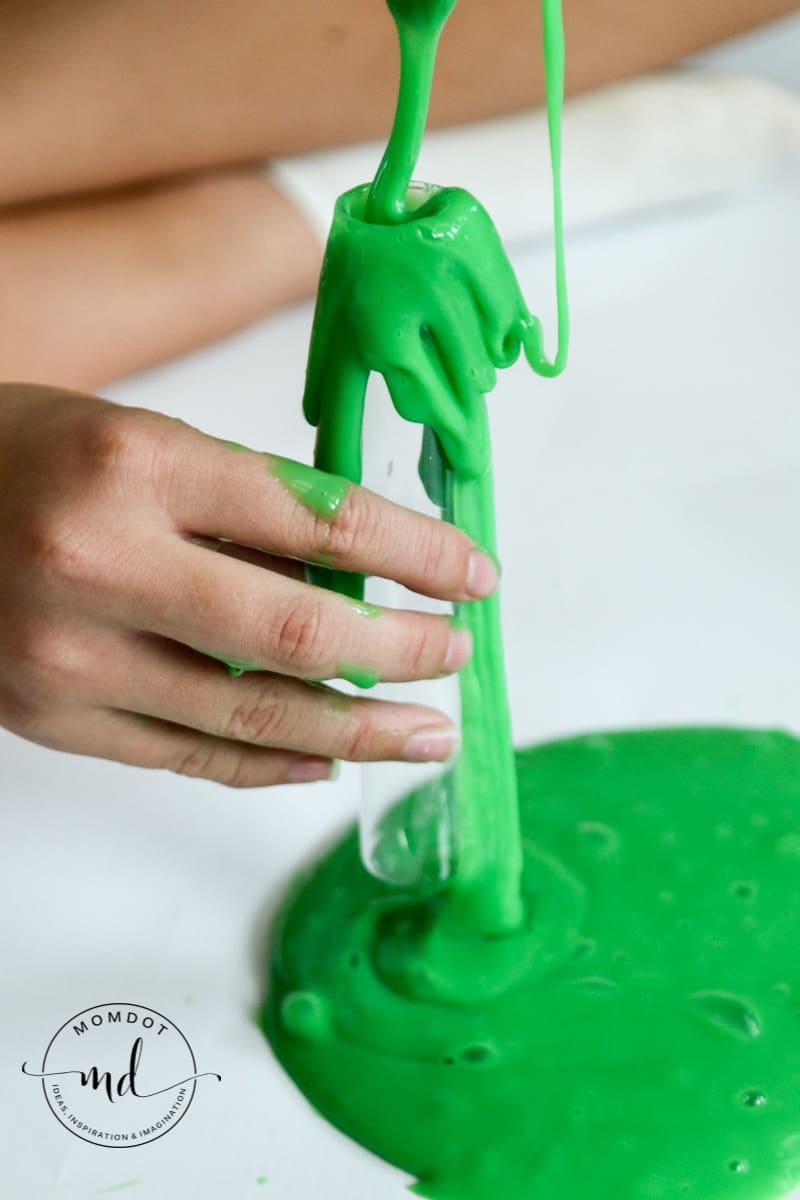
Now add saline solution – start with approx 1 tablespoon and stir. The ectoplasm will start to form. You can adjust the amount of saline solution you add to make it more or less sticky. We were pretty happy with our dripping slime.
TIP WHEN MAKING SLIME: If you want it to stick a bit less, combine approx 1/2tsp of baking soda and a tablespoon of saline into a bowl and mix. Once combined, pour into your glue and mix- this will thicken up the slime. The only downside of baking soda is that its white and can take out some of the coloring of your slime, in which cause you may have to adjust. Reading this article on how to make saline solution slime may help or this one on how to make clear unicorn poop slime.
 Green Snot Slime
 Green Snot Slime
this uses white glue and is a bit more solid
- I always use GALLON SIZED GLUE. Tiny bottles do not produce a lot of slime and this is an addicting project. Go ahead and get the gallon size. You cannot find this in stores.
- Liquid Starch – This can be impossible to find, so also better to grab online
- Food coloring (OPTIONAL) I use Wilton’s Color Right for the best and brightest results if you prefer this to have color instead of white
- Shaving Cream
 . Tiny bottles do not produce a lot of slime and this is an addicting project. Go ahead and get the gallon size. You cannot find this in stores.
 – This can be impossible to find, so also better to grab online
 (OPTIONAL) I use Wilton’s Color Right for the best and brightest results if you prefer this to have color instead of white
Now lets make it! Fluffy slime is actually (in my opinion) the easiest slime you can make. Because of the shaving cream, its almost a no fail. The first thing you need to do is start with glue. Pour approx 2 cups of glue into a bowl. You do not need to measure this…just wing it.
To get going, you need to start with glue. Pour approx 2 cups of glue into a bowl. You do not need to measure this…just wing it. As much glue as you pour is about as much slime as you will get returned. IF you want a lot of slime like in this recipe, I suggest you make a few small batches and then combine versus over pouring. You will have mixing problems otherwise.
Spray in about 1 cup of white foamed shaving cream and mix the glue
 and shaving cream together.

Add a few drops of your coloring and stir. You can make this any color you want so feel free to get creative. To make the slime as shown in this article, you will need 3-4 separate batches of colored slime to mix.
Once your slime is colored, its time to add the liquid starch. Spray starch is not the same thing, please use liquid. Pour in approx 2-3 tablespoons full of starch and stir. The glue will start to form immediately. Stir for a few minutes to get it all mixed up and then take out the goop and begin kneading between your hands, passing back and forth.
Here is the tip: If the slime is sticking to your fingers, it doesn’t have enough starch. Either dip your slime back into the bowl and mix more starch (if there is some left in there) or pour a little bit more into the glue mixture little by little till it starts unsticking. The entire process can take about 5 minutes. Its easier to add more starch than add more glue, so its better to start with less starch and add. The reason there are no hard measurements is because most people make varying sizes of slime batches, so you will need to find the exact ratio.
Elmer’s School Glue, Washable, 1 Gallon Purex Sta-Flo Liquid Starch, 64 OunceWilton Color Right Performance Color System, 601-6200
How to make Slime Video
- want to see how slime is made? This short video will give you the skinny on making slime with glue and starch and how unbelievably easy it is! I hope this inspires you to get your slime made!
Having Trouble Making slime?
- This video is a longer video that shows you how slime comes together. Many people believe that slime is instant but it can take some time to mix up and kneed. This video will help you understand what you are doing wrong- OR right!
How to make Bubbles with Slime Video
- Making bubbles is SO much fun with slime! Learn how to make bubbles alone or with a friend. Who can make the biggest bubble?
Kinetic Slime
- We experimented with creating a kinetic slime that sticks together. Come see how we did it!