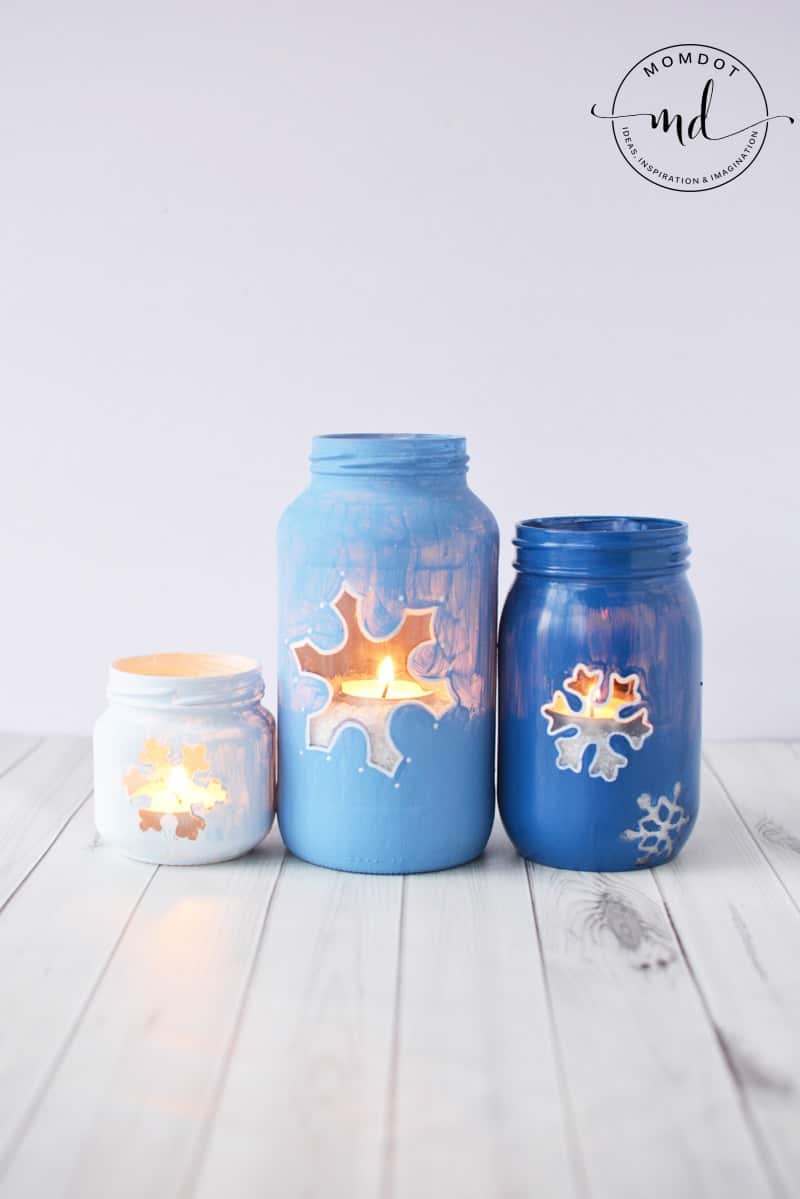
Create a Snowflake Mason Jar DIY that looks beautiful on your table for a holiday centerpiece. Easily customize your colors and designs while painting your mason jar. This Snowflake mason jar tutorial is so easy to follow and will get your holiday crafting started off perfectly!
Snowflake Mason Jar DIY
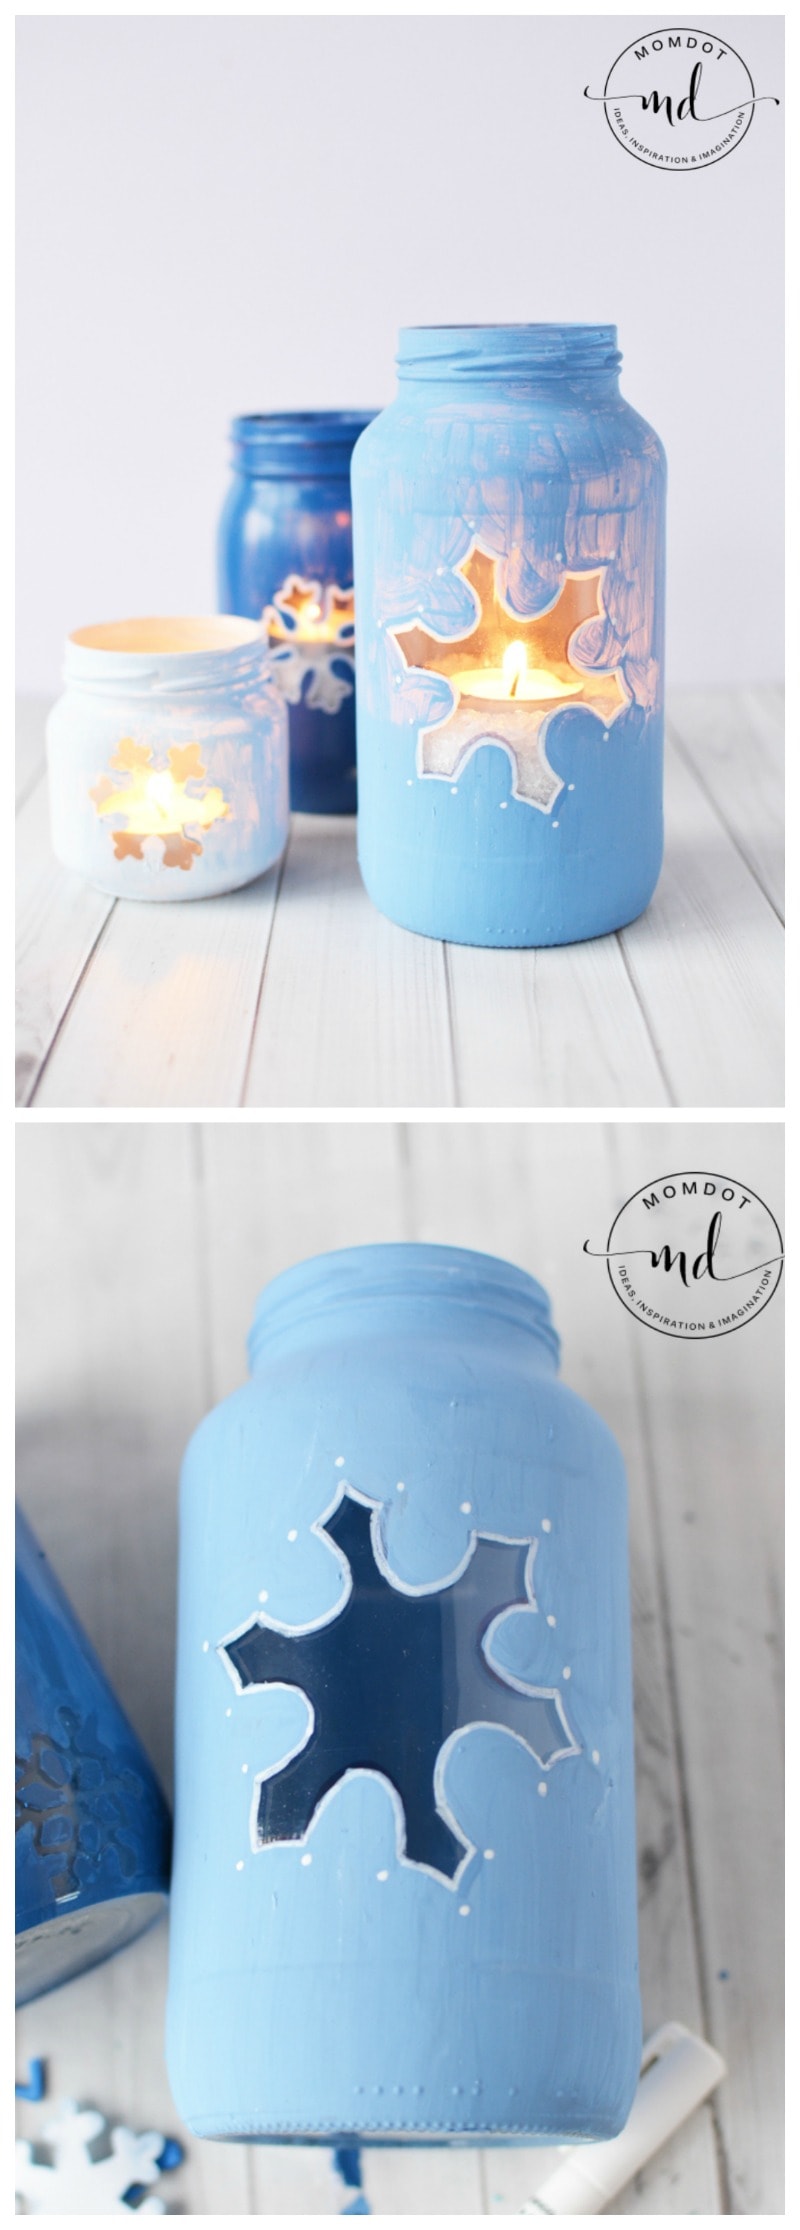
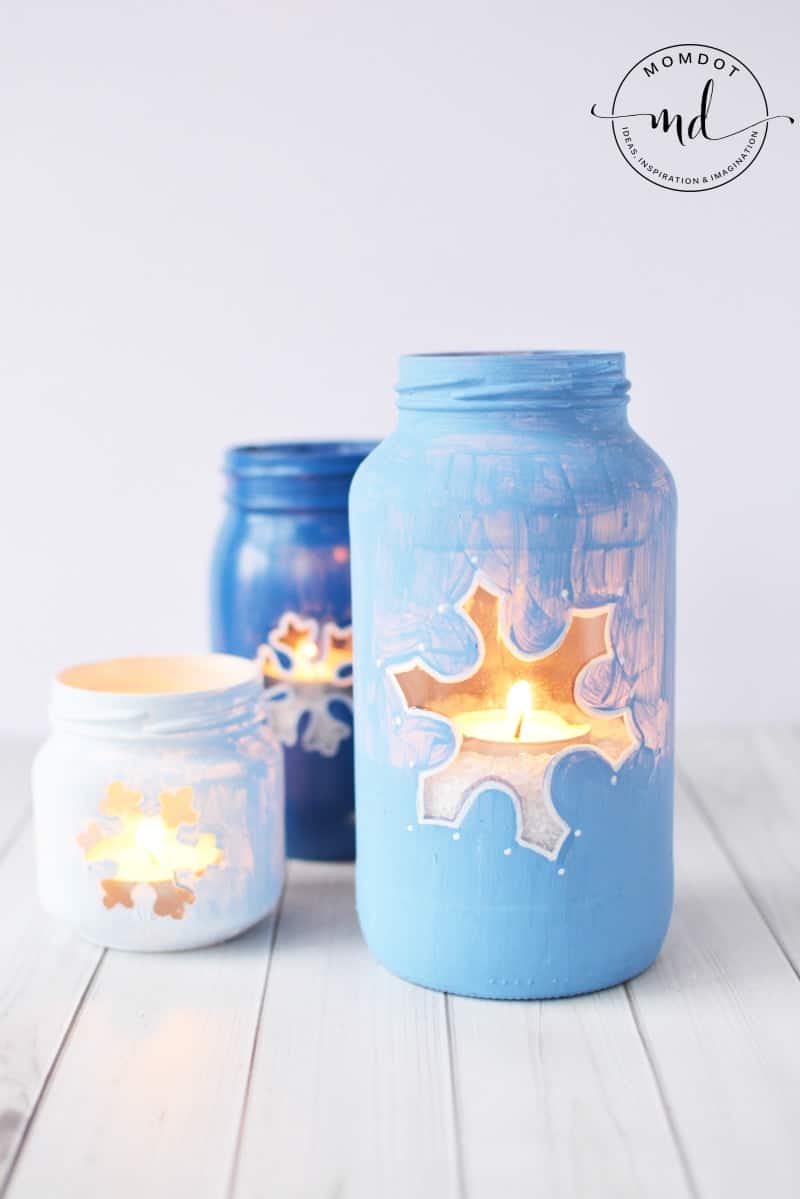
Before you get started on making your Snowflake mason jar, you need a few items! I always say its best to be prepared up front so you do not have to stop mid craft and pick it up again. Various sizes of mason jars make this craft stand out because your tealights will be at different levels.
Personally, this is a fun craft to do with friends or kids since it mainly requires just paint. This particular craft I have done in snowflakes, but feel free to branch out with Christmas Trees, Santa, reindeer or Christmas bulbs. You can also a variety of Christmas shapes or even paint in stripes like a candy cane.
I think the most fun thing about crafting at the holiday time is to get a bit creative with colors and glitter, so do not be afraid to deviate from this snowflake mason jar craft to something that suits your table top!
- Blue Acrylic Craft Paint
 -used Waverly in Ocean Blue Color
 - White Acrylic Craft Paint
- Snowflake Cookie Cutter
- Paper
- Pencil
- Scissors
- Foam Snowflake Stickers
- Paint Brush
- Paint Tray
- White Paint Marker/Pen
- Black Permanent Marker
- Tealights
- Epsom salt or sand
 -used Waverly in Ocean Blue Color


 /Pen
/Pen

 or sand
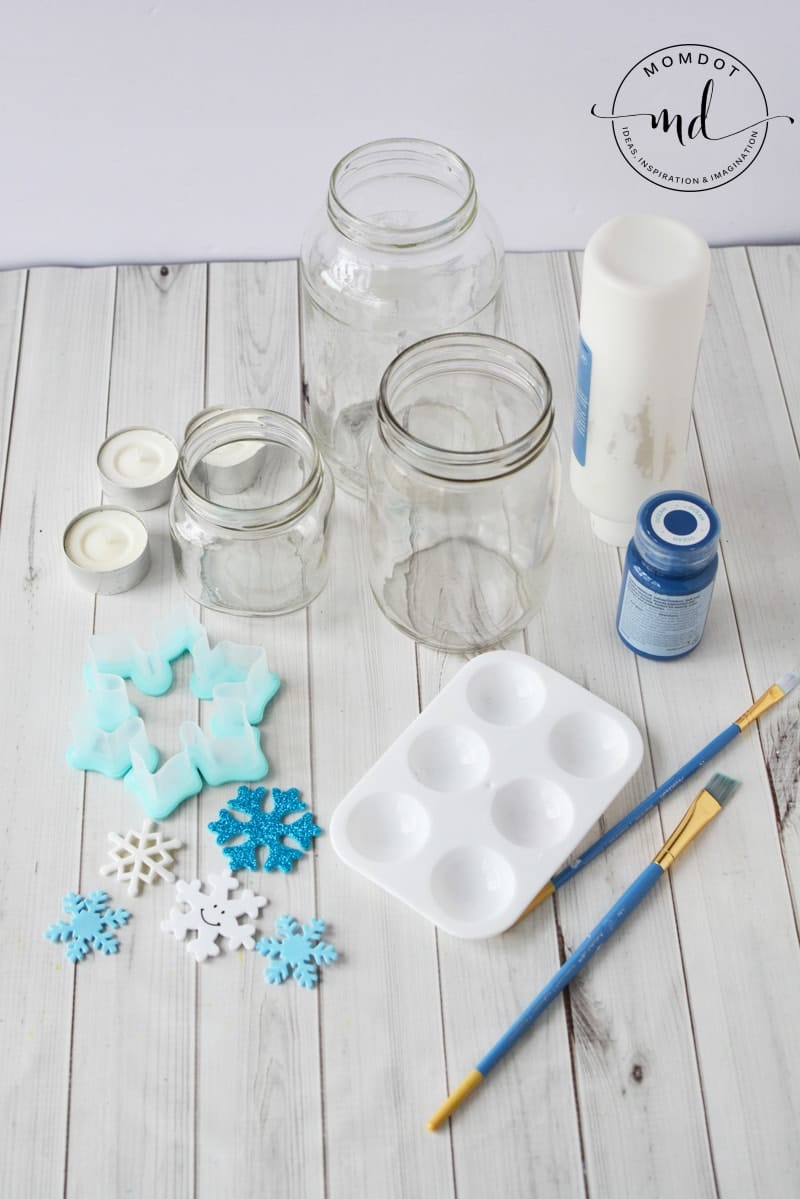
How to make a Snowflake Mason Jar
To get started on your Snowflake Mason Jar DIY, wash and dry your jelly jars completely before attempting this project. Paint needs a clean surface to stick to and making sure you don’t skip this step will ensure a great craft from the get go.
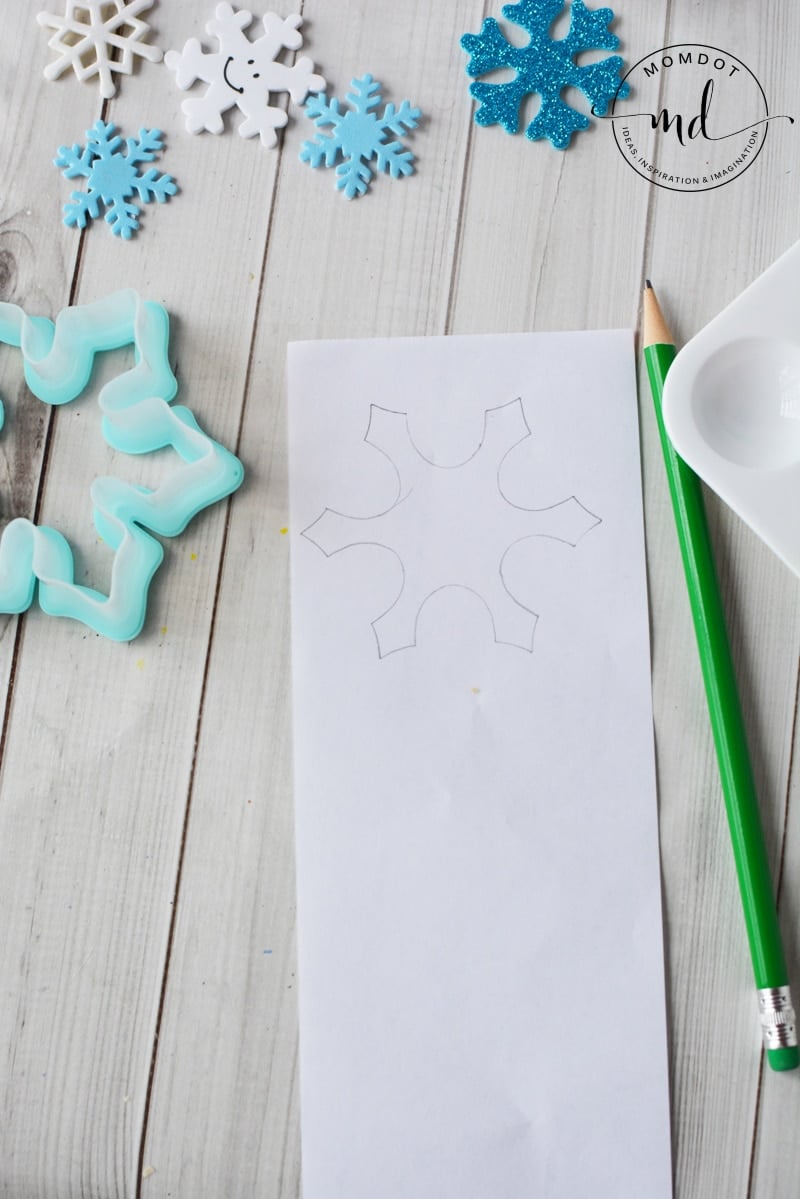
Use the cookie cutter to draw a snowflake pattern onto a piece of paper.
Cut out the pattern with scissors.
Place the pattern onto a jar and trace around it with a black permanent marker.
Do not worry if your tracing isn’t perfect because you can correct while you paint.

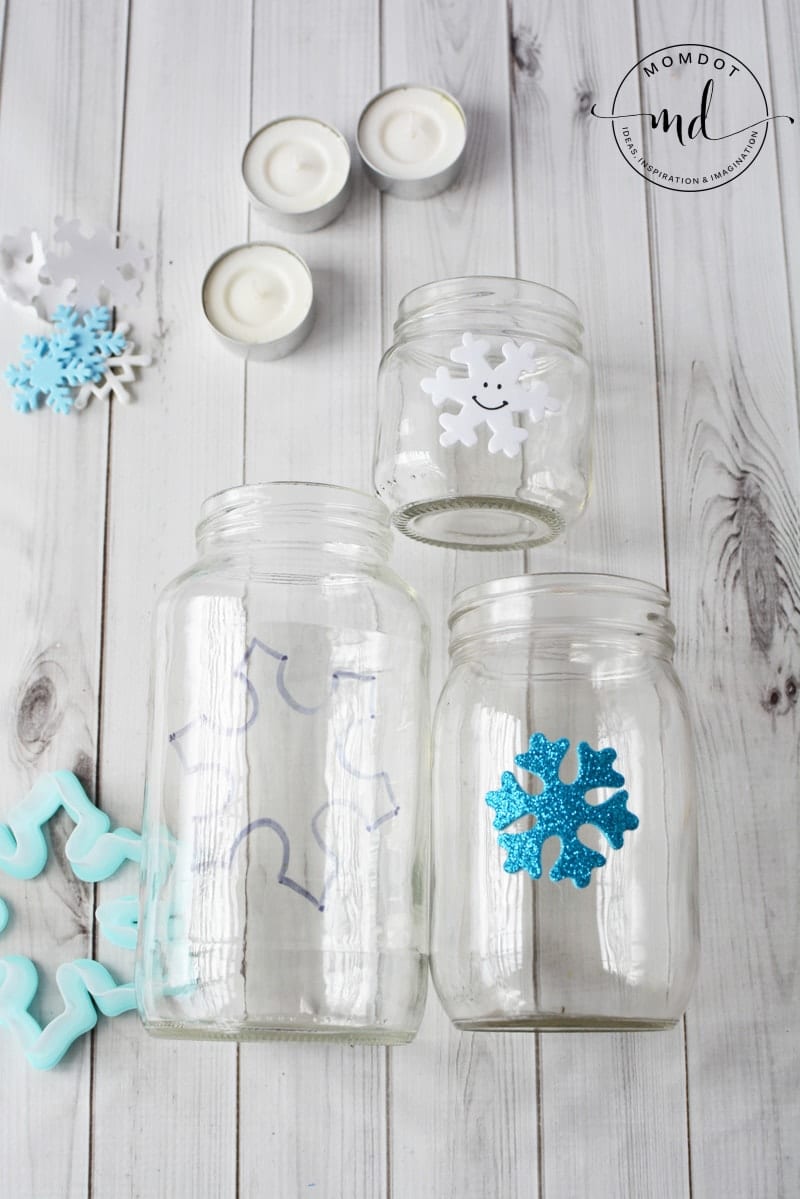

To do other snowflakes on your jars you can also use foam stickers to guide you!
Place foam stickers FIRMLY onto the front of the other jars and set aside.
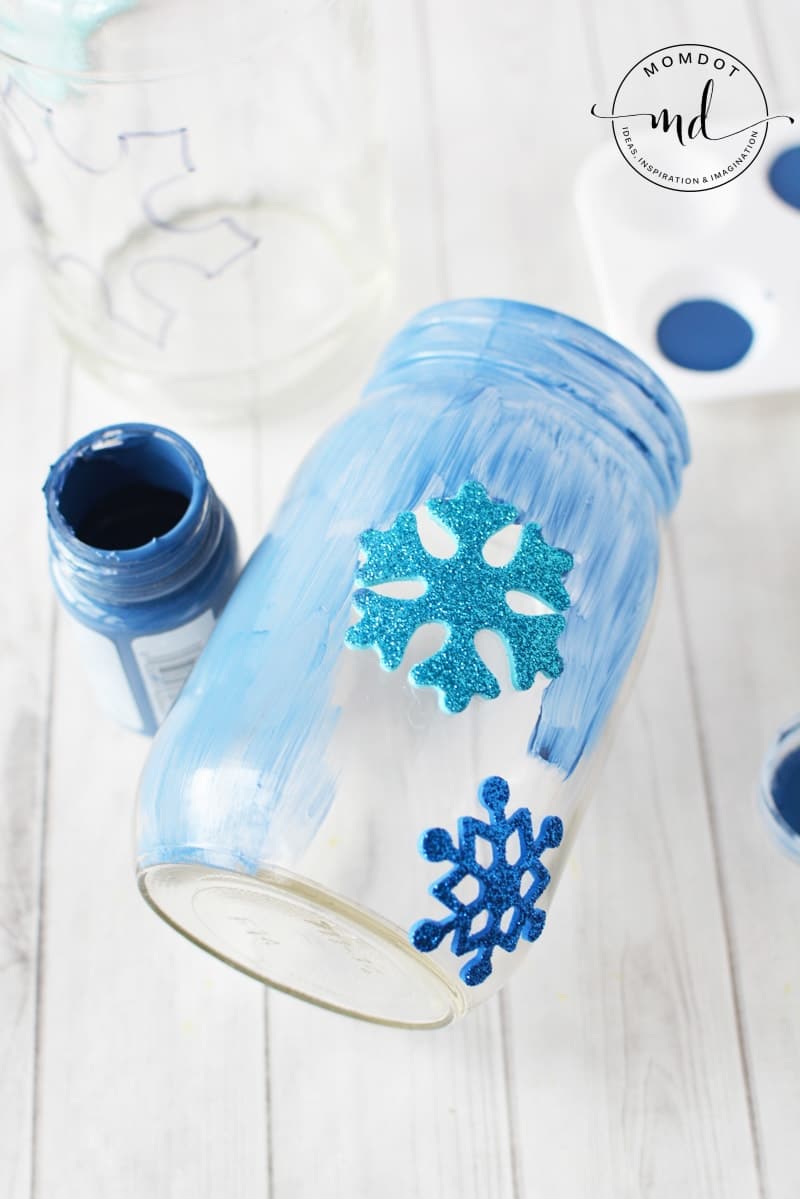

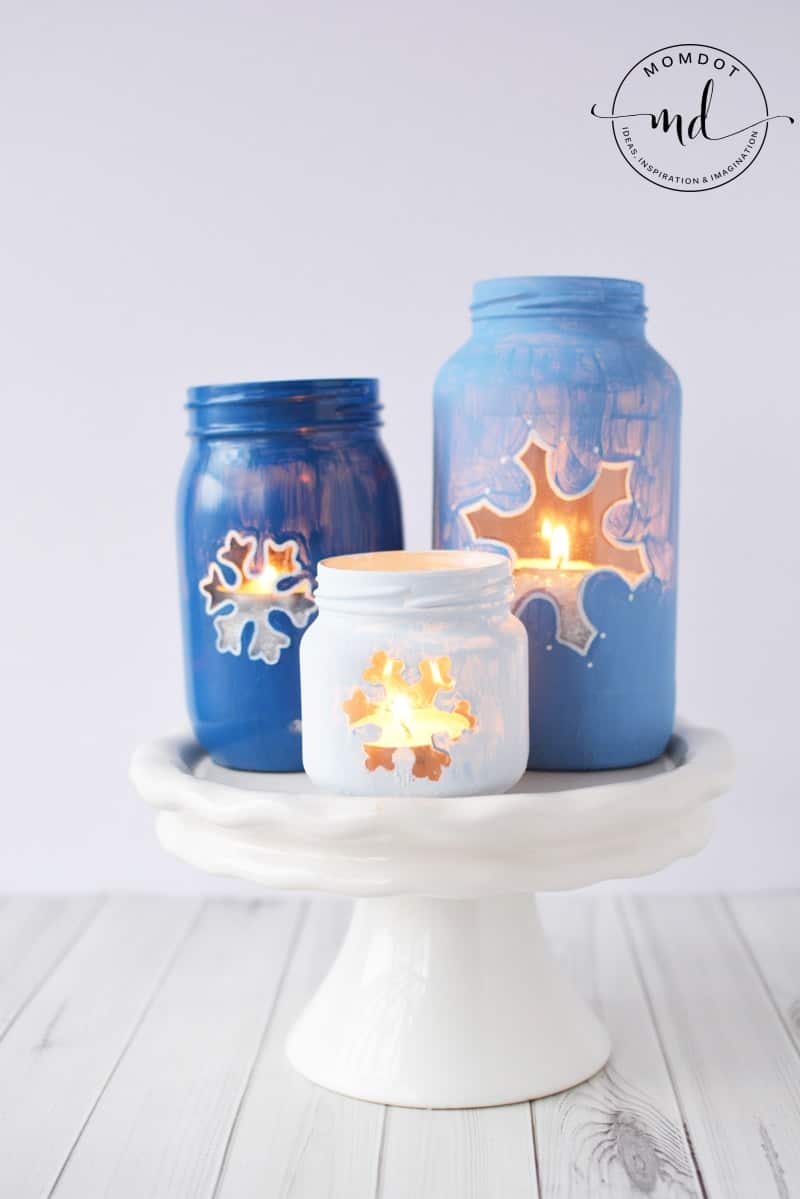
Mix up three different colors of blue paint and carefully paint each jar, going around the snowflakes with a smaller detailed brush to get into the snowflake design carefully.
Let your painted mason jars dry between coats to ensure proper coverage. Acrylic paints dry pretty fast.
I used two coats on each jar.

When your snowflake mason jars are completely dry, carefully remove the foam stickers to reveal your design.
They may rip and that’s okay because you are done with them!
Now to work on the details.
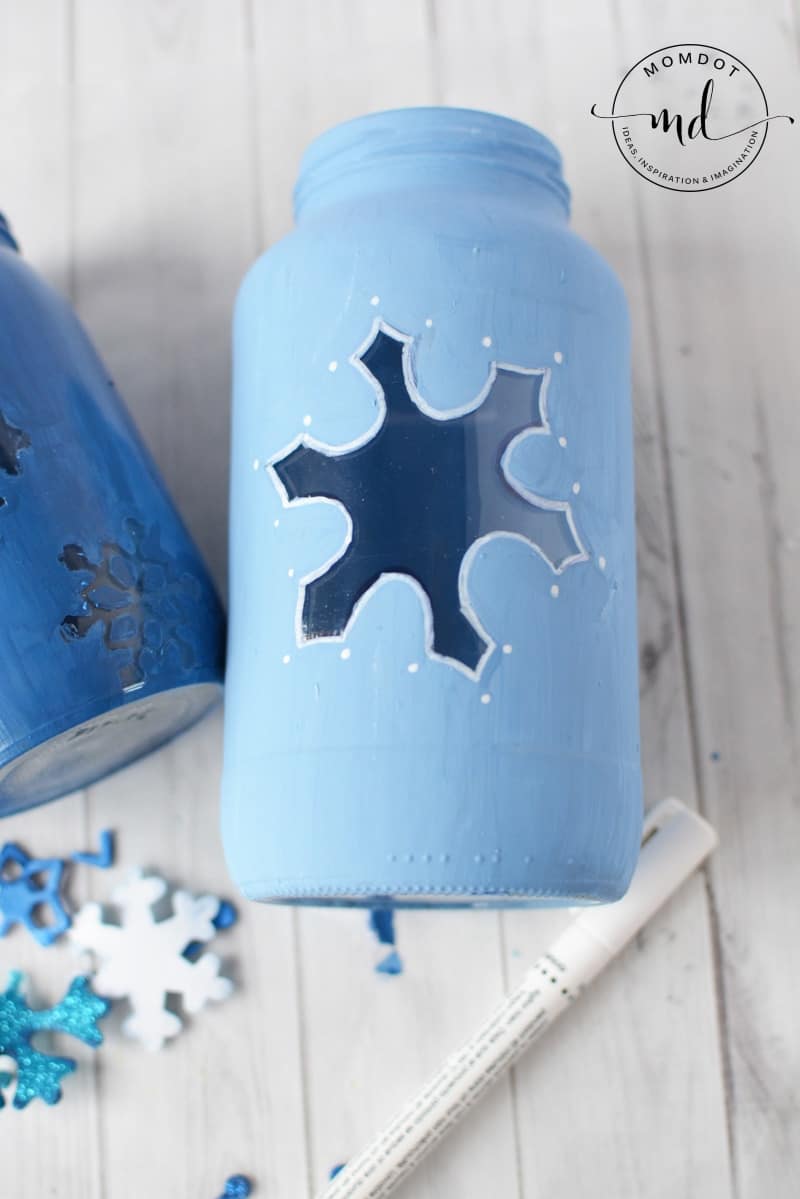
Use a white paint pen as desired to add detail to each of the jars, lining your snowflake and adding extra dots, lines, or mini snowflakes around the jar.
Fill jars with Epsom salt or sand to raise the level and add a tea light. I prefer tealights that are battery operated as they are safer and do not heat a jar up.
Oh and do NOT throw away those mason jar lids! Make another decoration with those: Mason Jar Lid Wreath Tutorial
 Where to buy Mason Jars
 Where to buy Mason Jars
On top of the additional items above you will need to complete this Snowflake Mason Jar DIY, you will also need mason jars. I recommend getting mason jars in the 4oz and 8 oz size, but it also depends on where you plan on sitting them.
You can fill up larger ones with sand or Epson salt to adjust the level of your design and the light. I buy all my craft supplies on amazon and have them delivered to my door, which is a lot easier than holiday crowds this time of year.
 to adjust the level of your design and the light. I buy all my craft supplies on amazon and have them delivered to my door, which is a lot easier than holiday crowds this time of year.
Check out mason jar pricing below:


Other DIY Mason Jar Ideas
Love working with Mason Jars? I love them too!
You can paint them, spray them, write on them and stick things in them. They work for gifts, candies, storage and more. Head to one of these other crafts before you go.
Marble Dipped Mason Jar Tutorial
Create Element Jars Necklaces for Nerdy Friends (LIKE ME)
Create an Element Jar Necklace, which shares the sun, moon, earth and star and turn it into mini necklaces you ...
Marble Dipping Mason Jars – Super EASY Marble Dip DIY!
Making marble dip decor is so quick and easy! No matter what you're marbling, the idea and technique is the ...
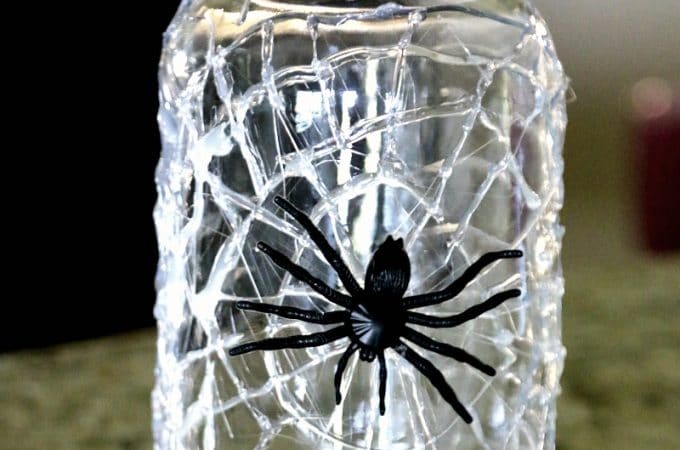
Spider Web Mason Jars: DIY Spider Jar for Halloween!
All you need to make Spider Jars is hot glue, a fake spider (or a few), and a mason jar! ...
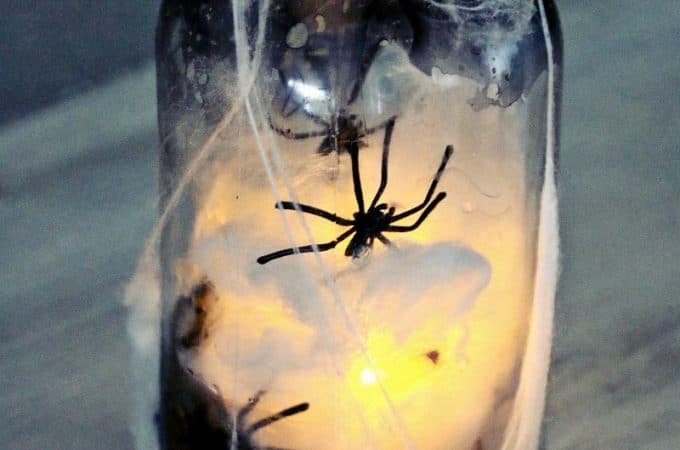
DIY Halloween Spider in a Jar: SPOOKY & FUN Mason Jar Light
"Catch a Spider by its Toe": Light Up Mason Jar - Learn how to make a super spooky Halloween decoration ...
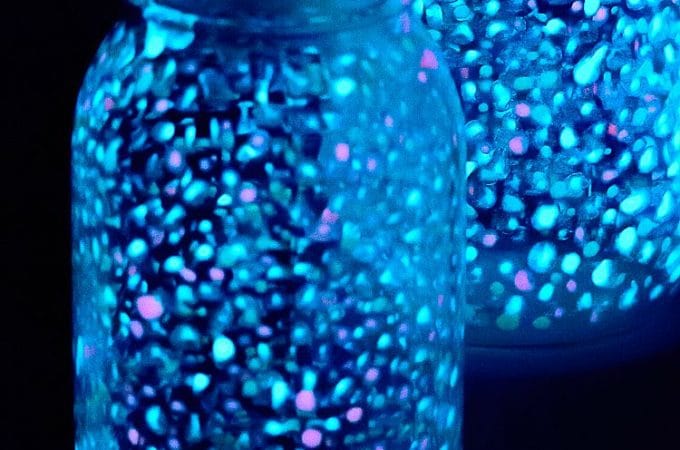
Universe Glow Jar *Magical Tutorial* – Universe in a Jar!
Make a universe glow jar with this super easy tutorial! Our galaxy glow-in-the-dark jar is kid-friendly because it uses glow ...
Fairy Jar Tutorial: DIY and Capture a Fairy!
Earlier today as I was surfing Facebook I noticed my cousin share some cool crafting pictures of a "Fairy Jar" ...
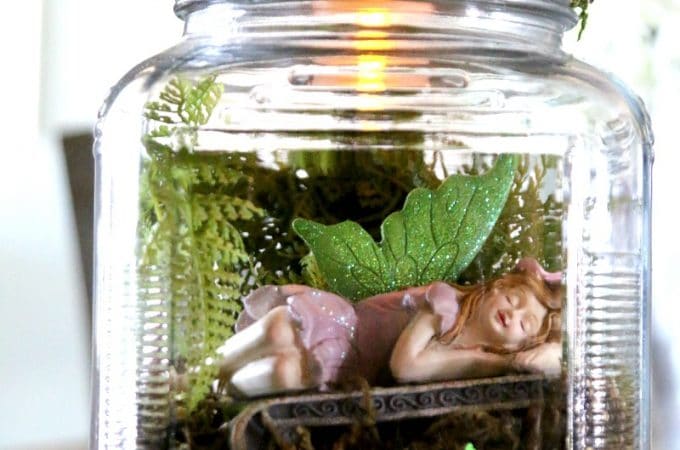
DIY Mason Jar Fairy House
I love working with mason jars and I was able to with my DIY fairy House tutorial. I love mason ...

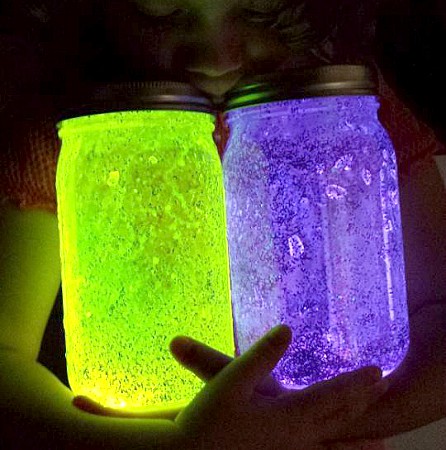
Galaxy Jars DIY: Hold the Galaxy in your Hands!
DIY Galaxy Jars Instructions. Learn how to make Galaxy Jars, which is a perfect sensory bottle or calm-down jar craft ...
DIY Sparkle Mason Jar (Easy 2 step version)
Modge Podge and I have yet to make friends. I think its because I have yet to understand the power ...
Sun Catchers: A Kids Craft DIY
Because the forecast says 107 degrees for us today, we've decided to enjoy the sunshine from the comfort of our ...