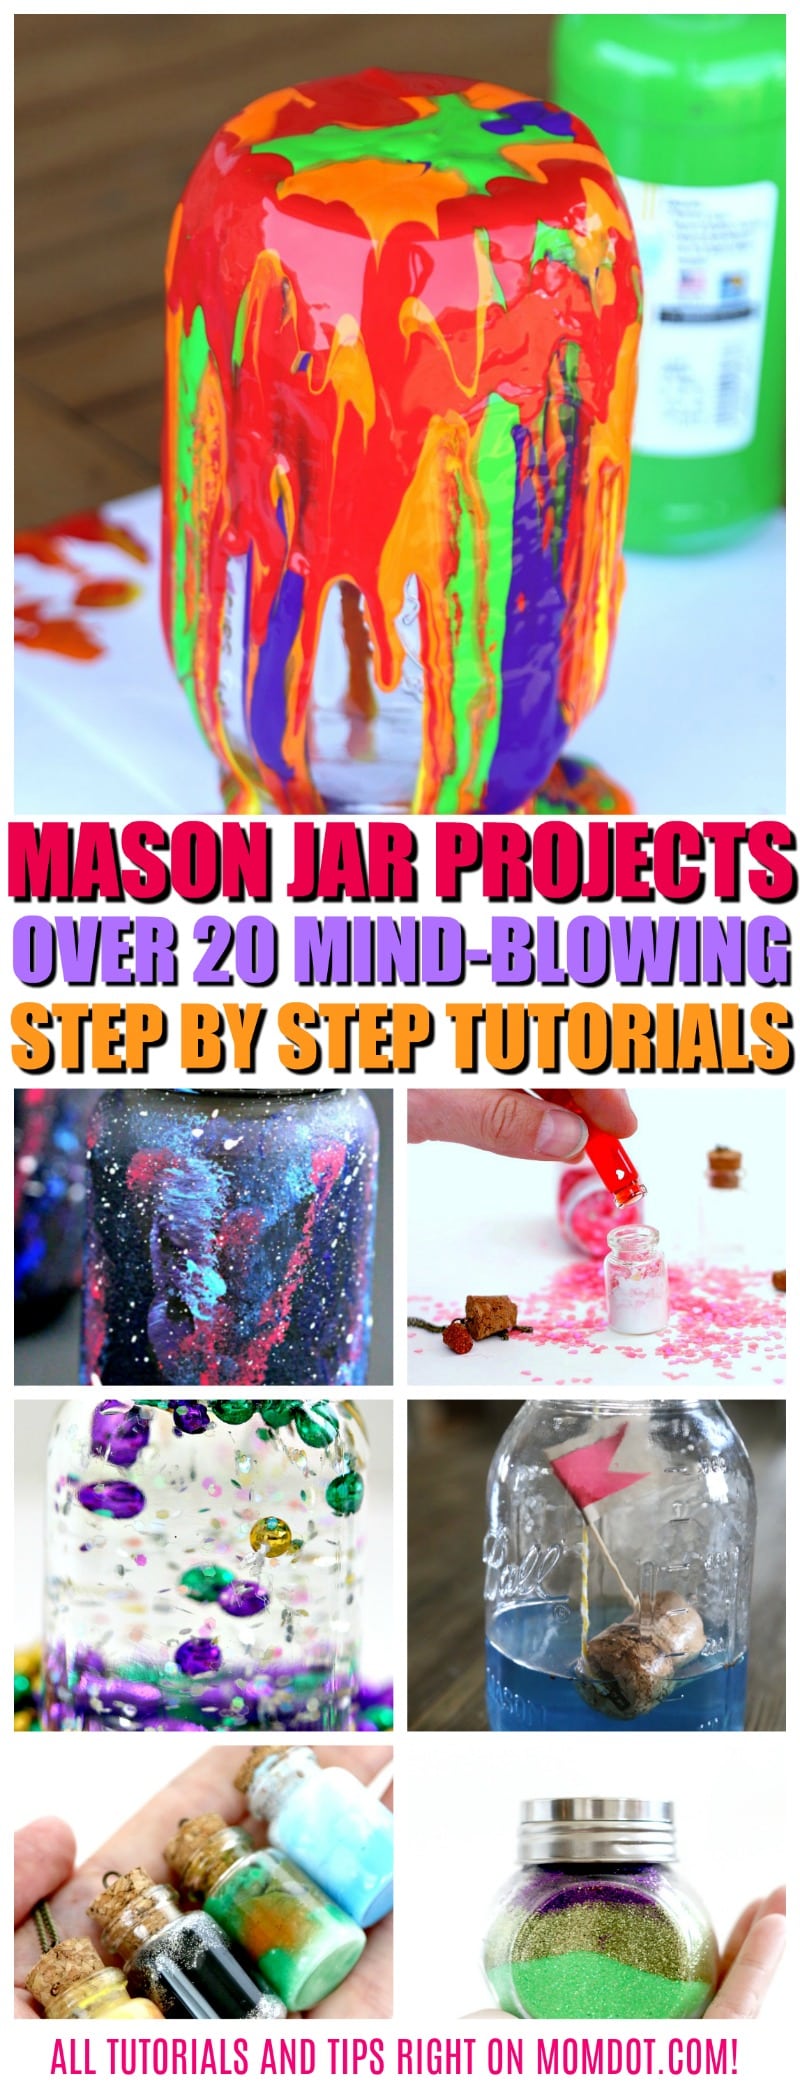
Ready to get started with Mason Jar Projects? Follow these tips for success and check out over 20 Mason Jar Project Tutorials and tips that you can get started on today! I have curated MomDots amazing Mason Jar tutorials to share with you the ease of getting started with decorating and gifting mason jars. Just look below to head to the mason jar DIY of your choice or surf our entire line of easy mason jar ideas here.
You’ve seen them all over Pinterest: painted, distressed, glamorous mason jar tutorials. People are stuffing them with flowers and beauty products and well, just about everything. (DIY Fairy House)The options are pretty endless for how you design and style your mason jars – trust me, if you haven’t seen them already, you won’t be short on inspiration as you tackle the project.
However, getting paint to adhere to that polished glass finish can be a bit tricky, so it’s good to have a few tricks up your sleeve to make sure you don’t come home to find your stunning paint job peeled off on your counter.
Mason Jar Projects
Prep work is key for Mason Jar Project Success
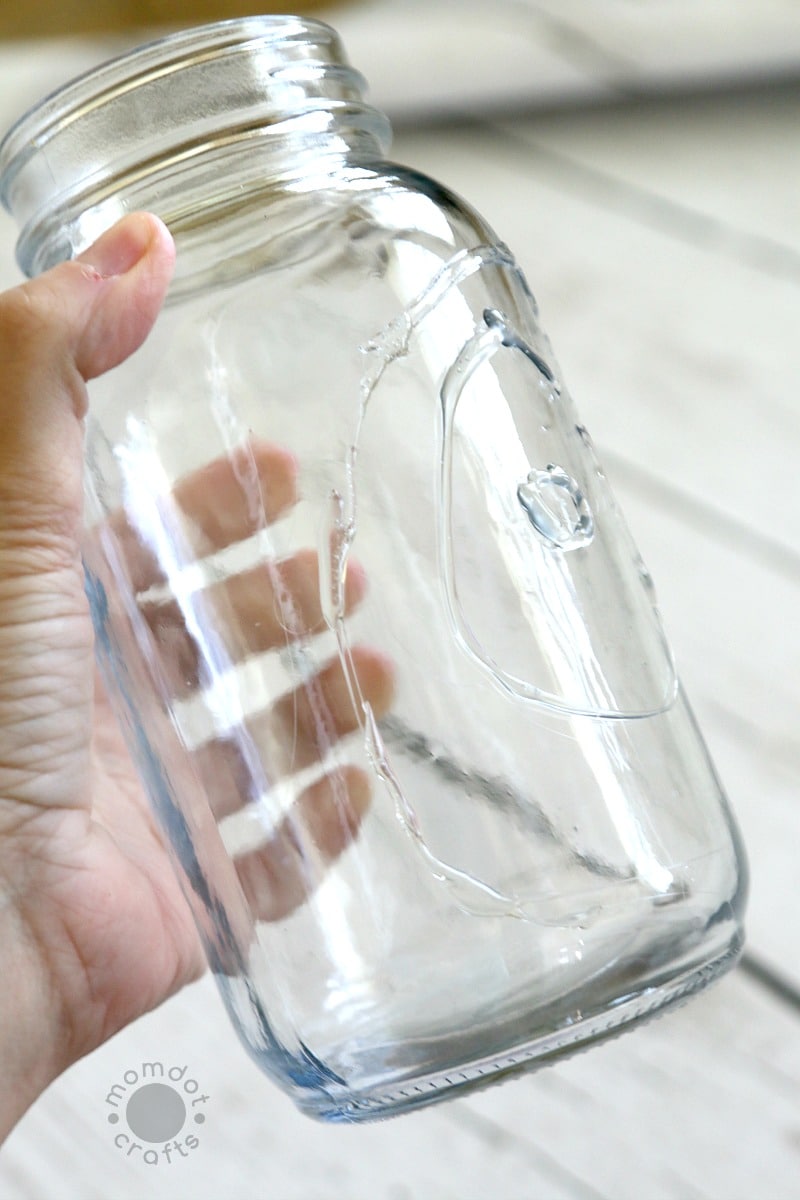
The first step is critical to your success – wash your jar! Use hot water and good dish soap to be sure removing any cleaning agents left on the jar and getting any bit of grease or grime off. Especially if you’re using reclaimed jars, two washes are best.
After a thorough wash and dry, I sometimes like to wipe the jar with rubbing alcohol , just to be sure the surface is ready for paint. Messing up here can mean the difference between a stunning finished project and a do-over.
Pick your Mason Jar Project Paint
If they sell it in the paint aisle, you can likely use it to decorate your jar. However, some paint combinations will work better than others. You can also choose pretty much any finish for your jar, depending on personal preference. Some people love a high gloss glam finish while others prefer a chalkier matte coat
 . It’s totally up to you.
Below, I’ve pulled together some tips on how to get the best result out of your project regardless of what type of paint you use.
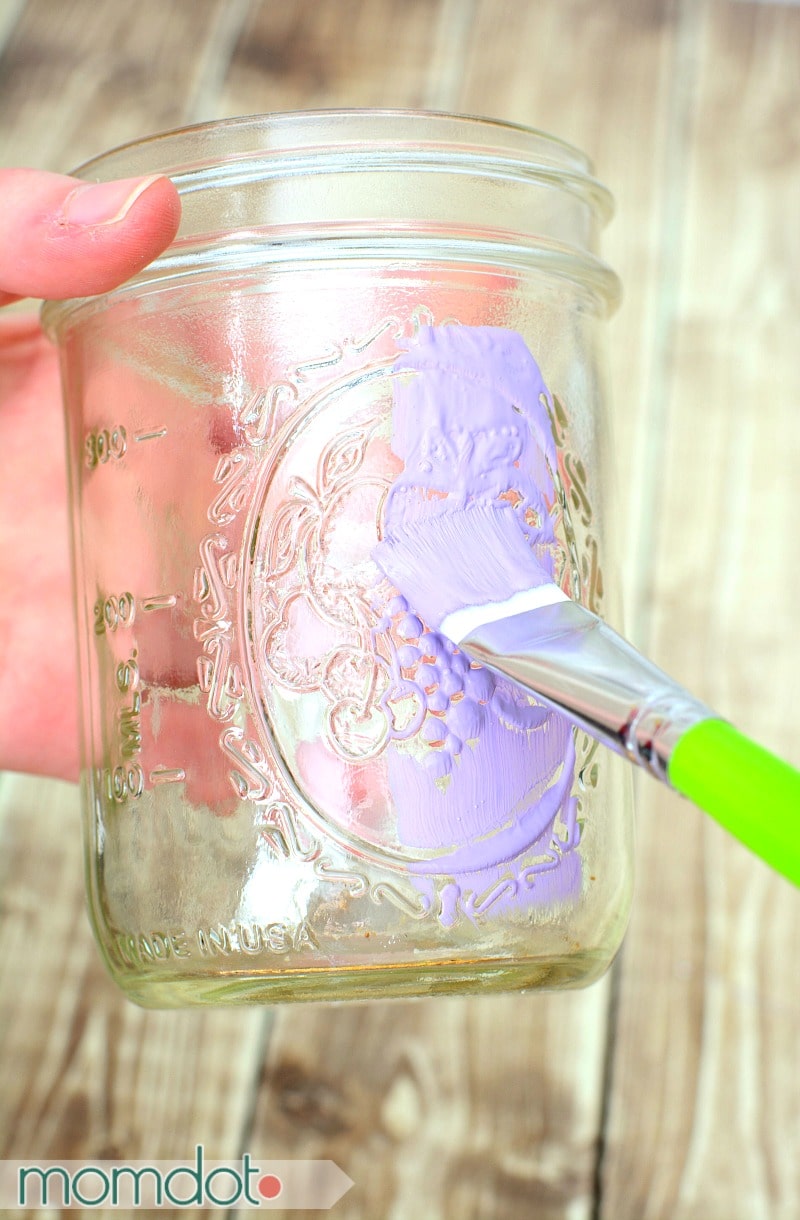
Acrylic Paint
Acrylic is pretty forgiving, easy to use, and available at nearly every craft store under the sun in just about any color. To apply, you’ll need a small foam brush or at least one brush per color you’re using. Gloss and satin finishes tend to make brush strokes more visible so choose a matte finish paint if you’re worried about the look of them in the finished project.
Acrylic Painting Mason Jar Tutorials
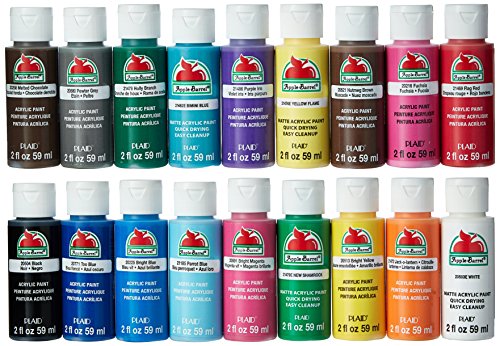
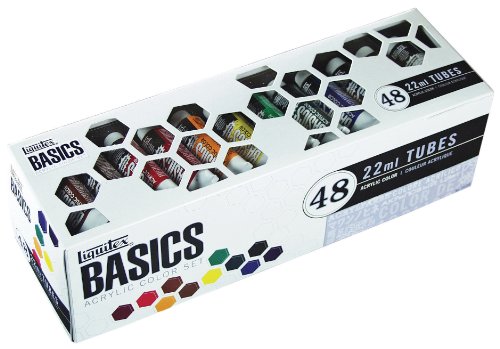
Apple Barrel Acrylic Paint Set, 18 Piece Liquitex BASICS Acrylic Paint Tube 48-Piece Set

The key to using acrylic is making sure you leave enough time for the paint to dry. Between coats, you’ll want to wait at least an hour and once you have the look you want, let the jar dry overnight (10 – 12) hours before moving on to any finishing steps.
If you’re worried about the paint adhering well to the jar, another option is to use a primer to increase the paint bond. For a primer you’re looking for a paint or product with a bit of texture to it – chalkboard paint is perfect for this, although you might need more coats of paint to cover the dark color. Just let the primer coat dry for at least an hour before painting over it. Then apply as many coats of paint you need to fully cover the prime coat. Some colors will need two coats, some will need three.
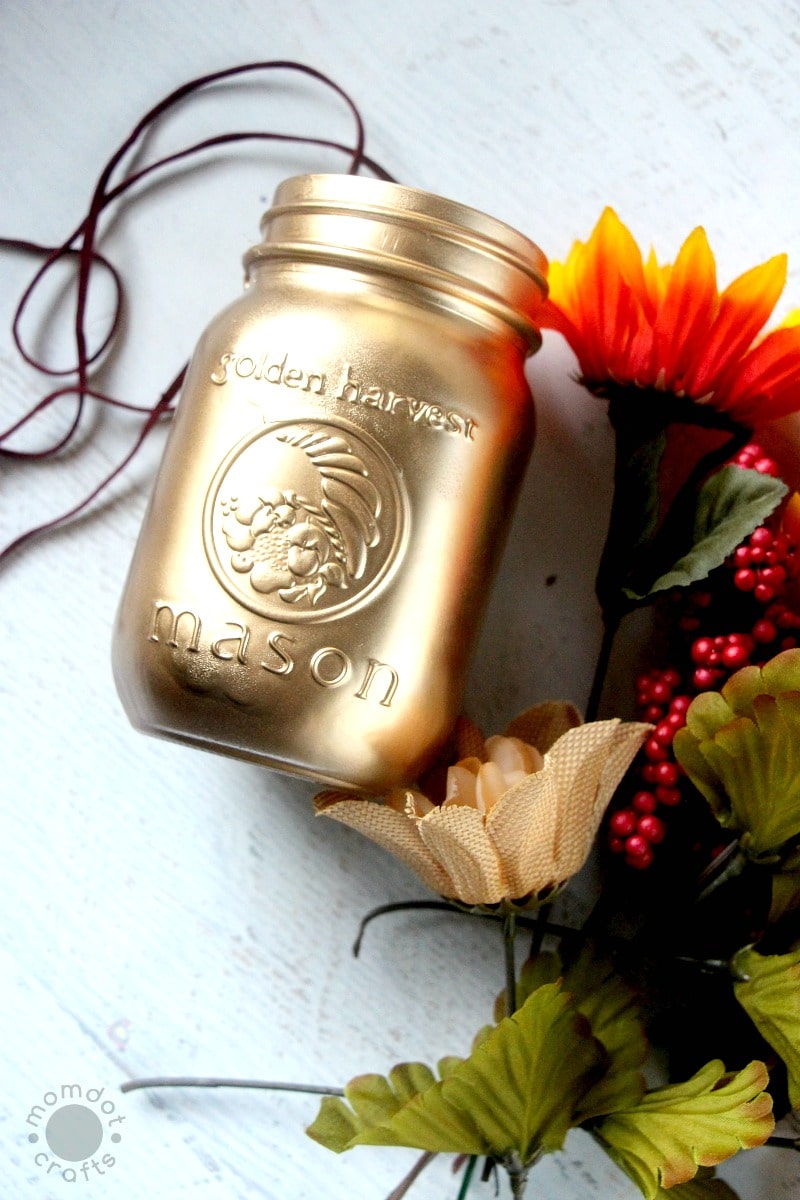
Spray paint Mason Jars
While it can be incredibly messy, especially when I’m at the trigger, spray paint is a fast and easy option for jar painting. As always with spray paint, make sure you prep your work area and have a well-ventilated space at room temperature to work.
Spray Paint Mason Jar Examples
- Gold Spray Painted Mason Jars
- Snowman Mason Jar Crafts (with glitter paint)
- Metallic Shimmer Painted Mason Jar
- Captured Butterfly Mason Jar
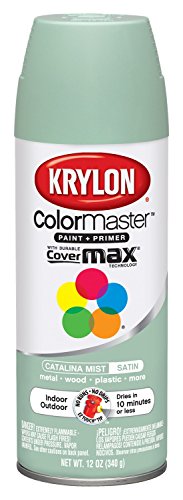
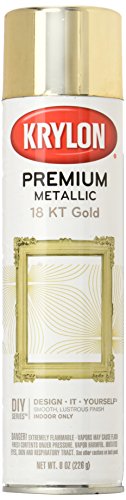
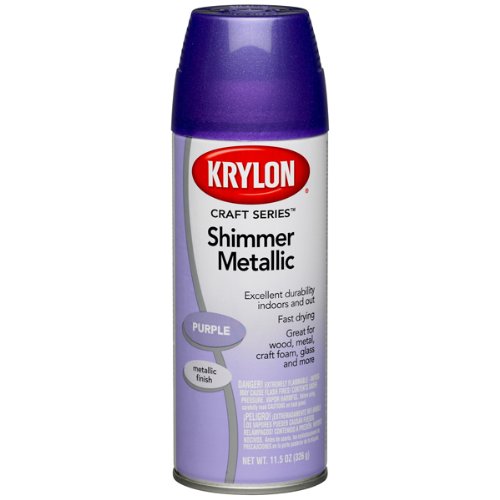
Krylon 53529 Catalina Mist ‘Satin Touch’ DecoratorKrylon K01000A07 Premium Metallic Spray Paint, 18KKrylon Shimmer Metallic Spray Paint, 11.5-Ounce, Purple
Using a high-quality paint will give you a better, chip-resistant finish, which you probably want after going through all this work. Work slowly in sections around the jar, making sure to avoid any drips.
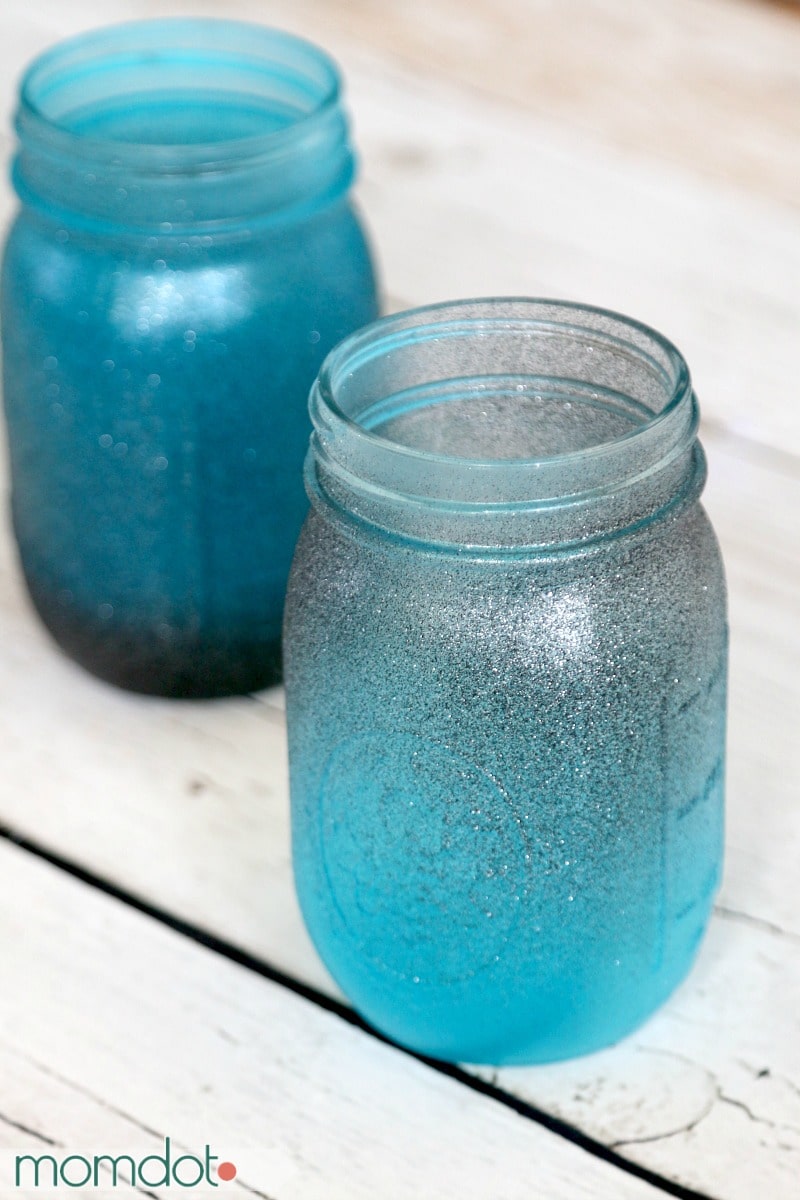
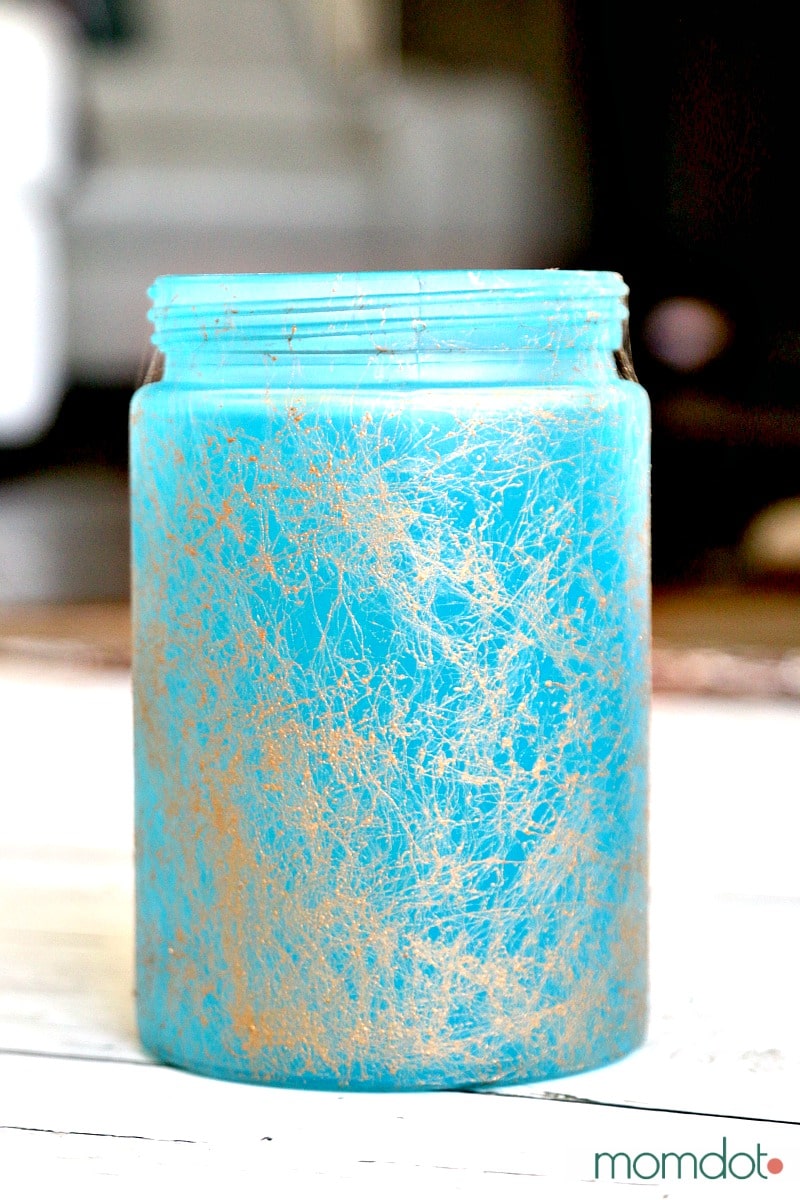
Keep the can about 6 – 8 inches away from the jar as you work to give you more even coverage. You can even use things like glitter paint or marblizing spray to add some texture and depth to your jar. See this Sea Glass Paint tutorial here for more.
 Let it dry, and you’re done! One coat is probably enough but feel free to use two if your first coat was on the thinner side.
Nail polish (marblizing) Mason Jars
Kleancolor Nail Polish – Awesome Metallic FullSHANY Cosmetics The Cosmopolitan Nail Polish Set12 Metallic Color Nail Polish Kit (Nail

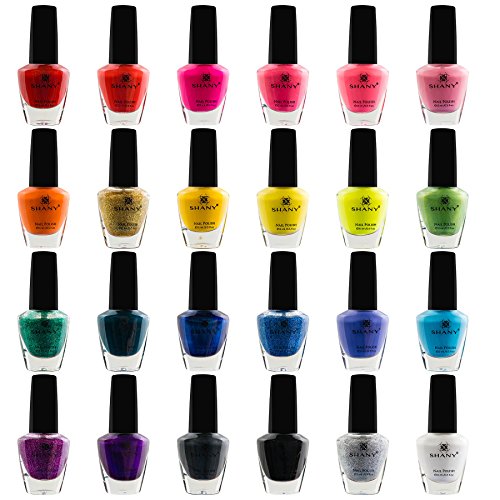
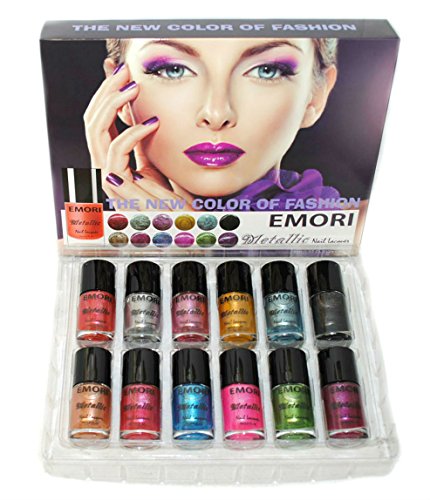
Using nail polish is a totally different technique, but you can get some awesome effects. Usually, nail polish is used on the inside of the jar, rather than the outside. This lets you keep the glossy glass finish (which I happen to love) with all the magic happening inside. At your prep step be sure to get all the nooks and crannies inside clean – using the alcohol is your best bet after your soap and water wash here.
When using this technique while making your mason jar projects, you’ll be basically dumping the paint in the bottom of the jar and swirling the paint around the inside to cover the sides. Roll the jar from side to side until you have it covering as you like it – you’ll probably need to add more paint as you go to get it evenly coated. Getting the inside of the rim of the jar can be a bit tricky – just be sure to wipe any paint that gets on the outside of the jar off quickly, before it dries.
Once you have it just right, the jar will need to dry for a few hours to get rid of the nail polish smell (this is a great way to use all those nail polishes with the chemicals you don’t want on your nails anymore). If the paint has set when you’re done swirling, you can let it dry on its side. If the paint is still running, let it dry upside down inside an old sour cream or cottage cheese container. Let it dry a couple of days before you put anything in the jar.
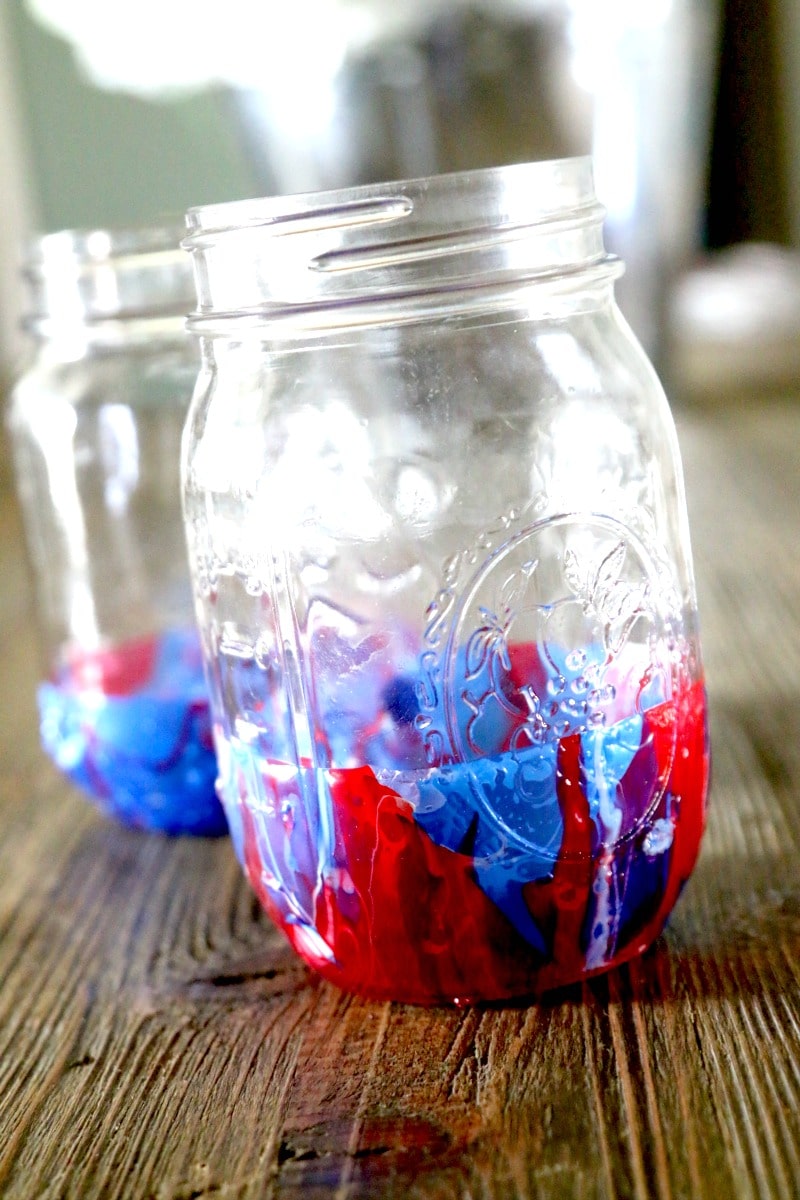
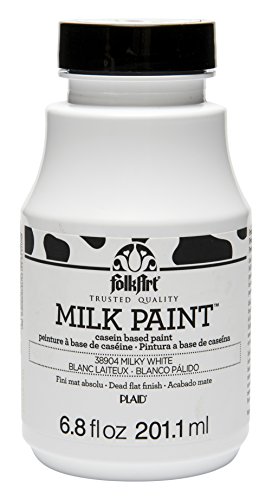
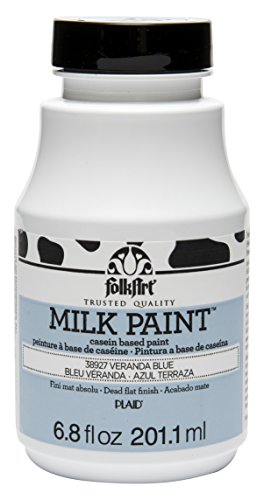
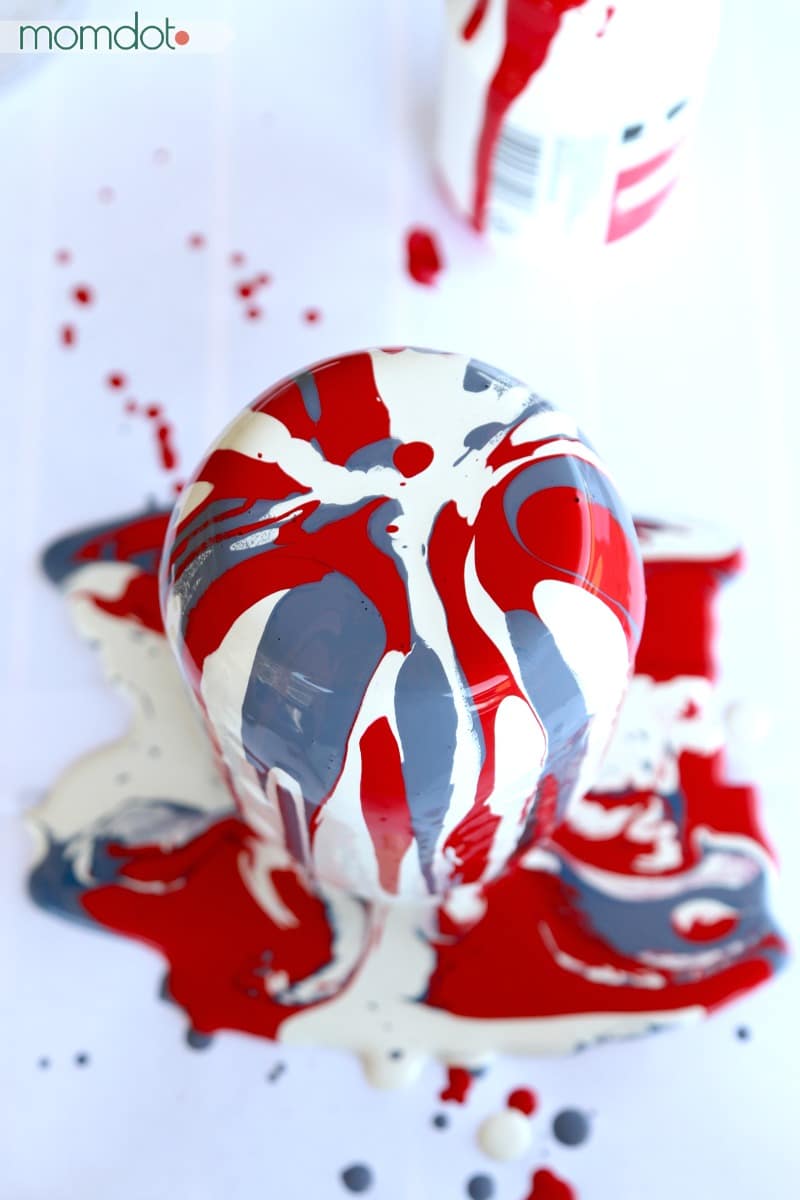
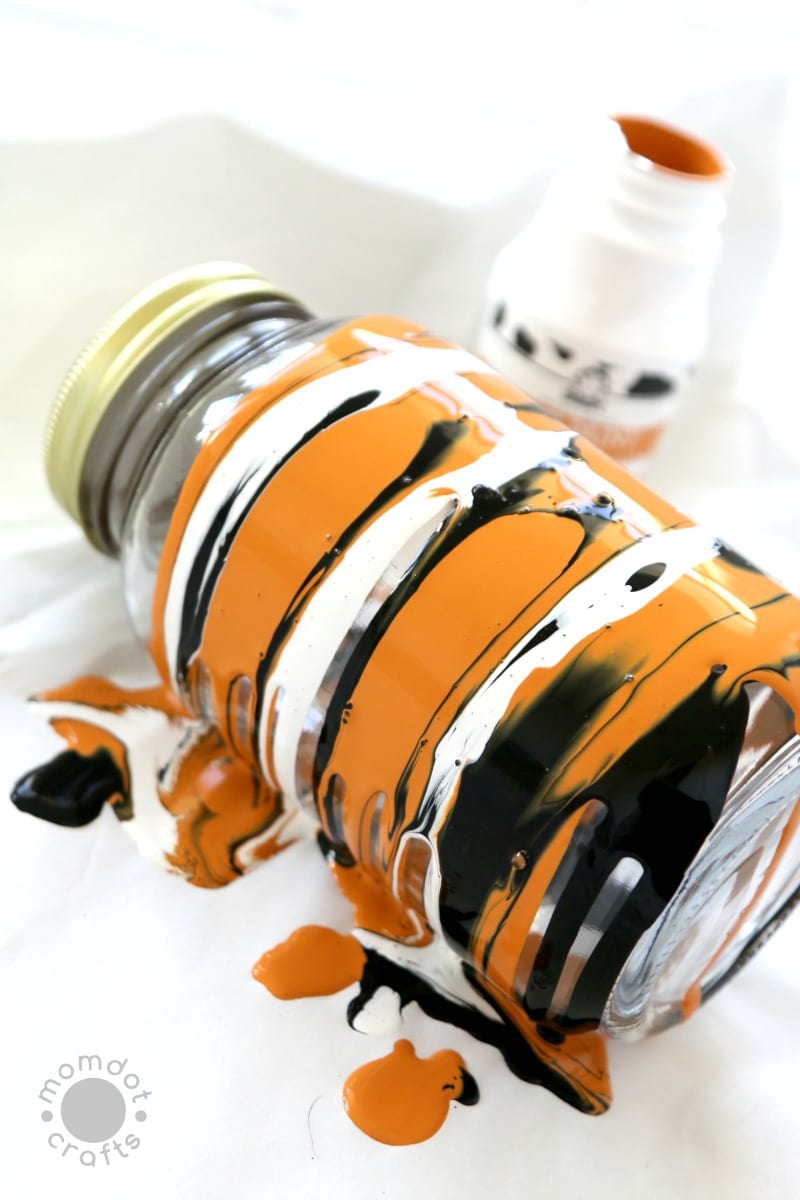
Drip Painting Mason Jars
One of my very favorite ways to paint jars is simply to let gravity do the trick! Using a drip painting technique, you can create some gorgeous jars for every holiday. Get step by step instructions for how to use milk paint to create a perfect mason jar centerpiece.
Drip Painting Tutorials on MomDot
FolkArt Milk Paint in Assorted Colors (6.8FolkArt Milk Paint in Assorted Colors (6.8FolkArt Milk Paint Bonding Primer and Sealer

Protecting your Mason Jars
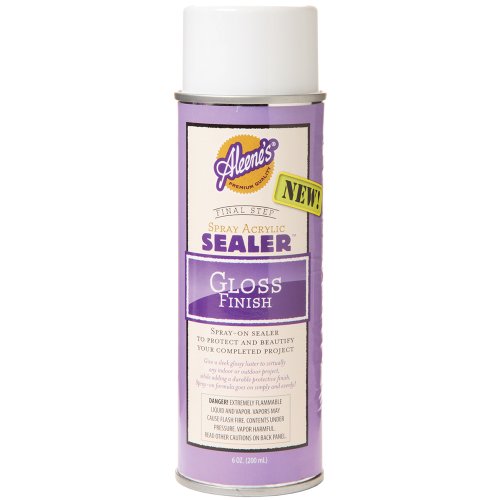
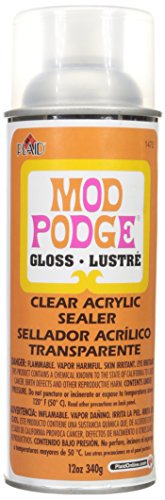
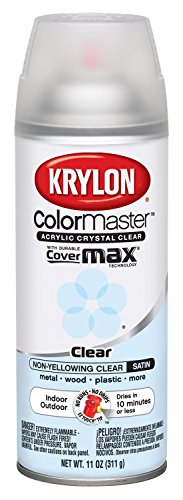
Once your jar is painted and thoroughly dry, you’ll want an insurance policy to protect your paint job. You’ll want to choose kind some clear sealer to protect your paint job for the long haul. Like paint, you have an option here of what kind of finish you want – matte, satin, gloss, etc. and how you want to apply it. Spray sealers are the easiest to use overall and won’t leave brush marks on your finish.
Follow the instructions on your particular sealer for the best mason jar projects results and be sure to let it dry before you start using it! If you follow these steps, you’re sure to end up with a stunning jar that can hold all your precious treasures for a long time to come.
Aleene’s Spray Acrylic Sealer Gloss Finish 6ozMod Podge Clear Acrylic Sealer (12-Ounce), 1470Krylon 51313 Satin Finish Crystal Clear Interior
Fill it Up
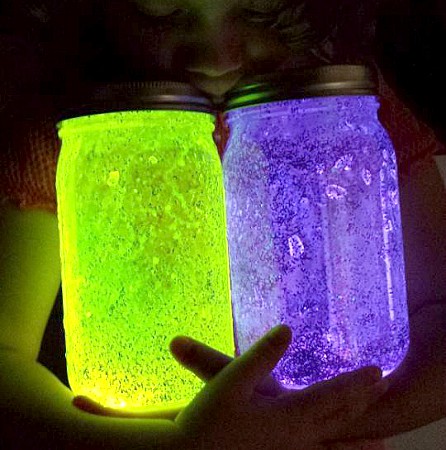
Painting isn’t the only way to enjoy a mason jar. You can also create an Element Jar, Galaxy Jar, Calming Jar, Snow Globe, Constellation Jar, Nebula Jar, Fairy Jar, or even a Mason Jar nightlight!
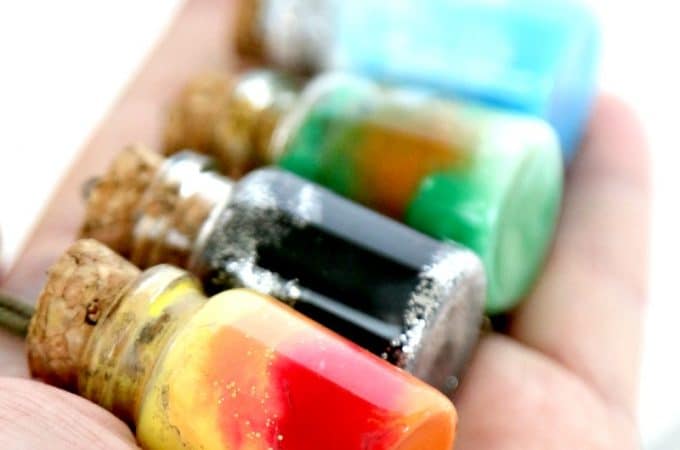
Create Element Jars Necklaces for Nerdy Friends (LIKE ME)
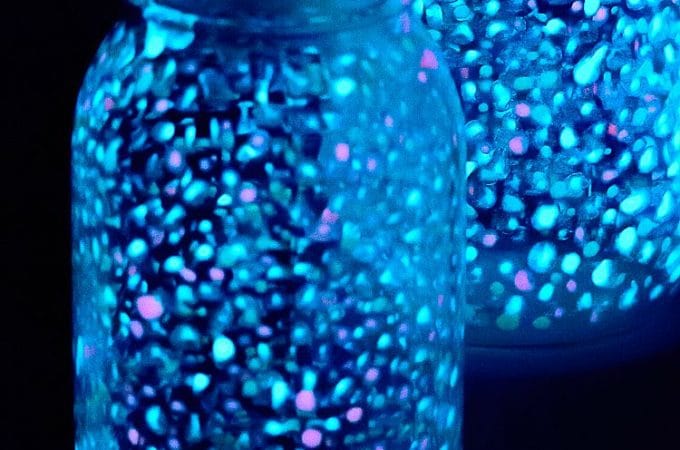
Universe Glow Jar *Magical Tutorial* – Universe in a Jar!
Fairy Jar Tutorial: DIY and Capture a Fairy!

Galaxy Jars DIY: Hold the Galaxy in your Hands!

Love Potion Necklace DIY for Valentines Day Homemade Gifting

Captured Butterfly Mason Jar with Glitter Sparkles Painted on

Mason Jar Night Light DIY

Create a Glow in the Dark Big Dipper on your Constellation Jar

DIY Constellation Jar : Glowing Science Fun
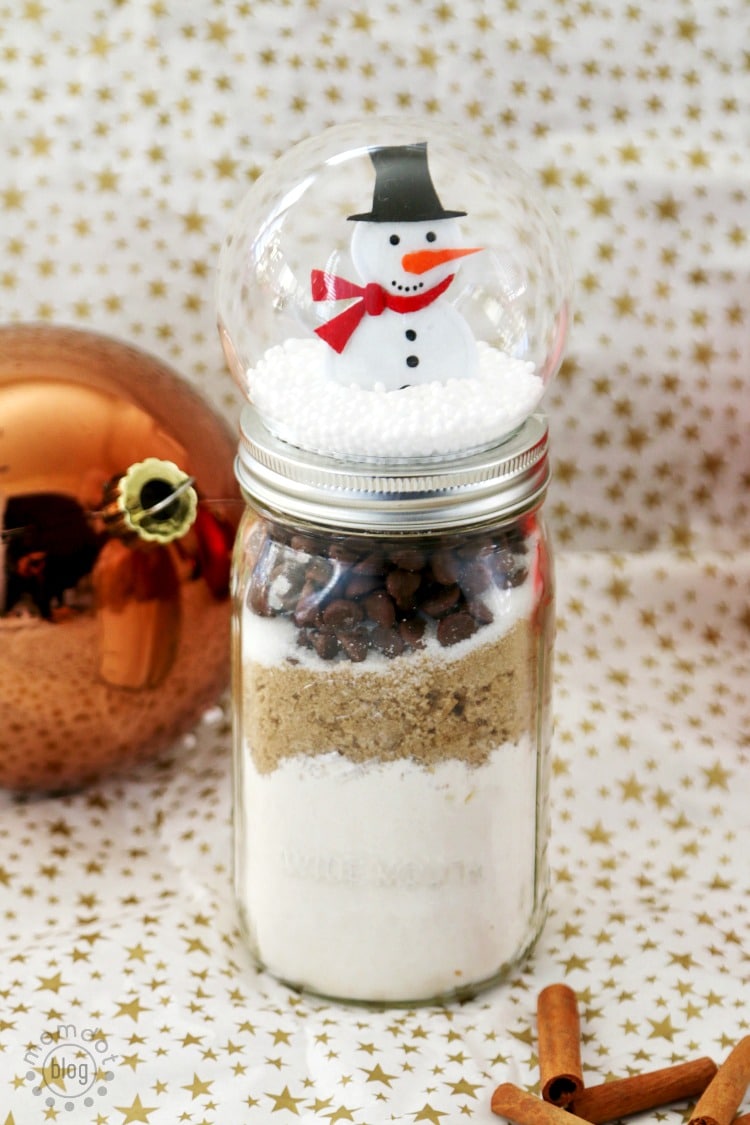
Snow globe Mason Jar Lids